6 articles
Crafting has always been a core mechanic in No Rest for the Wicked. However, with the release of the Together update, a lot more emphasis has been put on the game’s crafting system.
Also, with the removal of blueprint drops in favor of the Scribe table, you can now research, craft, and customize your gear to best fit your exact playstyle.
After several balance updates and patches, the crafting system in the game is now more about survivability, build synergy, and long-term progression instead of just going for the highest damage stats possible.
That said, understanding how crafting works in the update is key to making the best possible gear you can equip on your character. Let’s take a look at how it’s done.
 Best Items to Get Early in No Rest for the WickedFeb 2, 2026
 How to Find and Use Scribe Table in No Rest for the WickedFeb 2, 2026
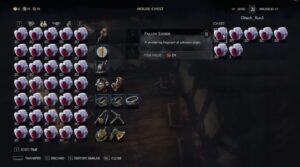 No Rest for the Wicked: How to Use and Farm EmbersFeb 2, 2026
How to Craft the Best Gear in No Rest for the Wicked
One of the biggest changes in the Together update is the removal of blueprints. This means you no longer have to hunt endlessly for blueprints.
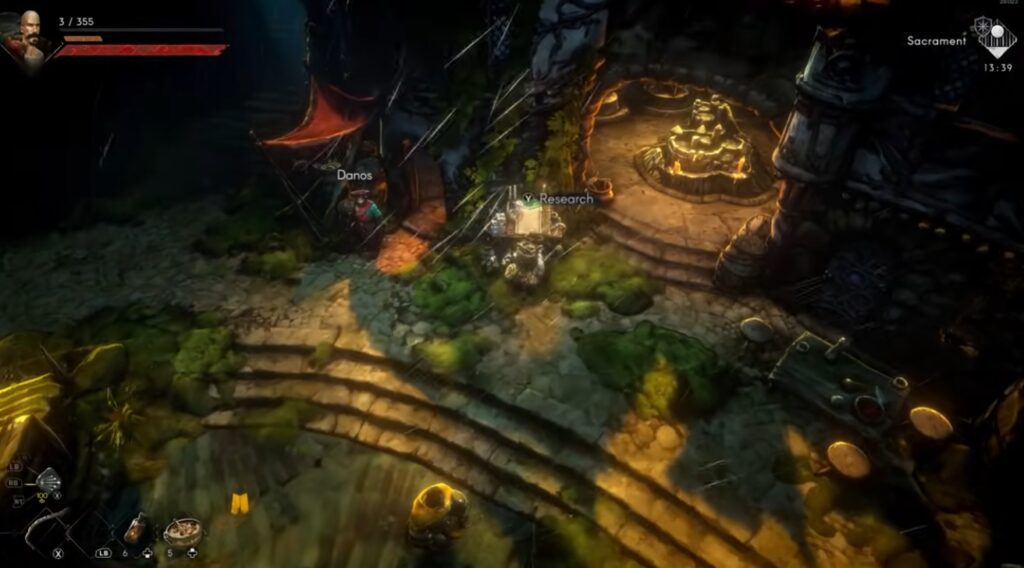
Instead, you can just research recipes from the Scribe Table using Research Papers that you can acquire during your playthrough.
Once you have researched a recipe, you can then proceed to craft it at its corresponding crafting station.
Start the Process with the Right Base for Your Weapon
While heavy weapons still deal a lot of damage, stamina management matters more in the game’s current meta. This makes faster weapons a safer and more consistent option for most players, especially in Pestilence encounters and long boss fights.
Bows have also received a lot of buffs which made them a viable mainhand weapon. Range scaling and projectile drop forced ranged builds to rely more on better positioning instead of just doing long-range damage.
To get started, you want to choose a Common rarity item as your base. The nice thing with the update is that items now come with extra stats via facets that provide certain effects.
Take the Frostwoven facet, for example, which grants extra Ice resistance but makes an item weigh more than normal.
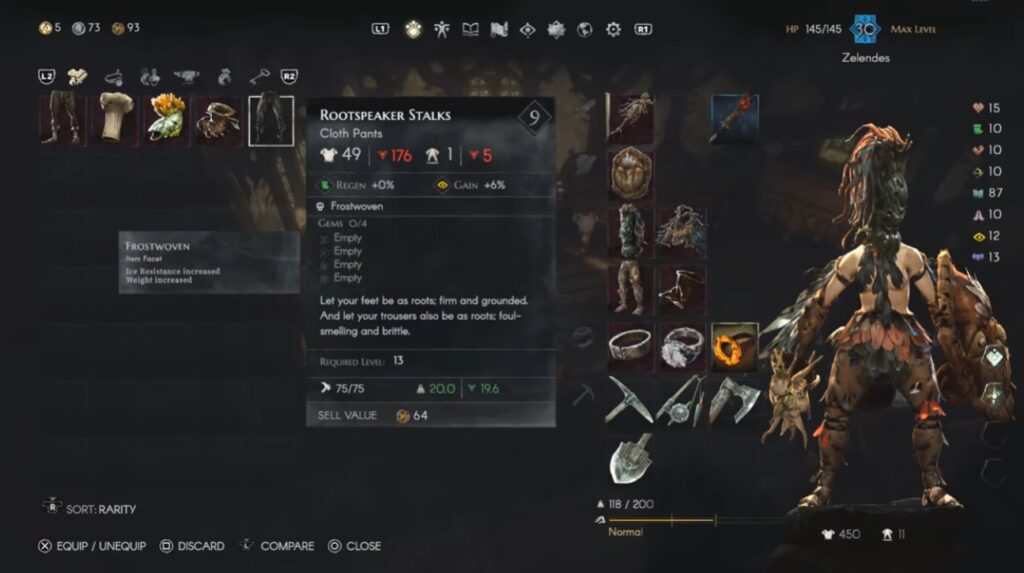
That said, facets are randomly generated on a given piece of equipment. Therefore, you want to craft your chosen gear until it comes with the facet that you need. You can find the list of facets available via this link.
You also want to have other gear of Plagued rarity that has the enchantments you need for your build. You’ll need them later for the gear you’re crafting.
With your base gear ready, it’s time to start adding enchantments via Embers.
Use Embers to Modify Your Gear
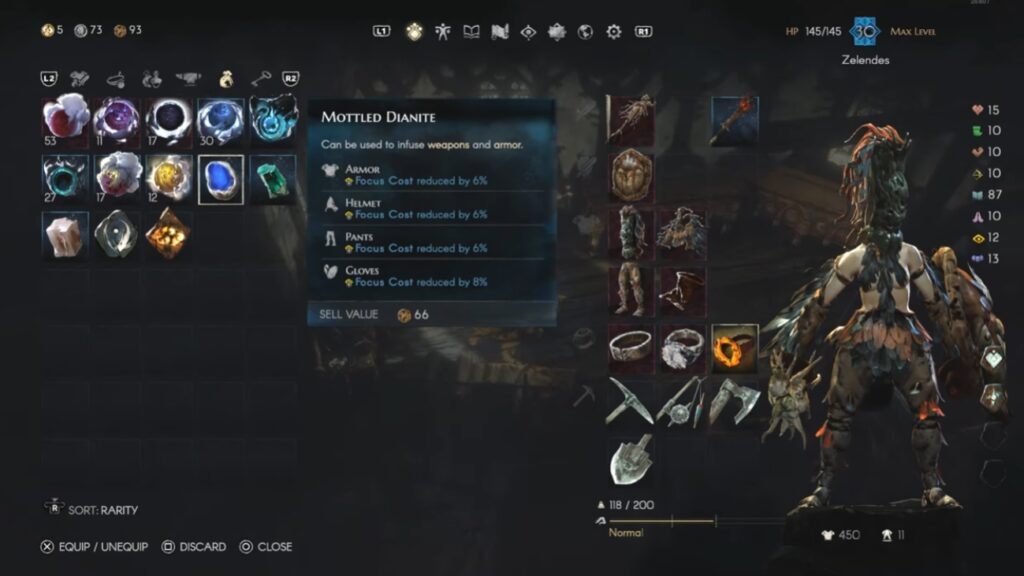
One of the biggest changes to No Rest for the Wicked’s crafting system is the growing importance of Embers.
A total of 6 new Embers were added to the game via the update, each having its own unique effects. They will be a major part of your gear crafting process, so make sure you farm enough before you start.
With that out of the way, here’s how to start:
- Use a Corrupting Ember on your base item to transform it from Common to Plagued. This will then grant it a bunch of powerful enchantments.
- If the resulting item doesn’t have the enchantments you need, or if its Plagued downside is bad, use Void Ember to return it to Common rarity. Repeat step #1 until you’re fine with the result.
- Use Radiant Ember on your other Plagued gear to strengthen the effect of their enchantments. Focus on the ones that you need for your base gear, as you’ll be transferring them over.
- Once your other Plagued gear have their enchantments strengthened, it’s now time to extract your desired enchantments from them using the Essence Ember. This will destroy the items and give you Charged Essence Embers containing the extracted enchantments.
- Use the Charged Essence Embers and apply their enchantments to your base gear. Just replace the enchantments you don’t need with the ones from the Embers. Repeat the process until you’ve transferred all of your desired enchantments to your base gear.
Now, the Ember crafting part is essentially done.
One thing to note is that enchantments that belong to the same group can’t exist in a gear at the same time.
For example, “Attack Damage increased” and “Stagger Damage increased” both belong to the Offensive group, hence you can only pick one of them to place on your gear.
You can refer to this enchantment list to have an idea of which enchantments can exist with each other.
Apply Gems and Enchantments
Your choice of a gem or enchantment will depend on your build.
Some gems are geared toward quality of life improvements, such as stamina recovery on armors or focus regeneration on weapons. The same goes for enchantments.
For this, you want to talk to Eleonor to infuse gems or apply enchantments to your crafted gear.
Once you’re done, the final step is to use Sublime Embers on your crafted gear. This will enhance the effect of a random enchantment in your fully enchanted gear.
However, you can only use it four times on a single item. Moreover, you can no longer replace a gear’s enchantments once you use Sublime Ember on it.
Alternatively, you can just talk to the Watcher NPC in Sacrament to exalt your items.
Don’t Ignore Defensive Stats
Defensive stats also matter a lot more now than they did during earlier versions of the game.
Poise, mitigation, and survivability became significantly more important after several balance updates. As its current meta, a lot of experienced players normally craft around balanced offense-defense hybrids rather than fully offensive loadouts.
If your build constantly runs out of stamina or dies in prolonged fights, your gear is not truly optimized, no matter how high your damage is.
Just keep in mind that the current endgame is more about adaptability. Since balance patches continue to adjust runes, enchantments, and scaling systems, the smartest crafting strategy is building gear that can evolve alongside future updates instead of relying on overtuned interactions that may eventually get nerfed.
And that’s pretty much it. With this, you can now have the best possible gear that you can equip on your character.
It’s worth noting that this is only possible once you’re late into the game. If you’re still pretty early, check out our guide on the best items to get early instead.