59 articles
The quest that allows you to encounter the Fifth Sage in Tears of the Kingdom is called “Guidances of the Past”.
You will be tasked with building a Construct body for the Sage of Spirit, Mineru. This is quite a long and convoluted quest, though, full of long puzzles to solve!
In this guide, we’ll go over every step of completing this quest and building the Construct that leads to the Fifth Sage.
How to Build the Fifth Sage in The Legend of Zelda: Tears of the Kingdom
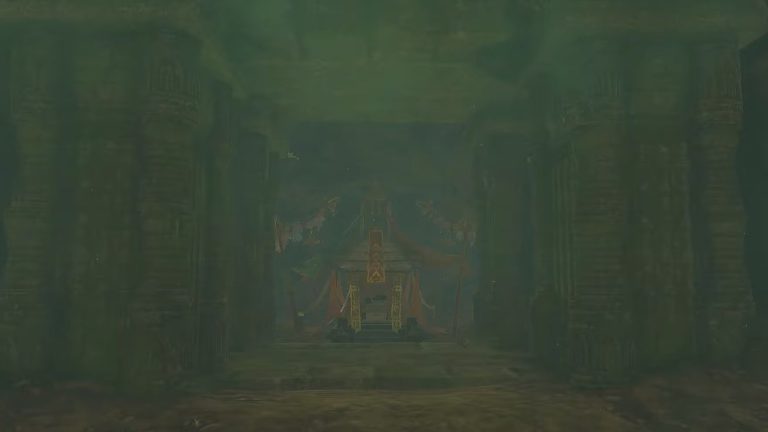
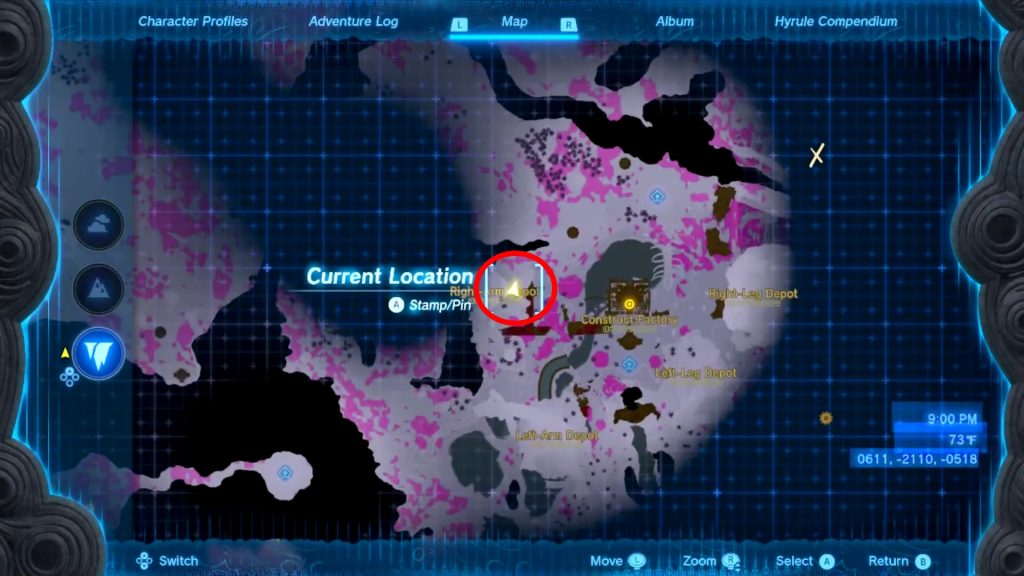
The Fifth Sage puzzle takes place in the Construct Facility found within the Faron Grasslands Depths and it’s part of the “Guidances of the Past” main quest.
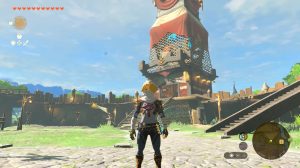 How to Get Full Sheik Gear Set in Zelda Tears of the KingdomMay 26, 2023
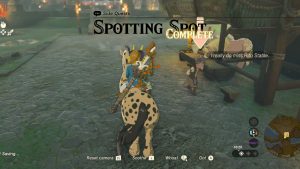 Zelda Tears of the Kingdom: Spotting Spot Quest GuideMay 25, 2023
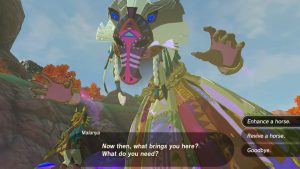 How to Upgrade Your Horse in The Legend of Zelda Tears of the KingdomMay 19, 2023
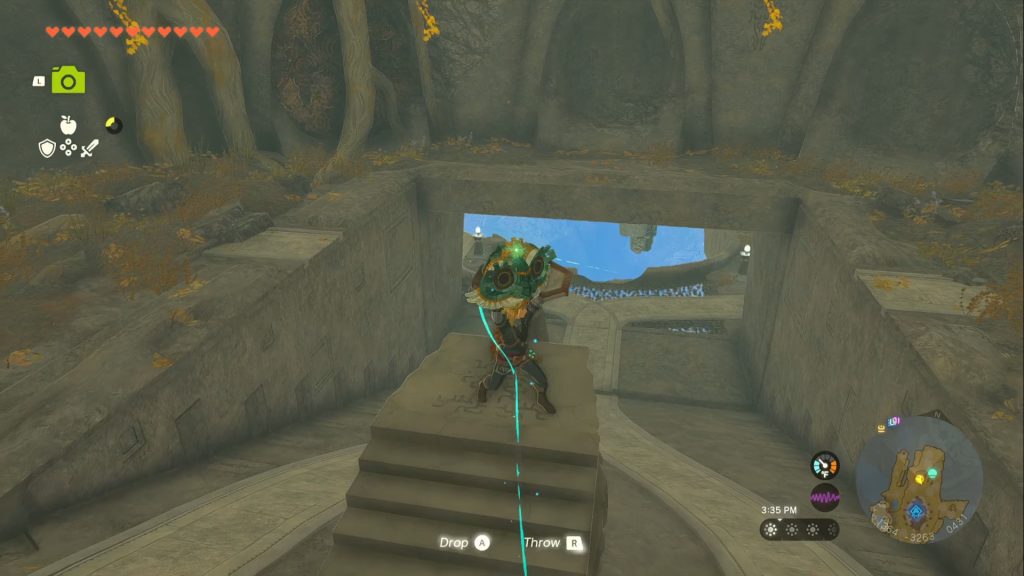
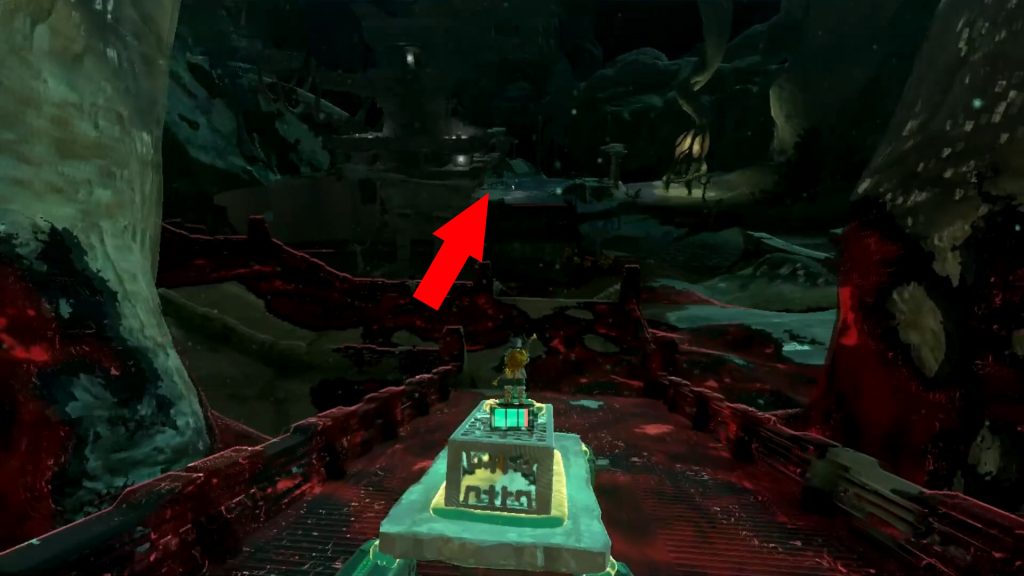
This is a four-part puzzle that begins once you bring the Construct’s head from Dragonhead Island in the Faron Grasslands Sky.
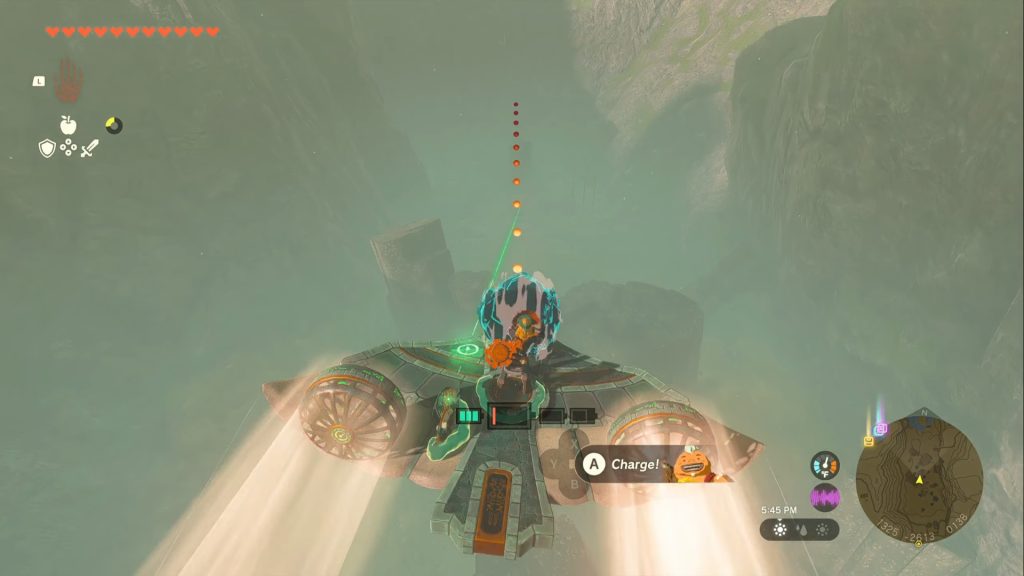
You will need to use a glider for this, so build one using the materials in the area and your Ultrahand. Follow the head’s laser and it will take you straight to where you need to go.

Set down the head in the center of the Construct Facility and the Construct will briefly speak to you, tasking you with building it a body so that she can lead you to the Fifth Sage.

This is done by completing the four Depot dungeons spread around the Construct Facility. All of the Depots are marked with green flames by the entrance, making them easy to see from a distance.
Now, let’s go over all four of these puzzle areas to get all parts for the Construct so you can face the Fifth Sage.
Right-Leg Depot

This depot is found to the east of the Construct Facility.

Enter the depot and interact with the Ultrahand glyph to make a box appear. You need to maneuver this box out of the depot to bring it to the Construct Facility, which is the general idea of all 4 depots.

Grab the box with your Ultrahand and put it on one of the elevators to your right. Get on the elevator and smack the fans on it to bring you and the box up.

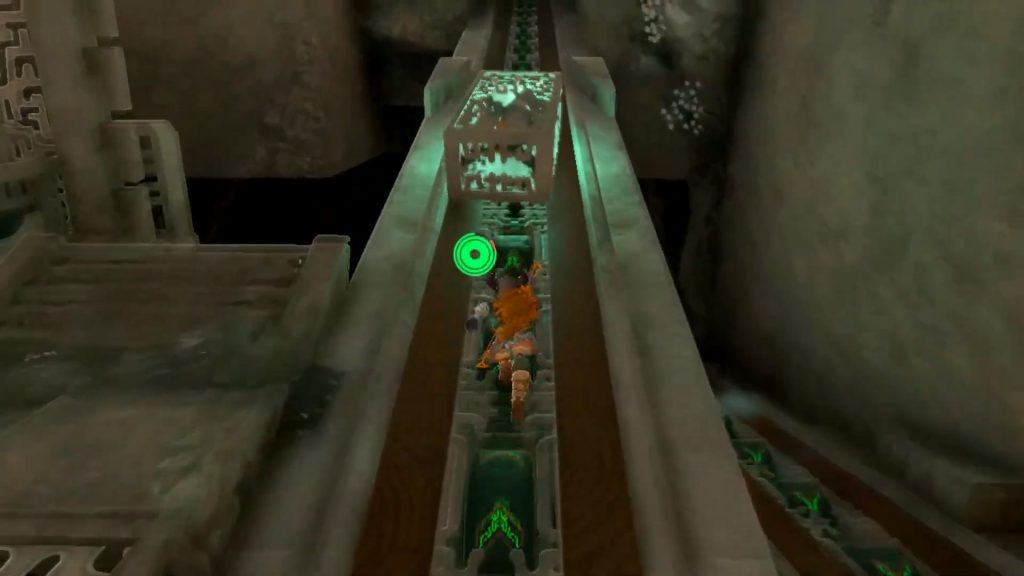
You will reach an upper floor that has a rail with an U-shaped object.

As soon as you get off the elevator, take a turn to your right to find another U-shaped object. Pick it up and attach it to the one on the rail so that it forms an O-shaped object. This will prevent it from falling.
Now go back to the elevator and grab the box you left behind with the Ultrahand. Attach it to the O-shaped metal object.

Lastly, grab one of the fans from the elevator and attach it to the box. It should look somewhat like the picture above, though of course your contraption might differ.

Smack the fan and the blowing wind will take the box to the end.

Grab the box and detach everything once you reach the end of the rail, then put it on the nearby elevator and ride it up with the box.

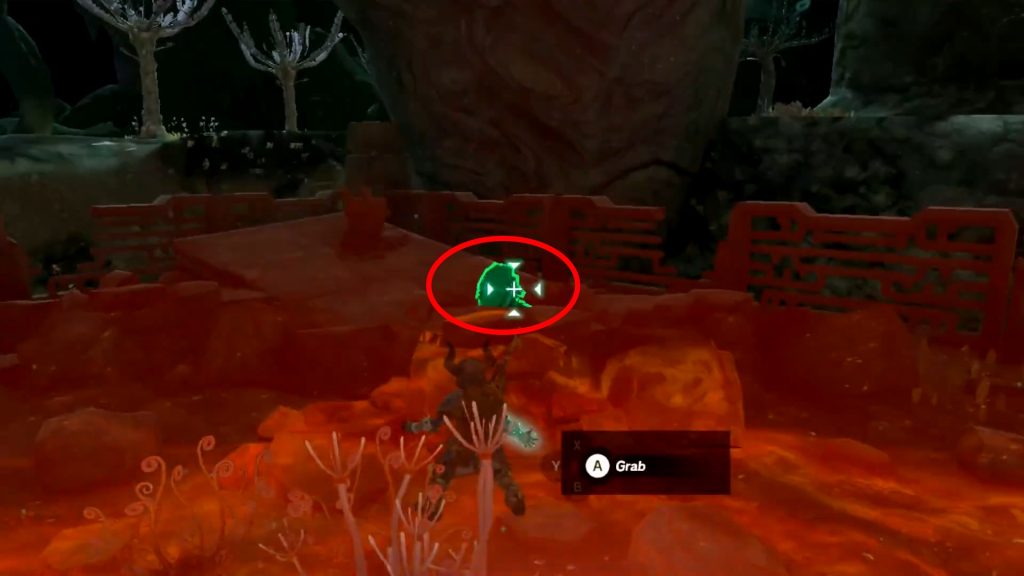
You will be back outside, overlooking the Construct Facility, so bring the box down and put it in front of the Fifth Sage Construct.

The box will break, allowing you to pick up the Right Leg with the Ultrahand. Put it on the Construct and you’re done with this part.
Left-Leg Depot

This depot is found directly southeast of the Construct Facility.

As with the previous one, interact with the Ultrahand glyph to make a box appear. You’ll be locked in once again and have to solve the puzzles to bring this box outside.

Put the box on the elevator to your left, making sure that it stays at an angle, then hit the rocket on the elevator. If you positioned yourself and the box right, you will be shot out of the elevator onto an upper floor.

You will find a large wheel that you can push and a broken bridge. Pushing the wheel will change the bridge’s angle.

Push the wheel until you get the bridge to aim directly toward the exit in front of it, then put the box on top of the bridge.

Now grab the rockets that are next to the bridge and attach them to the box.

Make sure that the bridge’s angle is correct, then stand on the box and smack the rockets to send the box straight to the next floor.

You should now be overlooking the Fifth Sage Construct Facility, so all you need to do is to carry the box in front of the Construct and place its left leg.
Right-Arm Depot
You can find this depot directly west of the Construct Facility. Enter it and interact with the glyph to make a box with a part drop down.
Grab the box and put it on the conveyor belt to your right, then follow it up to the next level.
You will find a large electrified object here. The idea for this part of the puzzle is to attach the nearby wheels on the box to have it “ride” across the electrified object.
You can find the wheels by facing the gap in the middle and looking to the right side.
Put the wheels so that they are at an angle and smack them to turn them off. It’s hard to explain exactly in text, but it should look like the picture above.
Grab this vehicle you just made and put it on the electrified object. Smack the wheels to turn them on and the box should cross the gap.
Drop down to the lower level and use the ladder to reach the area you sent the box to.
Carry the box through the archway and remove the wheels you had put on it. You will be in an area that has some wheels, some large metal sheets, and a lever. It’s time to make a car!
Attach the metal sheet horizontally on the middle of the box, then attach 4 wheels to each corner. Then grab the contraption and flip it around so the wheels are at the bottom.
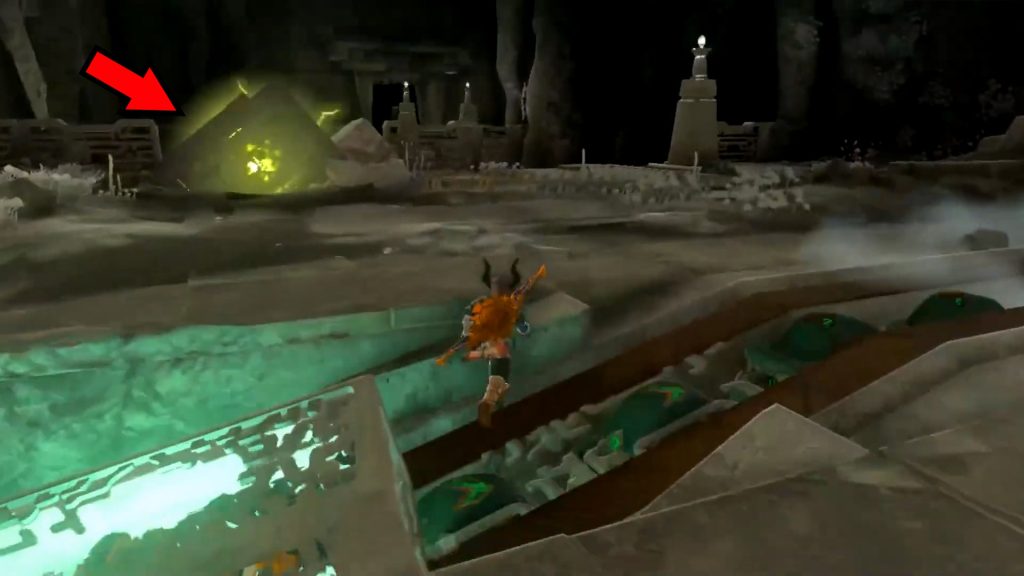
Grab the lever that’s next to the stairs and attach it to the box, then hop on your makeshift vehicle and use the lever to control it.
Ride it straight ahead down the stairs, going over the Gloom, and you will be right in front of the Fifth Sage Construct Facility with the right arm for the Construct.
Left-Arm Depot

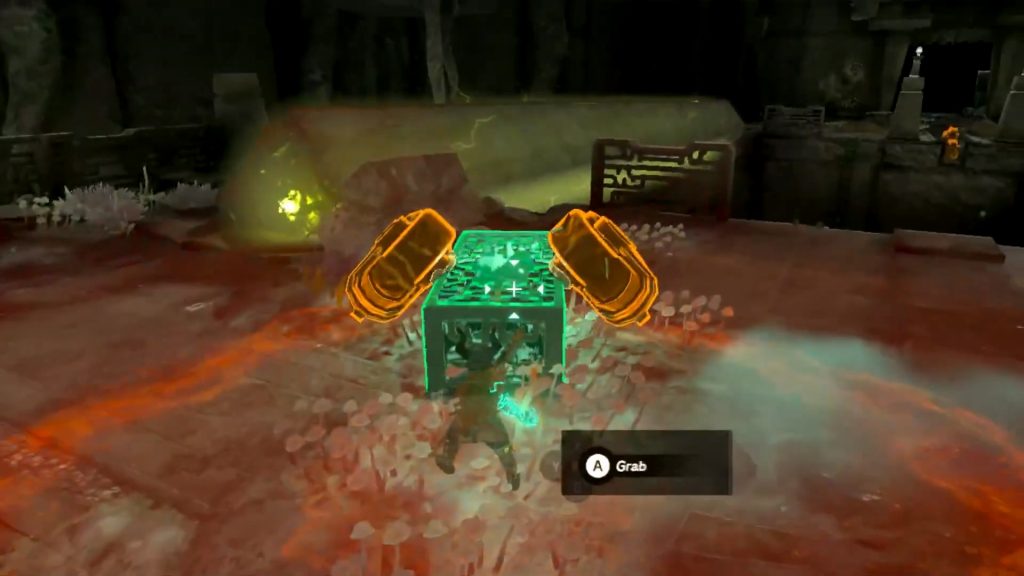
This is the depot that’s southwest of the Construct Facility, use the glyph to drop the box and start the puzzle.

Smack the wheel on the door to your left to open it, then carry the box through the door. Place it down horizontally on the floor, it’s time to turn it into a vehicle!

Turn around once you and the box are in the new room and pull the wheels off the door you just opened. Make sure to smack them to turn them off, too.

Attach the wheels to the sides of the box, it should look somewhat like the picture above.

Now attach the lever that’s found in this room onto the box to finish your makeshift vehicle.

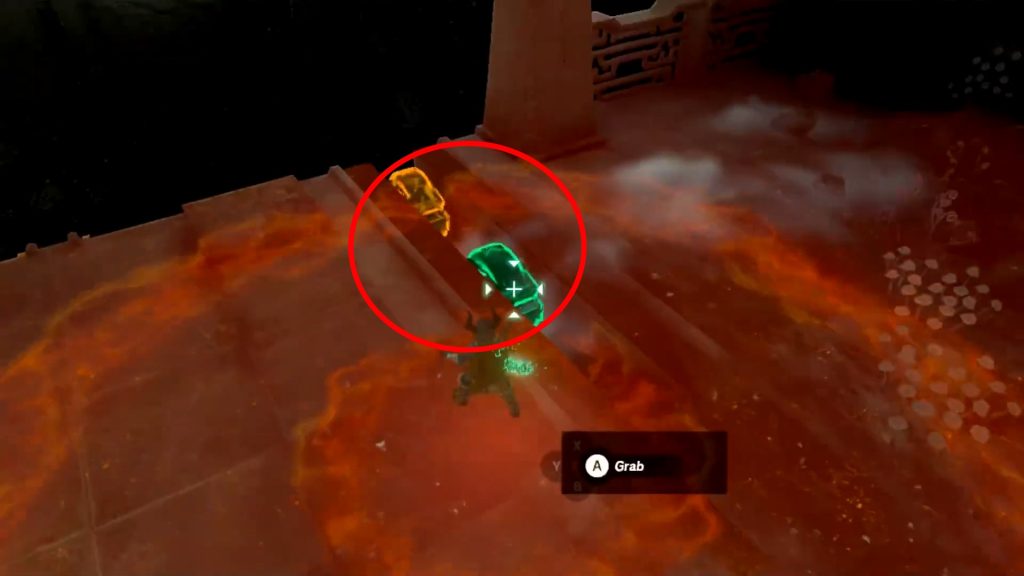
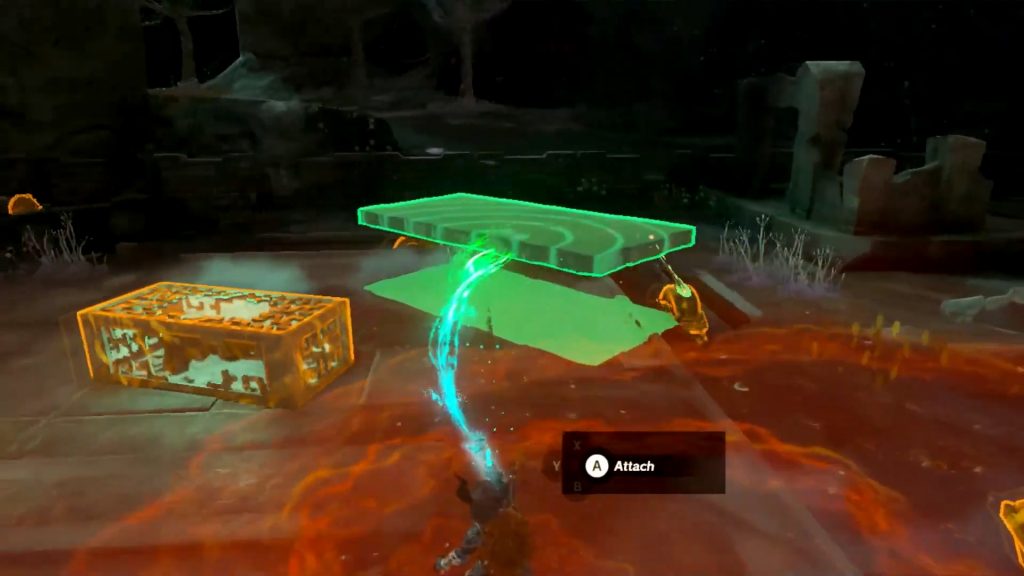
Hop onto the box and use the lever to control it, then just drive it across the lava until you reach the next segment.

Turn right as soon as you get off the lava to find another lava section. The form is different so you will need to modify your vehicle!

Detach the wheels from the sides of the box and reattach them at the front and back instead; it should look like a football. Also, rotate the lever to fit the new shape!

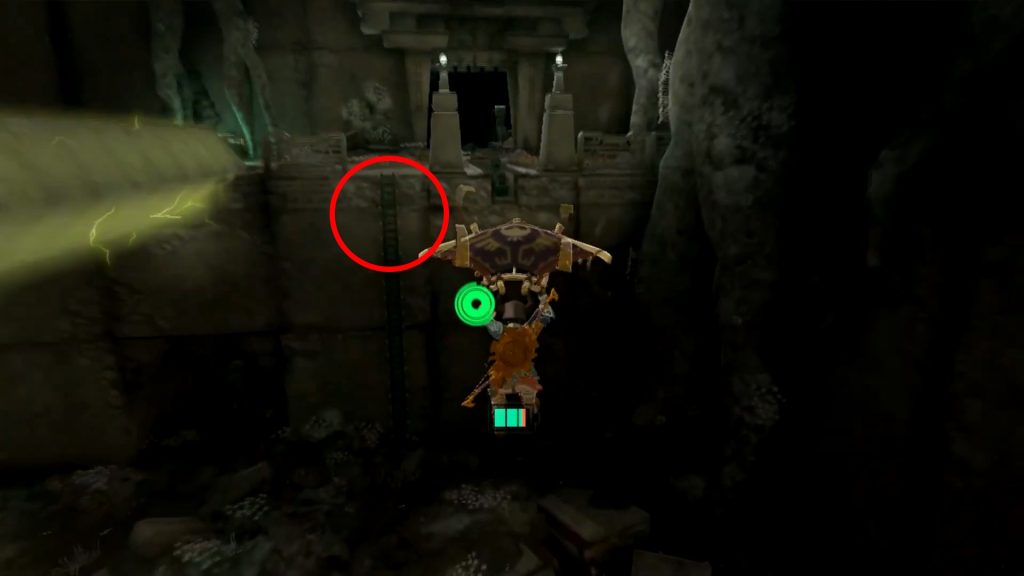
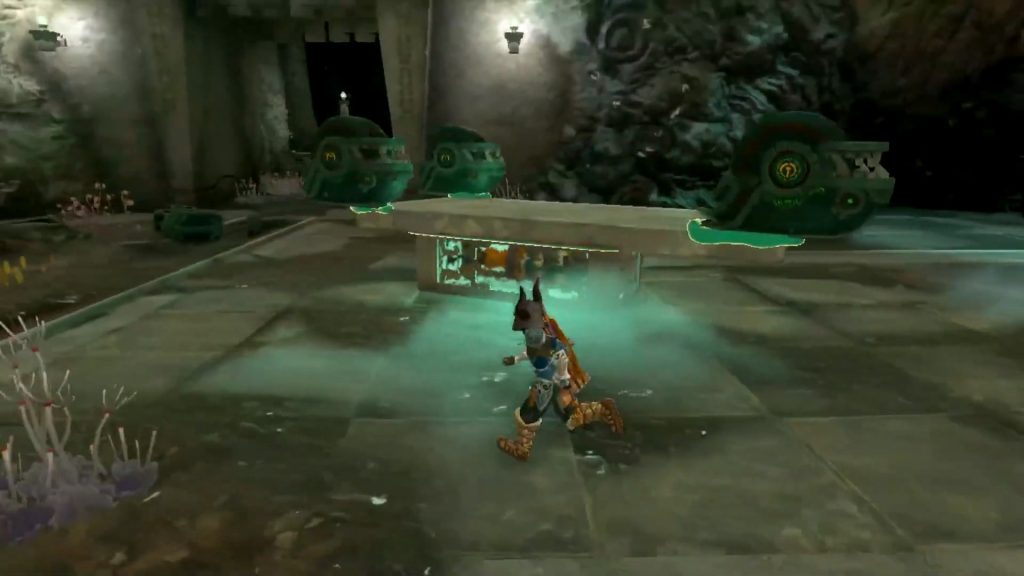
Drive over the lava to the other side, then detach the wheels and attach them to the chains on the nearby door. Smack them to open the door and cross with the box.

You will be in a room with some fans and a large watery slide.

Grab the small fans highlighted when using the Ultrahand and attach them to the back of your box.

Place your makeshift hovercraft on the water and get on top. Use the lever to ride it down the water slide to reach the Fifth Sage Construct Facility.
Finish the Fifth Sage Construct
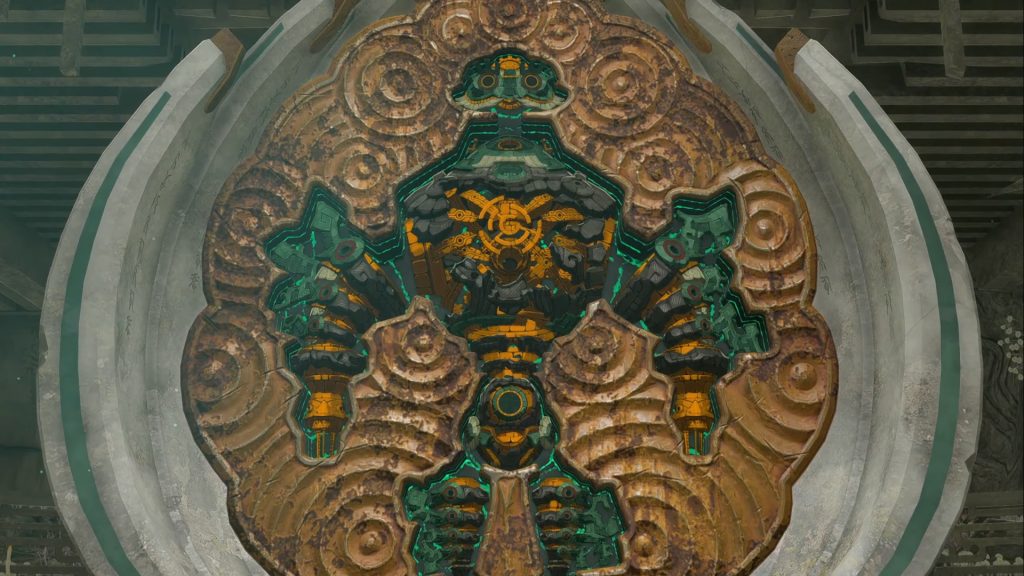
You can now finish building the Construct, provided that you followed this guide and completed all of the Depot puzzles.
Either way, finish building a body for the Construct and you will get to ride it! This will lead you to your encounter with the Fifth Sage, finishing this very long quest.
ALSO READ: Torchlight Infinite: Ultimate Endgame Guide