 5 articles
Our ultimate beginner’s guide for Mecha Break will help you get started with this competitive mech game. Pilot mechs and engage in fast-paced combat against other players to complete objectives and emerge victorious! Of course, that’s easier said than done, especially if you’re not used to how mech games work in general. Read on and we’ll help you get started.
Ultimate Beginner’s Guide for Mecha Break
Meet the Strikers
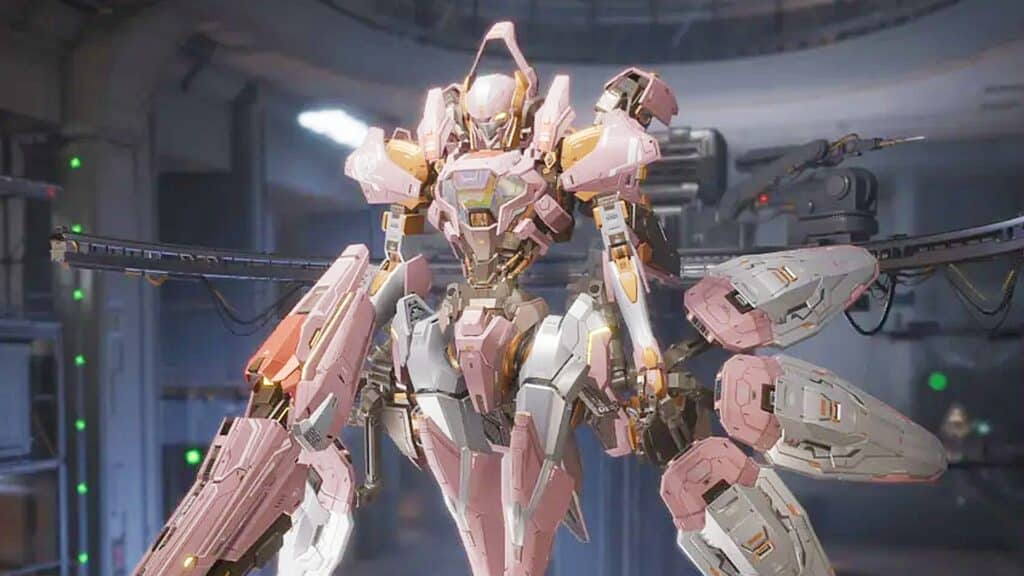
Mecha Break is pretty much structured like a hero shooter, despite its mecha flavoring. What this means, mostly, is that you have a variety of preset mechs that each have a unique kit. These mechs, known as Strikers, can be broadly put into one of five different categories:
- Attacker – The standard DPS role, more or less. These Strikers have one job: deal as much damage as possible and obliterate the enemies! Their defenses are fairly average, but their damage output and mobility are pretty great.
- Defender – In contrast to the attackers, the Strikers in this category act as tanks. They don’t have as much mobility or damage as their peers, but their sturdiness and abilities allow them to control space and peel for allies.
- Sniper – As the name implies, Strikers in this category are long-range specialists. They’re not very resilient at all, but have the mobility to help them get into advantageous positions to start dealing damage from a safe distance.
- Brawler – These Strikers excel in close-quarter combats, particularly when doing 1-on-1 duels. They’re pretty resilient and can easily lock down enemies to shut them down and pummel them.
- Support – Last but not least, Support Strikers are the backline and backbone of every team. Their damage and defense are subpar generally, but they can bolster their allies greatly by providing repairs and other buffs.
Aside from these wide categories, Strikers can also be further defined by their weights: Light, Medium, Heavy, and Ultra Heavy. This is fairly straightforward, however. Just think of it as a balance between defense and mobility. Light Strikers are faster but squishier, while Heavy Strikers are slower but sturdier!
Lastly, the Strikers within each category are also all distinct from each other. They all have their own unique and complex kits to achieve their role. We recommend trying out all the Strikers early on so that you can decide which ones are your favorite to play.
 Mecha Break: Best Settings Guide | OptimizationJul 4, 2025
 Best 10 Mechs You Need To Learn Early in Mecha BreakJul 3, 2025
 Mecha Break – Mechs Difficulty Tier ListJul 3, 2025
Learn the Game Modes
Mecha Break has 3 different main game modes, and this wouldn’t be a complete ultimate beginner’s guide if we didn’t at least give you a rundown of each one! These game modes are as follows:
- Operation Verge (6v6) – The main event, pretty much. In this mode, two teams of 6 players each will compete against each other to complete an objective. The objective varies depending on the map, but it’s standard classic competitive game objectives such as protecting payloads and securing areas. Focus on teamwork to achieve the objective in this mode!
- Ace Arena (3v3) – An all-out team deathmatch mode that’s intended for more advanced players. There are no objectives in this mode at all, your team’s only goal is to eradicate the enemy players. The first team to get a total of 8 kills will win the match! Your team’s combat ability is all that matters.
- Mashmak (PvPvE) – Also known as Operation Storm, this is an extraction shooter mode. You drop in either with 2 other players in a team or solo. Then, you are tasked with completing various objectives for loot. You’ll get Merit Points and Mods which you can use to further strengthen your Strikers in this mode. Get in there, loot as much as you can, and extract while you can!
If you’re unsure of what mode to play, we recommend playing Operation Verge first. After all, it is the game’s main mode, which also makes it decent for learning the ropes.
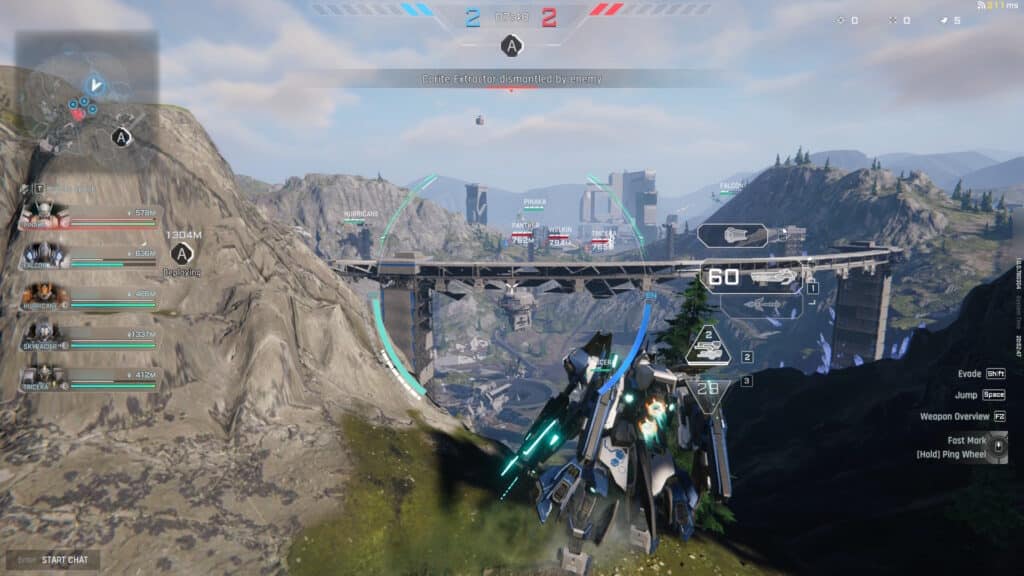
Manage Your Energy
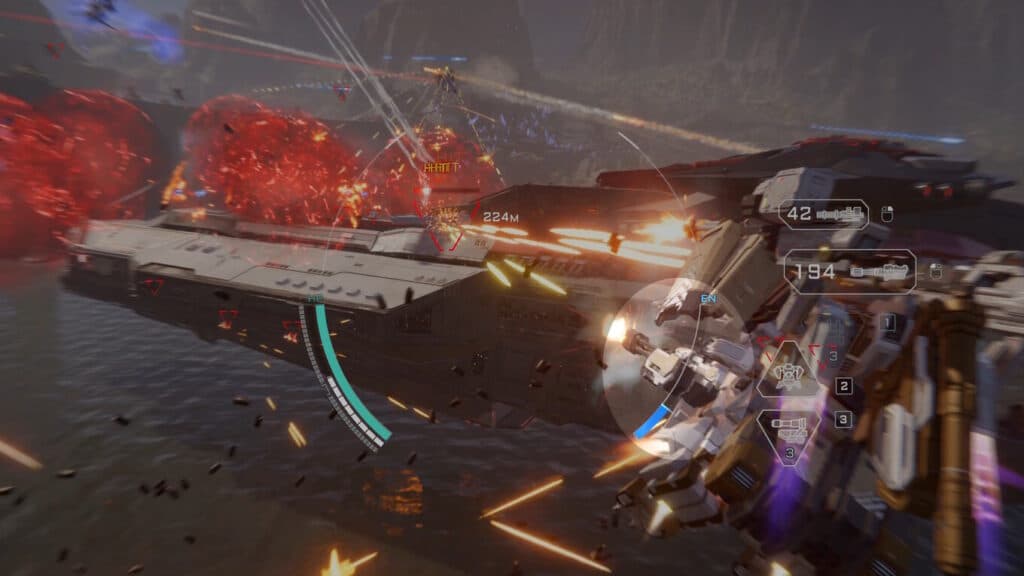
One of the most important aspects of Mecha Break is remembering that you really need to be careful with your Energy consumption. Energy is the blue bar titled EN on your HUD, as shown in the example above.
Energy is used for pretty much every movement-related function of your mech and is primarily used up by your thrusters. It will be slowly consumed whether you’re boosting forward, hovering, flying, or whatever else.
A common mistake new players make is to spam their mobility to try to rush into the fight as fast as possible, without paying attention to Energy. Don’t do that, as you will just end up with an empty Energy tank when you enter combat. This will then prevent you from using your mobility to dodge attacks, swiftly leading to your defeat!
In the event that you do exhaust your Energy, you will need to wait for it to refill. Every Striker has a different recharge rate, but it works more or less the same for all of them. Simply stop spending Energy and it will start recharging after a brief delay.
In short, be conscious of how you spend your Energy. Don’t waste it heading into engagements, as you will need it during combat to avoid enemy attacks. This is especially true for Light Strikers, as they need to make up for their lower defense with their high mobility!
Fluid Armor and Health
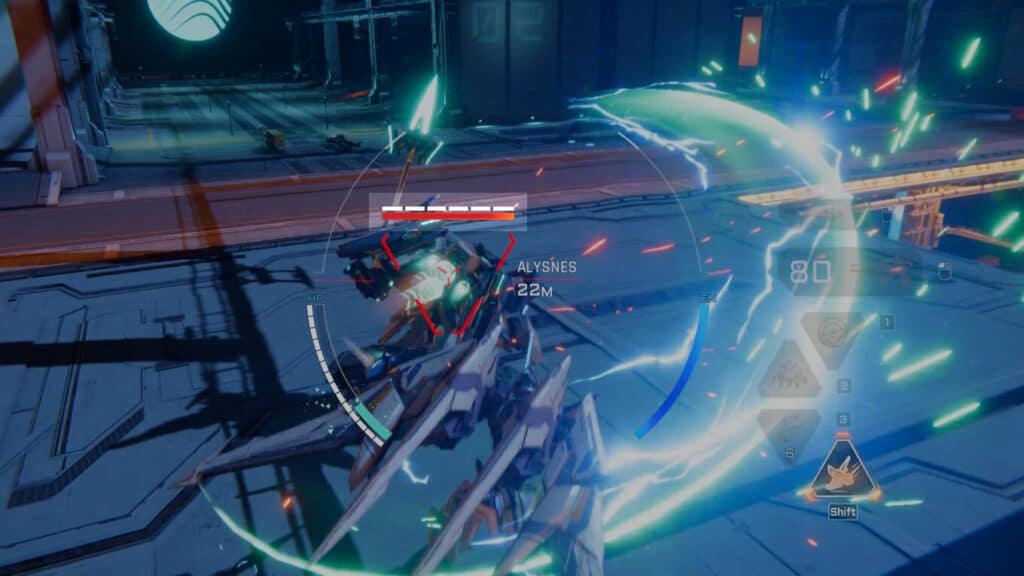
All of the Strikers in Mecha Break have two status bars, as shown above when looking at an enemy. The dotted white line on the top is the Fluid Armor, while the larger red bar is their actual Health.
The Fluid Armor works more or less like shields do in other games. It will take damage and prevent the Strikers’ actual health from going down, plus it recharges slowly over time if no damage is taken. Fluid Armor is extra resilient to ballistic weapons, but weaker to energy weapons.
As for the actual Health, it works as you would expect. When the Health bar is depleted, the Striker is destroyed, it’s as simple as that! This Health bar takes more damage from direct ballistic weapon attacks than from energy weapons.
Additionally, it’s worth noting that melee weapons go through Fluid Armor entirely, allowing them to do direct Health damage at all times. That makes going for melee generally a high-risk high-reward scenario, so keep that in mind!

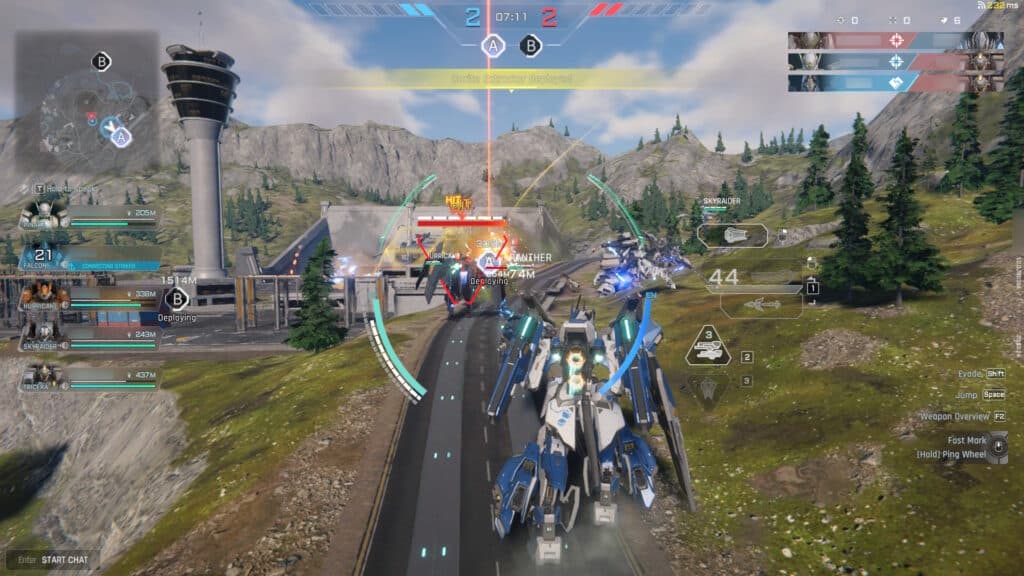
Of course, you also have Fluid Armor and Health. You can see them on the bottom left corner of the central circle in your HUD, opposite of where your Energy is. The thin dotted white line is your Fluid Armor, while the thicker cyan bar represents your Health.
To summarize, you want to use energy weapons to shred through Fluid Armor and then ballistic or melee weapons to deal direct Health damage and finish off your enemies. Keep in mind what works best in each situation depending on your Striker’s kit.
Hit the Training Mode
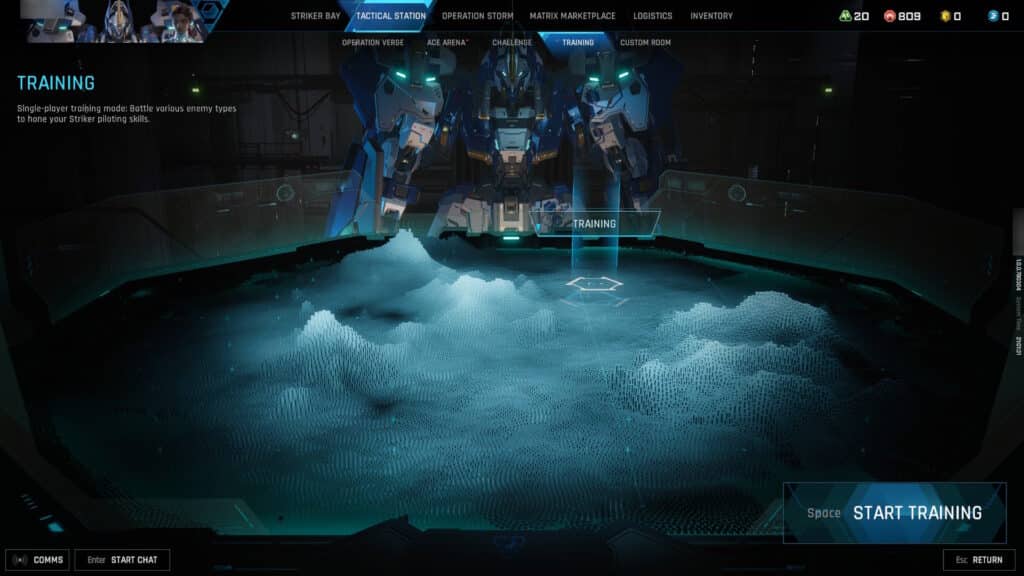
Last but not least, we want to close this ultimate beginner’s guide by simply telling you to try out the Training Mode in Mecha Break. It’s under the Tactical Station menu in the main lobby, as shown above.
This might seem obvious, but this mode is vital to learning how to play the game and how to utilize each Striker’s kit! After all, there’s no better way to learn than by just practicing things yourself.
This is especially true if you personally have never played any other mech games, such as the Armored Core series. Even something as simple as movement can feel pretty distinct in a game like this, since you’re piloting a mech and not a person! Use this mode to get used to the controls and feel of the game, as well as each Striker’s abilities and quirks.
That’s the end of our ultimate beginner’s guide for Mecha Break! Use this in conjunction with the in-game tutorials and you’re sure to have an easy enough time starting this game. For some extra early bonuses, check out our guide on how to get all free rewards at launch.