40 articles
You can find a total of 12 different encampment locations as you progress through Tiny Tina’s Wonderlands. Ten of these camping locations are located in the Overworld, and finding all of them allows you to unlock the Fired Festival achievement and trophy.
If you want to unlock all 12 locations, simply follow the guide below.
All Encampment Locations in Tiny Tina’s Wonderlands
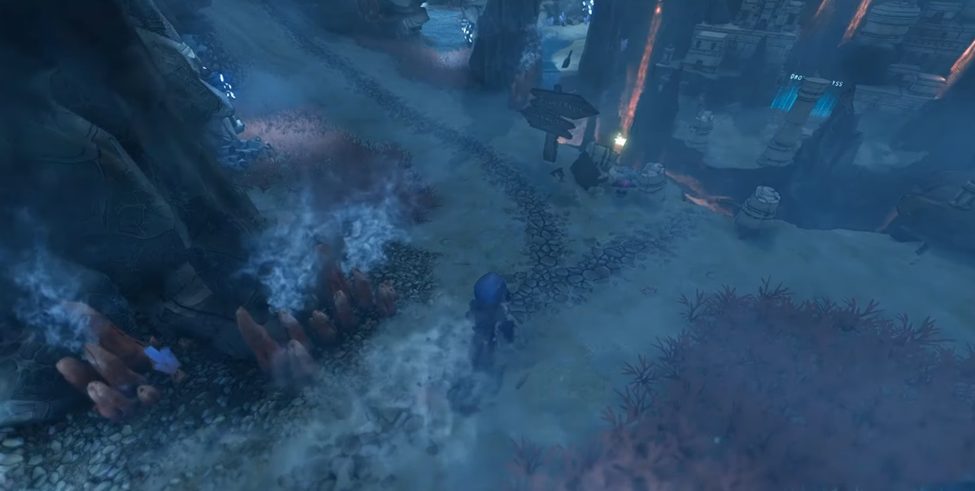
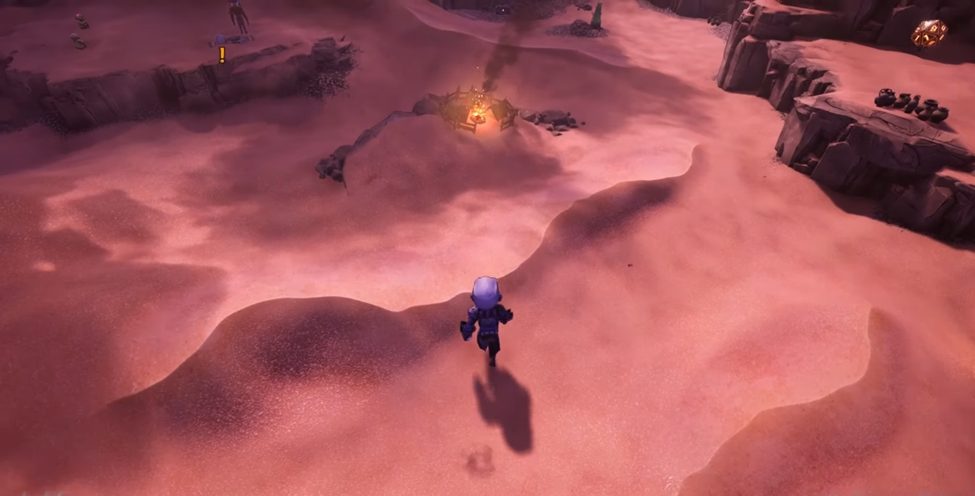
Encampment locations can easily be distinguished by a campfire surrounded by tents enclosed within a wooden stake perimeter. You can easily come across these encampments as you progress the story, though if you happen to miss one, you can just go free roam.
To unlock an encampment, you’ll have to actually enter it and defeat the enemies inside. There’s no need to worry though. These are fairly easy encounters that can even be repeated if you want. That said, here are the locations of all 12 encampments:
 Tiny Tina’s Wonderlands: New Features and Changes With the New DLCJun 27, 2022
 Tiny Tina’s Wonderlands: Tyrant’s Truth Legendary Armor GuideJun 27, 2022
 Tiny Tina’s Wonderlands: DLC 3 Legendary Spell GuideJun 27, 2022
Camp #1:
Just a short distance from the front of Queen’s Gate.
Camp #2:
On the main road just after Brighthoof, right in front of the sign.
Camp #3:

Head north from the second camp and turn right until you come across a gap. Talk to the NPC to complete the Working Blueprint side quest. After completion, a Rainbow Bridge will be activated, allowing you to cross to the other side of the road. Just continue heading north until you find the camp right next to a cliff
Camp #4:
From camp #3, go right until you cross a wooden bridge. On the left side is the camp.
Camp #5:
Start from camp #2, then instead of going right, turn left. Just up ahead is another camp.
Camp #6:
To find this, you have to complete Main Quest 6: Ballad of Bones first so you can unlock the side quest which grants you a spyglass that allows you to see invisible bridges. To start, you have to talk to Margravine to activate the Lens of the Deceiver quest.
After completing the quest, enter the mine which can be found on the path left of Queen’s Gate. Head to the exit and turn right until you see a gap. With the lens, you can now see invisible bridges.
Simply cross the bridge, go all the way up while turning left, and you should be able to see the camp on the right side of the hilltop.
Camp #7
Start from the spot where you found Margravine, then turn left until you come across a waterfall. The camp is just right below it.
Camp #8
Go back to Margravine’s spot and go all the way right until you find the camp just a short distance from the eraser bridge.
Camp #9
From Camp #, cross the eraser bridge and go left until you find two geysers that will take you up to the desert. Turn a bit to the right and just a short distance behind the mountain is a camp.
Camp #10
Start at camp #9 then turn left. You will see the next camp just up ahead.
Camp #11
From camp #10, go north past the giant soda can and follow the path until you find a camp close to the Sunfang Oasis entrance.
Camp #12
This one is located just on the right side of the Sunfang Oasis Entrance.
ALSO READ: