80 articles
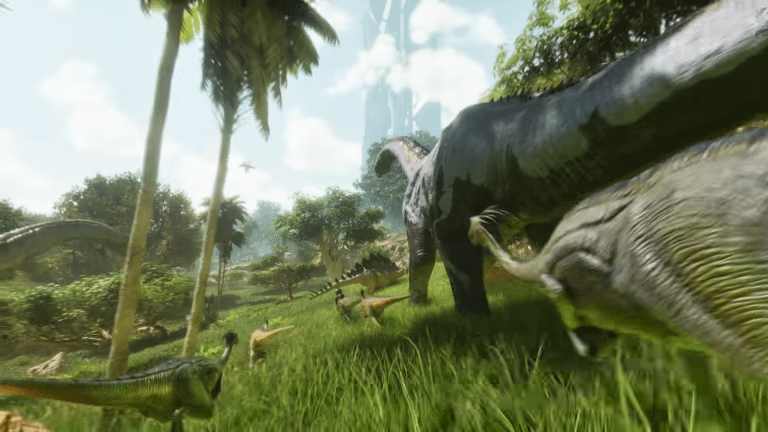
If you thought the T-Rex from Jurassic Park was bad, wait until you see The Giganotosaurus from Ark Survival Evolved! Any daring adventurer worth their salt has probably laid their eyes on this beast before as it’s quite difficult to not see due to how big it is. The question still stands though, how in the world do you tame it? And how do you do it without becoming its next meal? Quite the daunting task, but don’t worry! With a little bit of elbow grease and a lot of fancy footwork, we’ll make sure that you won’t get bucked off in this guide!
Ark Survival Evolved – Solo Giga Taming Guide
We might as well do a few preparations before we jump in. You’re going to need three Metal Dinosaur Gateways, one large bear trap, a couple of primitive crossbows, taming food of your choice (we recommend raw prime meat or kibble), an Equus for mobility, tranquilizers, and a decent amount of narcotics. That should get you by nicely!

Once you find your Giga go and plop down your traps, make sure it’s in a V-shape with a small gap in between. That small gap you left? That’s where you place your bear trap so make sure there’s enough space between the first two traps you left.

Now for the fun part, kiting! Fire a few rounds to aggro the Giga towards you. Make sure you line it up in a way where the Giga will get stuck in between the two gates and activate the bear trap below.
 Which Are The Best ARK: Survival Evolved Maps for BeginnersOct 28, 2025
 Ark Survival Ascended: 10 Most Useful Admin CommandsJan 12, 2024
 Ark Survival Evolved: Can You Tame A Creature While It’s Tranquilized?Jan 12, 2024
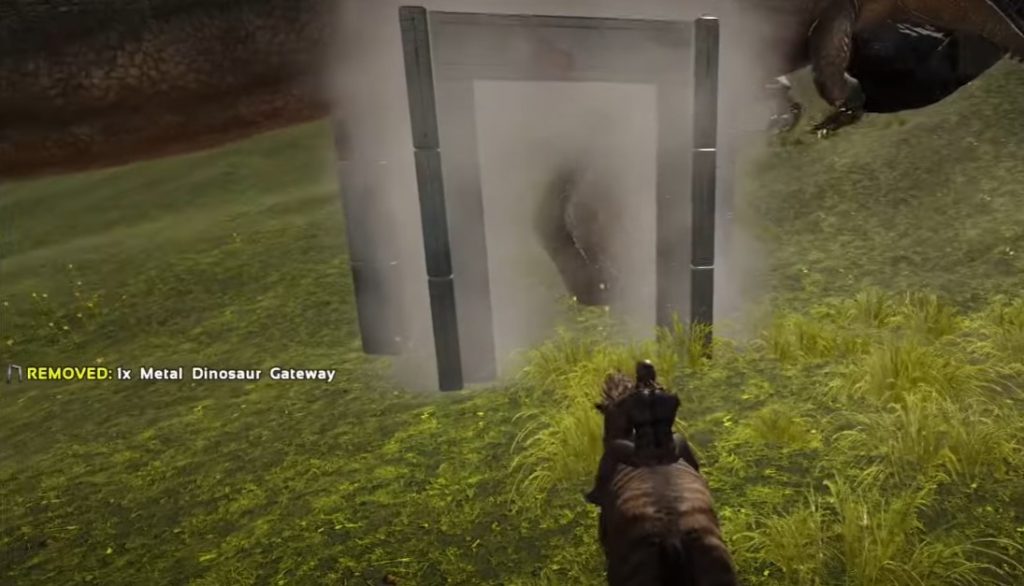
Give the Giga a wide berth and place the third gate behind while it’s stuck. Be quick about this, using an Equus will definitely help you seal it in faster.

You’re nearly there! Once it’s trapped go ahead and indiscriminately fire all of your tranquilizers until it tumbles over. Don’t forget to pump all of your narcotics in it before feeding your meat to it.

After a bit of waiting the Giga will cave in and will be all yours to mess with. And you’re done! That’s how you solo tame a Giga in Ark Survival Evolved. Now go and try it for yourself!