55 articles
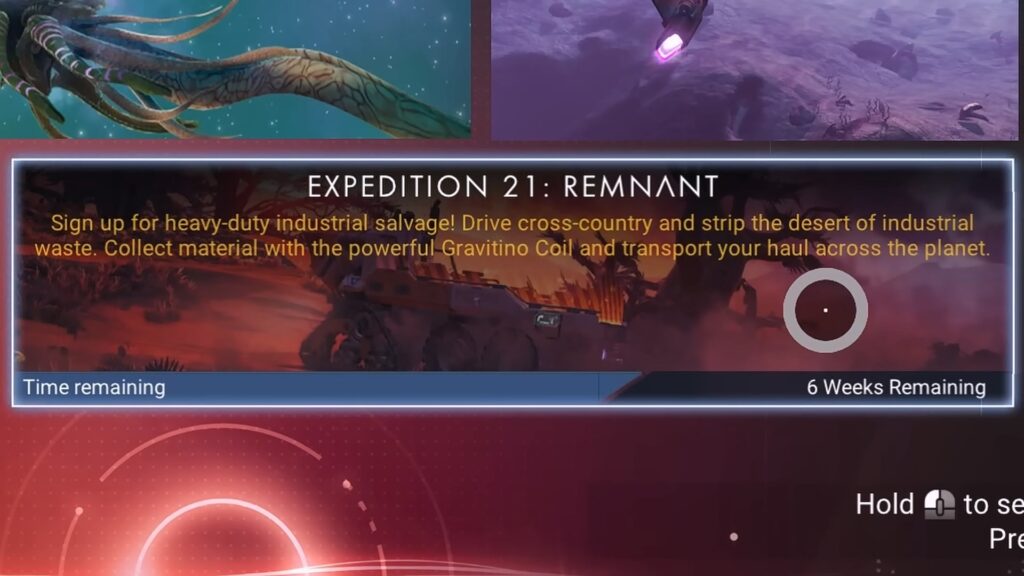
The Expedition 21: Remnant update in No Man’s Sky is one of the many time-limited Expeditions. This time, instead of focusing heavily on space exploration or combat, it revolves around industrial cleanup, waste hauling, Colossus upgrades, and more.
It’s also worth noting that you don’t get your Starship at all during the Expedition, instead having to rely on driving a Colossus for the entirety of it!
There are new mechanics centered around this vehicle, and there’s a bunch of objectives that can be overwhelming at first but can get easy once you understand how they work.
In this guide, I’ll help you complete this Expedition as efficiently as possible.
 No Man’s Sky: How to Change Between First Person and Third Person CameraMay 20, 2026
 No Man’s Sky: Expedition 20 Breach Redux GuideJan 6, 2026
 No Man’s Sky: Expedition 19 Redux Corvette GuideDec 20, 2025
Starting the Expedition
Just like every other Expedition in the game, you have two choices for starting. You can either start a new save in Expedition mode or start from the Expedition Terminal at the Space Anomaly on an existing save.
However, unlike other expeditions (such as Expedition 20 Redux: Breach), which one you use matters very little. That’s mainly because you don’t get access to the Space Anomaly during the Expedition.
That means, you can’t get a headstart by bringing materials you’ll need during the Expedition! You gotta deal with 100% on-site procurement for this one, sadly.
That said, it’s still a bit preferable to use an existing save. Doing so will allow you to transfer back most of the resources you gathered, as well as copy the Multitool and Starship you had by the end of the Expedition.
As always, also make sure to claim all of the Milestones’ rewards as soon as you can. They give you a lot of the resources you need for progression.
Similarly, do not install modules you don’t really need. You can sell them for extra Nanites later on if you just store them.
Nonetheless, with all of that said, let’s go over the Expedition’s progression!
Early Expedition
1. Visit Waste Processing Plant
As soon as you start, walk up to the nearest Waste Processing Plant and inspect its Plant Control Panel. Learn how to craft Gravitino Coil from it and you’ll also complete the “Wasteland” Milestone.
While you’re at it, interact with the Beacon by the plant. You’ll need to interact with a total of 6 Beacons throughout the Expedition, keep them in mind.
2. Gathering Resources
Next up, you’ll need to explore the planet and gather the following list of resources: 50 Oxygen, 100 Emeril, 50 Pyrite, 450 Ferrite Dust, and 430 Carbon.
Also, look for 1 Gravitino Ball. Run away from the Sentinels after picking it up, they’ll ignore you after a while.
3. Documenting the Planet
While you’re gathering resources, scan and analyze creatures for the “Safari” and “Field Guide” Milestones. Note that for Safari you need to discover a species while driving specifically, Field Guide just requires you to analyze all 6 species on the planet.
Similarly, document 8 different minerals to complete “Petrology.”
4. Processing the Resources
When you’re done gathering and documenting, use the Personal Refiner. Process Ferrite Dust into 160 Pure Ferrite and Carbon into 90 Condensed Carbon in total.
Then, make the following with the Personal Refiner:
- 280 Chromatic Metal – Pure Ferrite + Emeril
- 180 Magnetised Ferrite – Pure Ferrite + Condensed Carbon
- 120 Ionized Cobalt – Cobalt + Oxygen
- 25 Paraffinium – Pyrite + Ferrite Dust
With all of that, craft 3 Magnetic Resonators and install the Gravitino Coil for the “Magnetic Personality” Milestone. Install the Protection Modules you get from the rewards.
5. Flux Calibration
Return to the Waste Processing Plant and throw 3 pieces of debris into the main furnace there to complete this Milestone.
Time to Catch-A-Ride
1. Setting up the Colossus
Craft 5 Metal Platings and use them to build a Colossus Geobay. Use the Exocraft Modification terminal and set the chassis to Flatbed Module for the “Utility Vehicle” Milestone.
Then, in the same menu, go into Configs and just select to save the current configuration for the “Auto Mechanics” Milestone. You’ll get some engine upgrades at this point, don’t install them.
2. Big Dig Rig
Next up, delete the Colossus Geobay in Building mode to get back the 5 Metal Platings. Craft 3 Carbon Nanotubes and use them to install the Excavation Blade on your Colossus for this Milestone. Also, install the Fuel System Unit you get as a reward.
3. Tipper
Grab 3 pieces of debris or waste around the Waste Processing Plant and put them on your Colossus. Drive the Colossus into the marked orange zone, then use the Plant Control Panel to sell the waste.
This will complete the Milestone, rewarding you with a Radar Amplifier. Make sure to install it.
Looking for Waste
1. Scan for Waste Heaps
Now, enter your Colossus and use its Exocraft Radar to look for Waste Heaps. This will mark nearby Waste Heaps for you.
At this point, I highly recommend disabling the Multiplayer functionality entirely. This will prevent other players from accidentally interfering with your progress.
2. Go to the Marked Location
After scanning, you just need to drive to the location that got marked for you. As you do so, aim to complete the following Milestones:
- Weeds in the Tyres – Destroy 20 hazardous flora.
- Roadkill – Strike 8 creatures.
- Lay Waste – Destroy objects worth a total of 500 resources.
Once you reach the marked location, you’ll complete the “Checkpoint 1” Milestone. Make sure to activate the nearby Beacon at this location.
Then, grab all the nearby special waste containers and put them on your Colossus. These canisters are marked as red (explosives), yellow (radioactive), and green (toxic).
3. Return to the Waste Processing Plant
At this point, you should have received some more modules. Install the Grip Boost Suspension and Exocraft Booster modules, but ignore all engine upgrades.
Anyway, make your way back to the Waste Processing Plant. Here, you’ll need to dispose of the special waste canisters by throwing them into the furnaces that match their colors. This will complete “Road Trip 1.”
Collecting More Special Waste
1. Scan for Checkpoint 2 Location
Mark “Checkpoint 2” as your active Milestone, then scan for Waste Heaps again. As before, just drive to the marked location, activate the Beacon, then collect all of the special waste canisters you find.
At this point, you’ll get some more engine upgrades. While I’ve said to avoid all previous ones, you should install these new modules. They are a much more substantial upgrade, so they’re worth using.
2. Road Trip 2
Just like before, next you need to return to the Waste Processing Plant. Dispose of the special waste with the furnaces again, just like you did earlier in the Expedition.
3. Motor Optics
Get the rewards from “Road Trip 2” to learn the Cyclops Scope blueprint. Craft 2 Microprocessors and 1 Hermetic Seal, then use them to install the Cyclops Scope on your Colossus.
4. Minecart
Next, use the mining laser on your Colossus to mine a total of 500 resources to complete this milestone. Claim its rewards to unlock the Radar Power Resonator blueprint. Craft it and install it.
5. Checkpoints 3 and 4
Next up, mark “Checkpoint 3” as active. You know the drill by now: scan for Waste Heaps, go to the location, activate the beacon, and collect all special waste. Do not install the engine upgrades you get.
Then, repeat the process for “Checkpoint 4”, which is pretty close by. Once you complete that milestone, you’ll get yet another set of engine modules. These are the best ones, so do install them, replacing your old ones!
6. Road Trip 3 and 4
All that’s left now is to once again return to the Waste Processing Plant. As you have before, dispose of the special waste by throwing it into the proper color-coded furnace. You should have enough to complete “Road Trip 3” and “Road Trip 4” right now.
The Final Checkpoint and Cleaning Up
1. Sandstone
Use the Exocraft Scanner on the Colossus and scan for Alien Structures. Drive to the marked location to complete the “Sandstone” milestone.
2. Checkpoint 5 and Road Trip 5
You know what to do by now, I’m sure, since you’ve done it for 4 times already. Mark “Checkpoint 5” as your active milestone. Scan for Waste Heaps, go to the location, activate the beacon, then collect all special waste.
Then, drive back to the Waste Processing Plant and throw all of the special waste into its respective furnace. This should complete “Road Trip 5”.
3. Other Miscellaneous Milestones
By this point in the Expedition, you should also naturally complete these Milestones:
- Irradiated Cargo – Dispose of 16 explosive waste.
- Volatile Payload – Dispose of 16 radioactive waste.
- Toxicity – Dispose of 16 toxic waste.
- Mileage – Drive 50,000u on the Colossus.
- Roadsigns – Record 6 Beacons. If this one didn’t complete for you yet, search for other points of interest and activate their beacons.
Alongside these, track the “Defying Gravity” milestone and complete it while at the Waste Processing Plant. Just grab waste and throw it at the furnaces until you reach a total of 64.
4. Gravitino Balls and Sentinels
With all of that done, explore the planet and collect a total of 32 Gravitino Balls for the “Streelights” milestone. Destroy 8 of the Sentinels that chase you for “Drone Disposal”, as well.
Lastly, grab and throw a Sentinel a total of 32 times with your Gravitino Coil. This will complete the “Reorientation Programme” milestone, finishing the Expedition!
Finishing the Expedition and Claiming the Rewards
With all of the milestones done, you’ll unlock your Starship. Summon it and transfer any modules you want to keep from the Colossus onto your ship’s storage.
Then, visit the nearest Space Station and sell any unwanted modules to the Technology Merchant. This will get you some extra Nanite.
Once you’re all done, visit the Space Anomaly and interact with the Expedition Terminal there to confirm that you’re all done. You’ll get rewarded with Units, Nanites, and Quicksilver upon completion.
You’re now free to claim all of the rewards from this Expedition by just talking to the Quicksilver Companion aboard the Space Anomaly. Enjoy all the goodies, you deserve them after all this work.
So, there you have it. That’s all you need to do for Expedition 21: Remnant in No Man’s Sky. This should help you complete everything as quickly as possible, but do keep in mind that you have limited time to play the Expedition!