60 articles
Handler is one of the 4 worker types you can hire in Schedule 1.
Handlers take care of everything relating to transportation and packaging. They can move things in your work area to keep stations supplied with materials, primarily. Aside from that, you can also assign them to any packaging station to have them automatically put finished products in packages for delivery.
In this guide, we’ll tell you everything you need to know to make good use of your Handlers!
How to Use Handler | Schedule 1
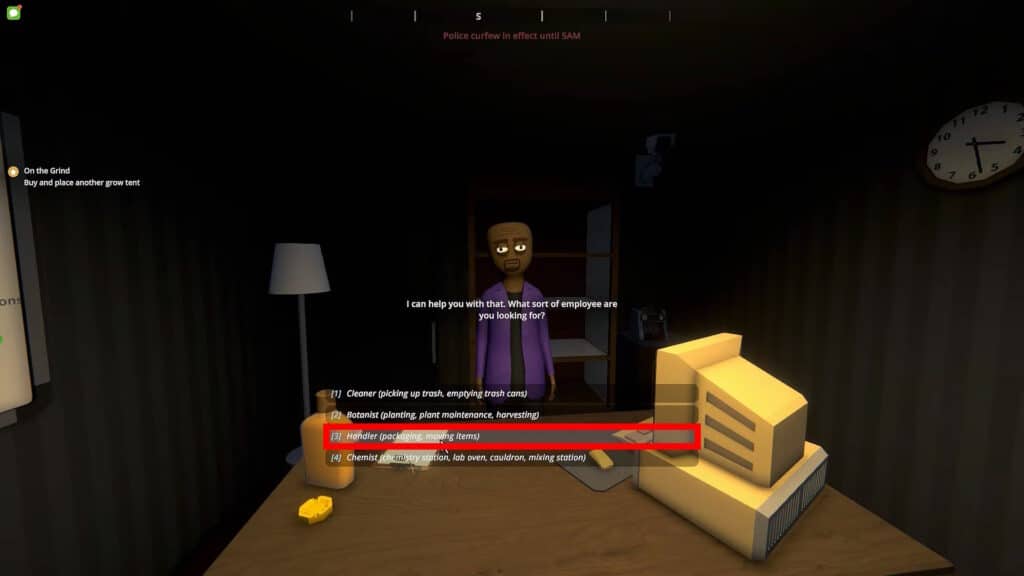
As we’ve mentioned before in our guide on how to get workers, the first step is to meet with Manny at the Warehouse once you have access to it. Talk with him and hire any Handler you wish.
 Fully Automated Coca Docks Warehouse Build – Schedule 1Mar 20, 2026
 How to Get Watch & Chains in Schedule 1 | Jewelry Shop LocationMay 13, 2026
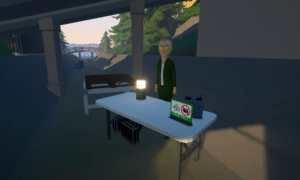 West Bridge Location in Schedule 1 – Under the West BridgeApr 8, 2025
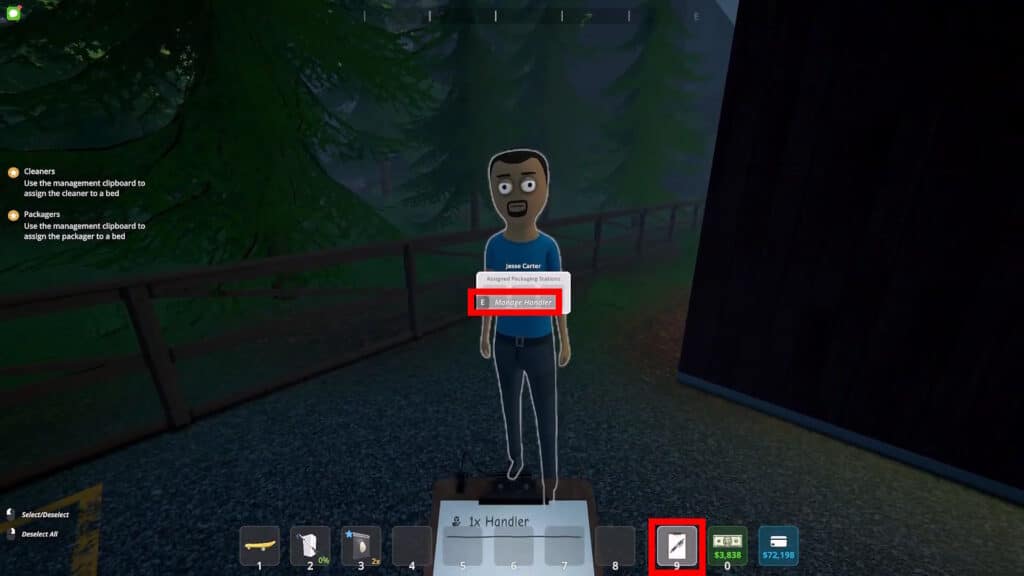
Once you have hired a Handler, press 9 to bring out the Management Clipboard. Then, face the Handler and press the E key.
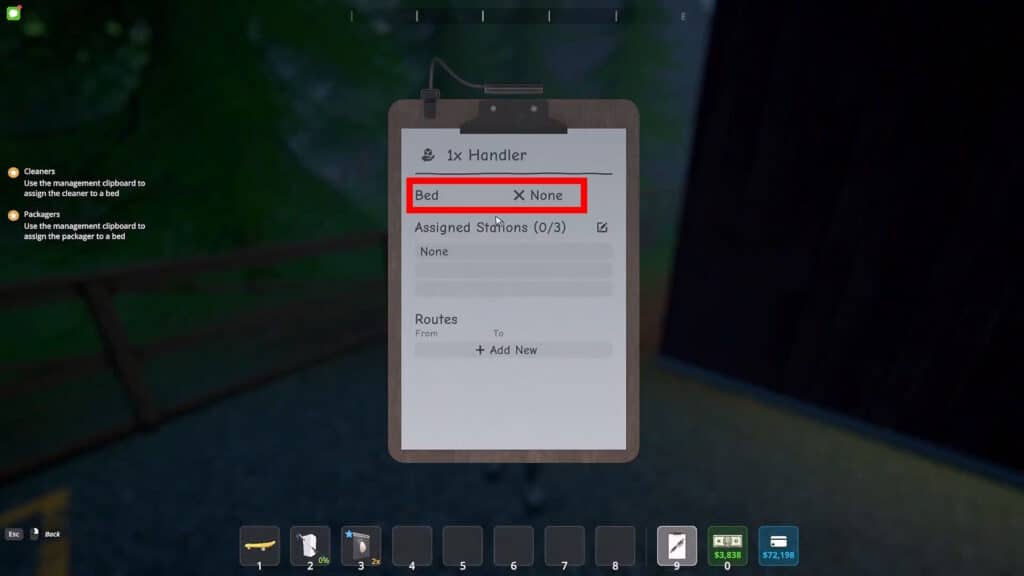
First of all, you’ll need to assign the Handler to a bed. Just click on the Bed section in the clipboard and then walk up to the bed you wish to assign him to. Click E while looking at the bed you wish to assign to the Handler.

Then, also remember to fill the Briefcase on the bed with money. This is the Handler’s salary. No bed and no money equals no work, remember that!
Using the Handler to Move Things
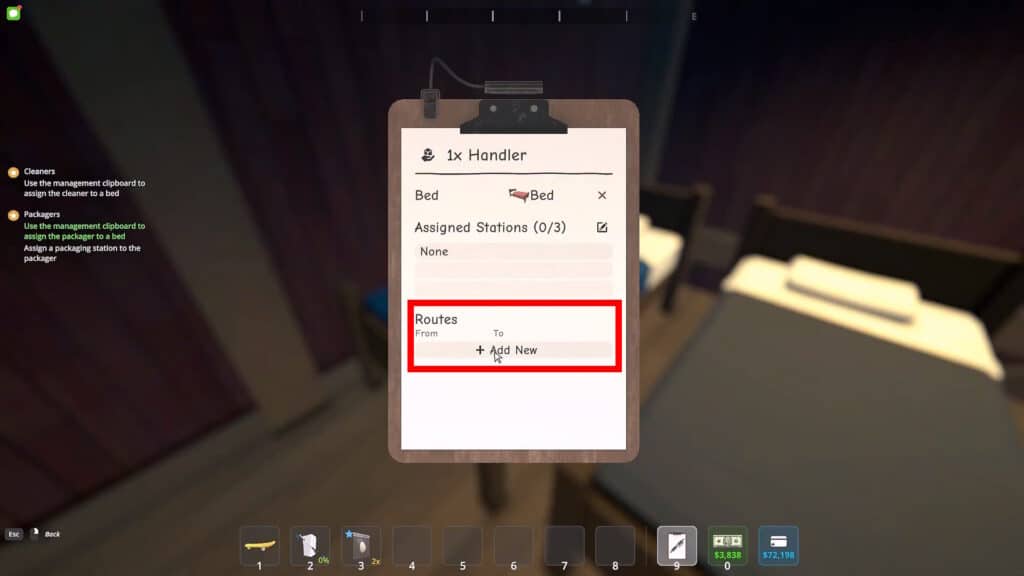
With that done, you can now start assigning the Handler for transport duty. The first way to do so is to set their routes manually. For that, approach them once again with the Management Clipboard in hard and pressing E again. You can now define their Route in the “Route” section by clicking Add New.
Then, click on “From” and “To” to set the starting point and ending point. You’ll need to physically check the locations, similar to assigning the bed before.

For our example, we’ve selected a storage rack with unpacked products as the “From” and a Packaging Station as the “To.” This will make the Handler grab the product from the shelf and put it at the Packaging Station. You can do this for anything else you want him to move around.
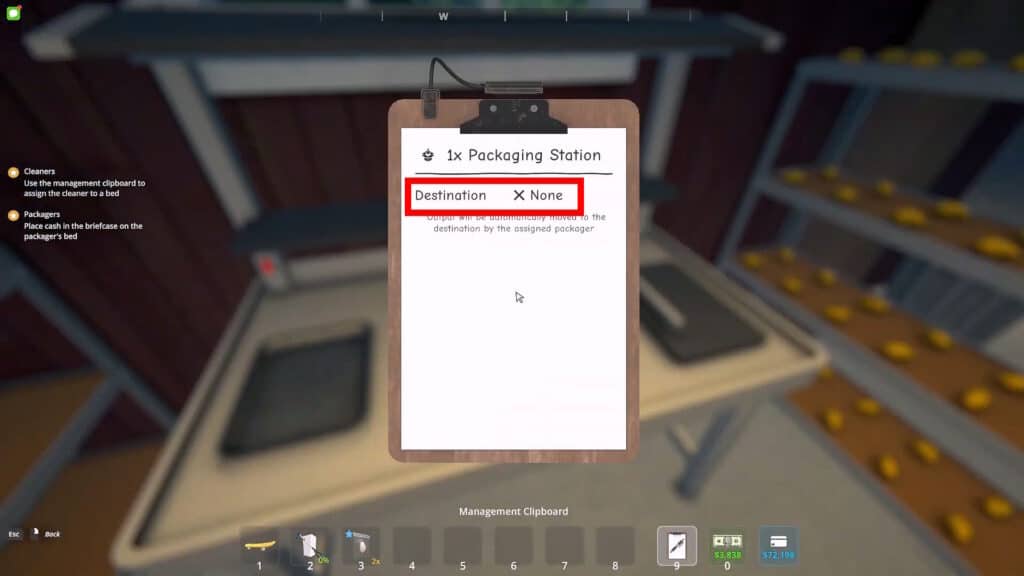
The second way to use the Handler to move things around is to do it directly at stations. Just approach a station with the Managing Clipboard in hand and interact with it. Then click on “Destination”. Walk up to the storage or station you want to move the station’s output to and press E to assign it.
For example, set the Destination of a Packaging Station to a nearby storage rack. Your Handler will automatically move anything packed at that station to the rack you defined.
Using the Handler for Packaging

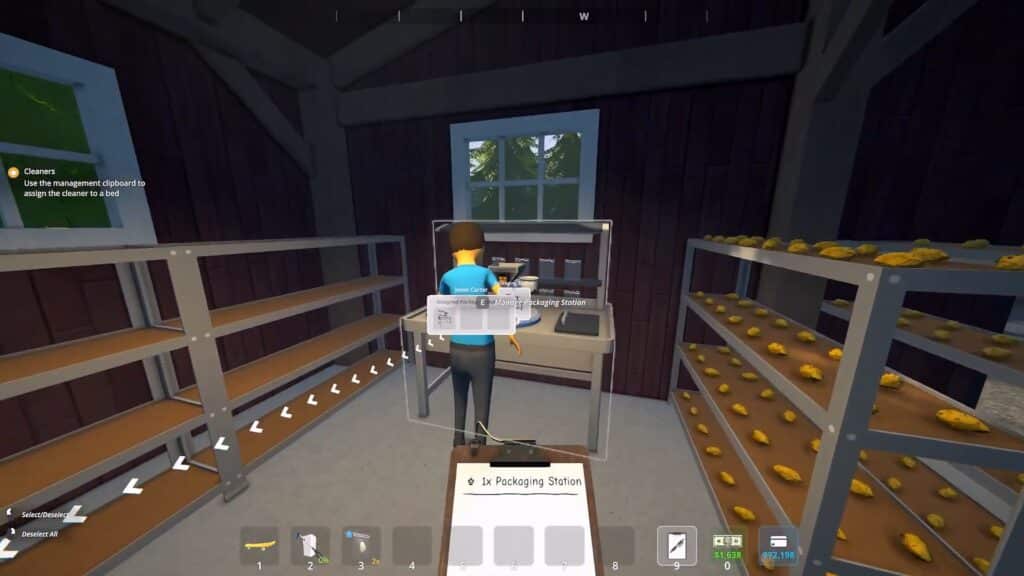
Moving things around isn’t the only use for the Handler in Schedule 1. You can also have your Handlers do the packaging process for you. To do so, just approach the Handler you want with your Management Clip like before and press E. Then, click on the “Assigned Stations” section.
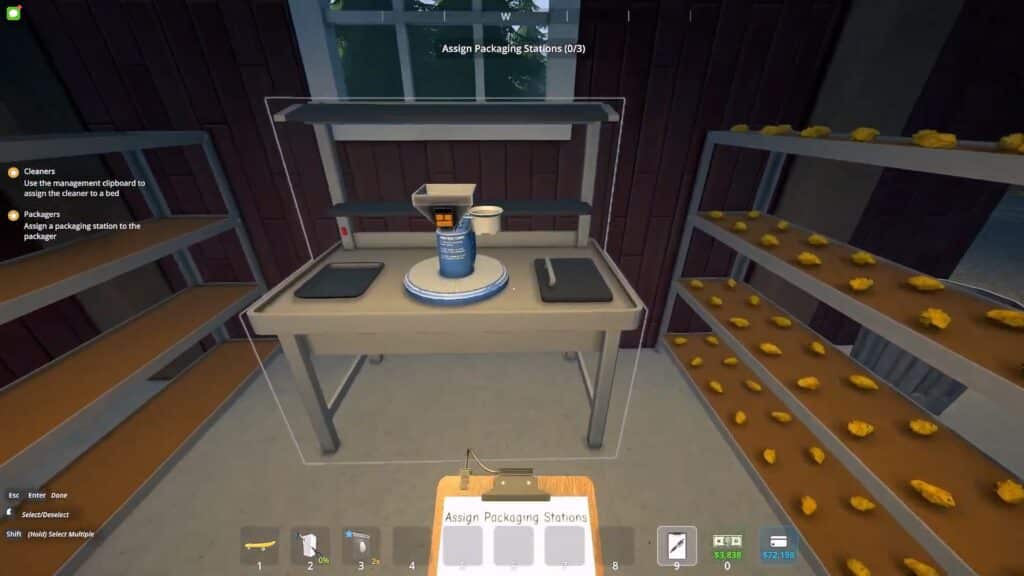
Next, just walk up to the station you wish to assign them to. Handlers can be assigned to Packaging Stations and Brick Presses. They’ll automate the packaging process for any materials set in those stations.
However, keep in mind that Handlers don’t automatically grab ingredients for those stations. You’ll need to define Routes for them (or another of your Handlers) to provide the ingredients for the stations.
Lastly, note that Handlers in the current version of the game are rather glitchy. Sometimes they’ll just stop working or might even seem to “steal” your goods. Players report that giving them a good beating with a bat seems to fix them, funnily enough. Alternatively, fire them and hire new ones.
Nonetheless, that’s all of the basics you need to be able to make use of your Handler in Schedule 1. Manage them thoroughly to automate all of your operation’s transporting and packaging needs!
Speaking of workers, it is also a good idea to hire and use Chemists. They can mix products for you, which is usually a pretty time-consuming process. For more details, check out our guide on how to assign Chemists.