60 articles
If you want to mass produce Coca and make the most of your Docks Warehouse in Schedule 1, a fully automated build is ideal.
With this build, you pretty much sit back and rake in profit as you mass-produce product. It is expensive to set up, however, and has a very involved setup process! But it’s pretty hands-off once it’s all done.
Sounds like a good plan to you? Read on for the full setup guide!
What You Need for the Build
Before starting, it’s important to go over what you’ll need to actually make the build. The first thing is, of course, having the Docks Warehouse building already!
 How to Get Watch & Chains in Schedule 1 | Jewelry Shop LocationMay 13, 2026
 West Bridge Location in Schedule 1 – Under the West BridgeApr 8, 2025
 Location Behind Thompson Construction & Demolition in Schedule 1Apr 7, 2025
You’ll also need 12 Employees in total: 6 Botanists, 4 Chemists, and 2 Handlers. You can hire them later, but they’re worth noting ahead of time.
Aside from that, you’ll need the following facilities and supplies:
- Suspension Racks x36
- Full Spectrum Grow Light x36
- Air Pots x36
- Drying Racks x12
- Lab Ovens x8
- Cauldrons x8
- AC Units x6
- Huge Storage Closets x4
- Lockers x12
- Bed x1
- Extra Long-Life Soil x80
- Coca Seeds x160
- Fertilizer x160
- Gasoline x200
- A minimum of 2900 in Cash to cover a day of worker wages.
Once you’re done with all the shopping, it’s time to start setting things up!
Placing the Suspension Racks and Storage Closets
For your first step, walk to the back of the warehouse and go to the corner. Move two tiles to the side away from the corner and place 3 Suspension Racks right next to each other.
Then, place 2 more Suspension Racks in front of the leftmost and rightmost racks in the back. Lastly, place 1 last Suspension Rack in the very front center, leaving one square open in the center of the setup.
You’ll want to repeat this for both of the corners at the warehouse’s back. Then, repeat the setup by the beams nearest to the corners, and then the beam directly below the stairs.
I know this can be tough to follow along with purely with text, though! So, for further reference, you’ll want to follow the setup shown in the next video.
With the Suspension Racks in place, you now just need to deck them out. Add a Full Spectrum Grow Light and Air Pot to every single Suspension Rack.
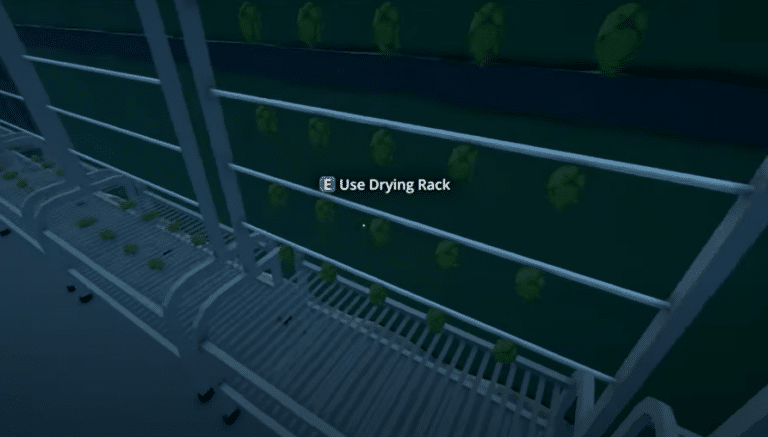
You’ll also want to add an AC Unit (set to Heat) in the center of each set of racks, as well as Drying Racks off to the sides of the Suspension Racks. As before, the next video shows how to set this up best.
Lastly for this section, you’ll want to set up the Huge Storage Closets as well.
One should be by the stairs in the center of the room, then place one under both of the stairs on the sides of the warehouse. The last one goes in the corner left of the entrance. For reference, follow the video.
Setting Up Cauldrons, Lab Ovens, and Lockers
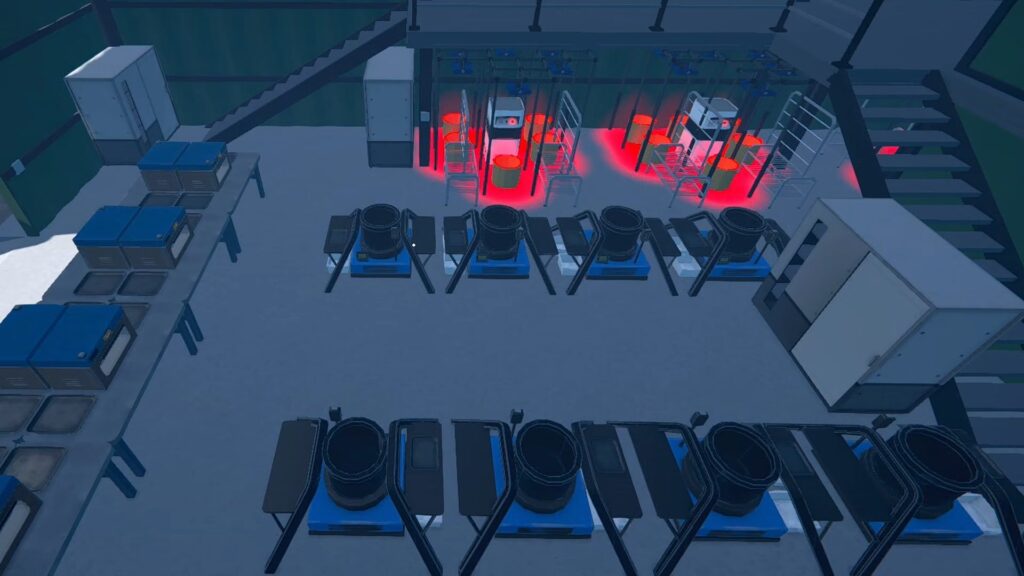
Next up, position yourself next to the Huge Storage Closet in the center of the warehouse and place the first Cauldron. The arrow from it should be right in front of the closet.
Then, place 3 Cauldrons next to the first Cauldron, going from the closet towards the warehouse’s entrance. Repeat this for both sides to create 2 rows of 4 Cauldrons each, as shown in the next video.
With those in place, walk behind one of the Cauldrons closest to the entrance and bring out the Lab Oven. The preview should show the arrow close to one of the Cauldron’s legs.
When the preview aligns properly, go forward 3 tiles and place the Lab Oven. Then, place 3 more going across towards the other set of Cauldrons.
With those done, place the remaining 4 Lab Ovens behind the ones you just placed. As always, refer to the video below if you need a visual guide for this.
For the Lockers, you’ll be placing all 12 of them on the upper floor of the warehouse. Place 6 Lockers along each wall. Then, put down the Bed in the tiny office room, as shown in the video below.
Automating the Botanist Stations
Now that everything is in place, it’s time to start setting things up for automation. We’ll start with the 6 Botanist stations, which are the setups with Suspension Racks you placed at the start.
Using your Management Clipboard, select the back-center, back-left, and leftmost Air Pots. Set Coca Seed as the seed, and Fertilizer as an Additive. Set the destination to the left Drying Rack.
With that done, repeat the process for the other side. Select the front-center, back-right, and rightmost Airpots. Set the Coca Seed and Fertilizer, and pick the right Drying Rack as the destination.
You’ll want to repeat this exact same process for all of the Botanist stations, with no variation. The video below shows this entire setup process.
Once you’ve done all of that setup, use the Clipboard again and select all 12 Drying Racks in your Botanist stations.
Manage all of the Drying Racks by setting Target Quality to Heavenly (rightmost star) and setting Threshold to 20. Then, set the Destination to the central Huge Storage Closet. Thenext video shows this entire process.
Automating the Cauldrons and Lab Ovens
Next up, use your Management Clipboard to select a Cauldron. You want to set its destination to one of the Lab Ovens.
You’ll then have to rinse and repeat this process, assigning 1 Cauldron to 1 Lab Oven. Do not set multiple Cauldrons to a single Lab Oven, though. The process should look something like the example below.
When all of the Cauldrons and Lab Ovens are essentially paired, use your Management Clipboard to select all 8 Lab Ovens at the same time.
Then, you just need to set their destination to the Huge Storage Closet left of the warehouse’s entrance. As always, the clip below shows how it’s done.
Setting up Filters for the Huge Storage Closets
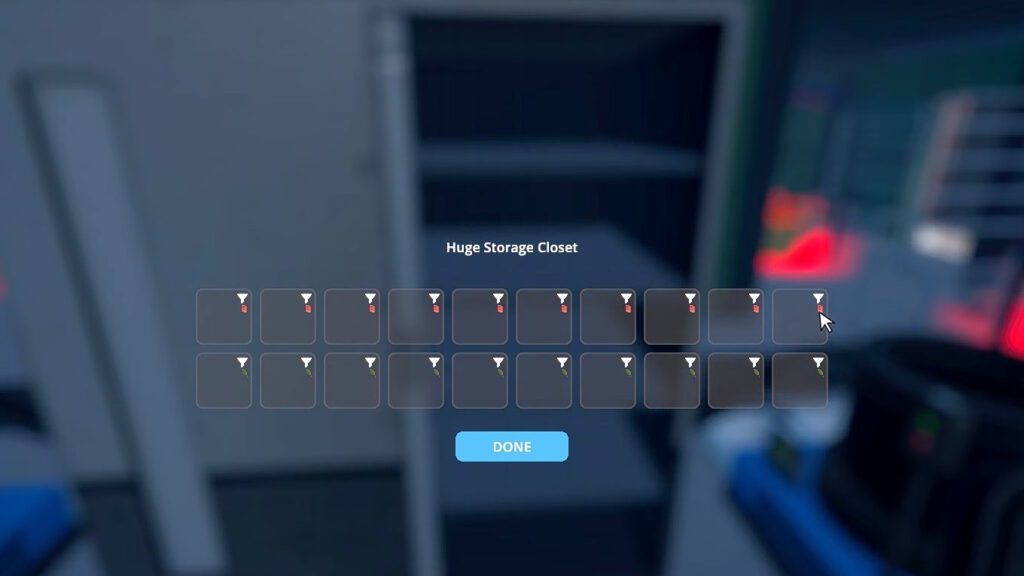
Moving on, your next step is to set up specific filters for the Huge Storage Closets. You can set filters by clicking the icon on the top right of each storage slot. I’ll start with the pair of Huge Storage Closets below the stairs.
For these, you want to set 8 slots to Whitelist and add Coca Seed. Then, select another 8 slots and set them to Whitelist with only the Fertilizer. For the final 4 slots, set a Whitelist for Extra Long-Life Soil.
After doing this process for one Huge Storage Closet, repeat it for the one on the opposite side of the warehouse. The video below shows how to do this.
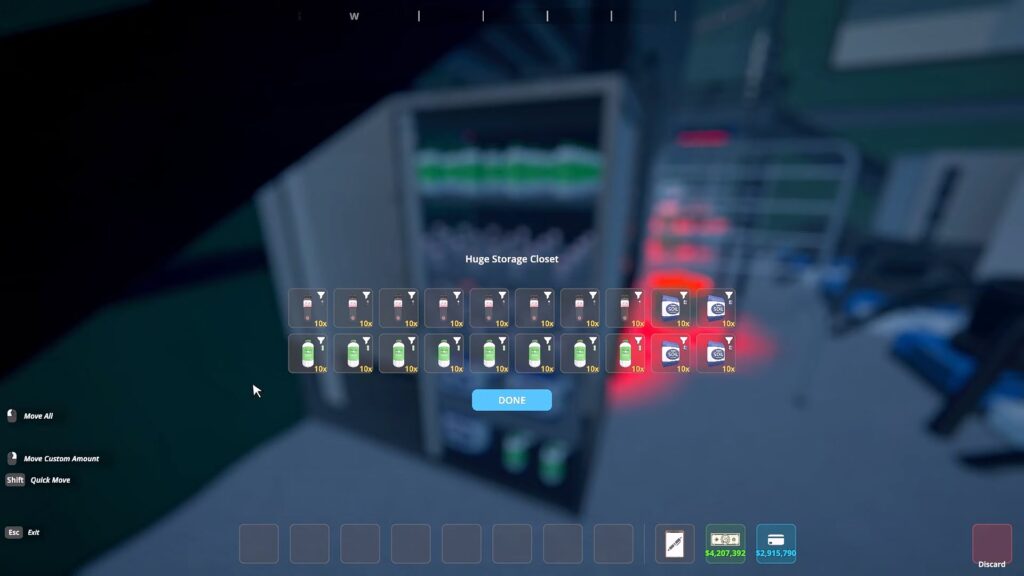
Next up, go to the central Huge Storage Closet as well. That’s the last one you’ll need to set up!
For this one, set 10 slots to a Whitelist with only Gasoline. For the other 10, set them as a Whitelist with only Coca Leaves. It should look like the screenshot above.
Setting up Filters on the Cauldrons
There are still more filters to set up, even though the Huge Storage Closets are done! Next up is the Cauldrons.
For the Cauldrons, you simply want to leave 1 input slot completely unmodified. Then, set the other 3 slots to a Whitelist, but leave the list empty. The video below shows how to do this step.
The reason for doing this is simply to limit the input each Cauldron takes. You don’t want all 8 Cauldrons to take 4 items as input here. Instead, each Cauldron will only 1 input item, ensuring that they’re all running at maximum efficiency at all times.
Either way, make sure to repeat this process for all 8 Cauldrons before moving on to the next step.
Setting Up the Workers
Botanists
To set up your Botanists, approach them with your Management Clipboard. Assign them one of the unused Lockers on the second floor, first of all.
Then, it’s time to define their work stations. For that, you’ll want to set their Supplies to one of the Huge Storage Closets below the stairs.
Next, assign them to one of the sets of Suspension Racks. Do that by selecting the 6 Air Pots and 2 Drying Racks in each set.
You’ll want to repeat this basic process to assign all 6 Botanists, setting 3 on the left side of the warehouse and 3 on the right side. It should look something like the video below.
While the Lockers you assign don’t matter much, I highly recommend assigning the Supplies closet on the same side as the Botanist’s station. It reduces how much they walk, increasing efficiency.
Chemists
For the Chemists, things are a tad simpler than for the Botanists. Select one of your Chemists with the Management Clipboard and assign them to any unused Locker, first of all.
Then, you’ll want to assign the Chemist to 2 Cauldrons and 2 Lab Ovens. It does not matter which ones, the only important thing is that you do not assign multiple Chemists to the same stations.
You’ll need to repeat this process for all 4 Chemists, until they’re covering all 8 Cauldrons and 8 Lab Ovens. The process should look something like the example in the next video.
Handlers
Last but certainly not least, it’s time to set up your Handlers. Start by selecting one of them with the Management Clipboard and, as always, assigning them to any unused locker.
Once the Locker is set, go down to the middle of the warehouse and add a total of 4 routes. Set all of them to start from the central Huge Storage Locker and end in one of the Cauldrons. Repeat until you’ve set one row of 4 Cauldrons.
With that done, create one more route. Set it to start in Loading Bay 2 and lead to one of the Huge Storage Closets under the stairs.
After setting up 1 Handler like that, you just have to repeat the process for the second Handler. This time, set them to the 4 remaining Cauldrons, then use the same Loading Bay to lead to the remaining Huge Storage Closet below the stairs.
Essentially, this will make the Handlers fill all 8 Cauldrons while also taking things from the Loading Bay to fill up both of the Huge Storage Closets your Botanists use. 4 Cauldrons, Loading Bay 2, and 1 Botanist Huge Storage Closet per Handler.
As always, the video below shows how to set this up, if you need visuals for reference.
Stocking Up the Shelves
The last thing you need to do to start the operation is just to stock the Huge Storage Closets with their initial supplies. Thankfully, this is one of the simplest parts of the process! Just follow these setups:
- Right and left Huge Storage Closets under the stairs – Coca Seeds x80, Extra Long-Life Soil x40, Fertilizer x80. Each one should have those amounts.
- Central Huge Storage Closet – Gasoline x200.

At the same time, also remember to put money into your workers’ Lockers. You need to cover at least 1 day of their wages or they won’t start working at all. I recommend putting in 1000 per worker at the start.
Wrapping Up
If you’ve followed along until now, your Docks Warehouse build is now fully automated for Coca production in Schedule 1. It’s a lot of work, and a massive investment, but it’ll pay off for sure.
All that’s left for you to do is to sit back and relax while the Coca gets mass produced. The only thing you need to do is to stock up on supplies every now and then. Other than that, just check in and grab your finished product from the closet by the entrance. Enjoy!