84 articles
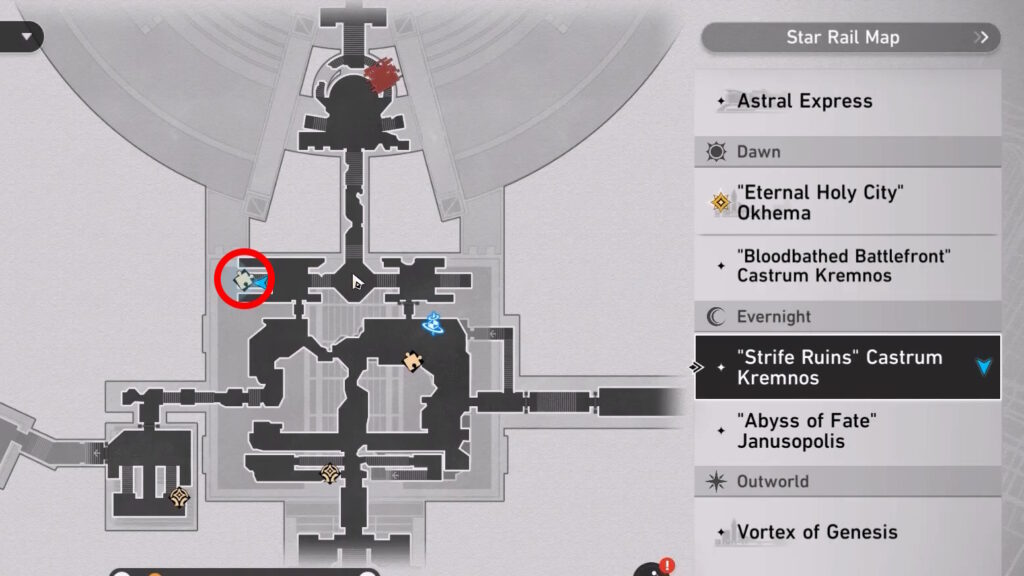
All of the areas in Amphoreus have a variety of Golden Scapegoat puzzles for you to solve in Honkai: Star Rail 3.0, and the “Strife Ruins” Castrum Kremnos area is no different.
This new type of puzzle was introduced with the 3.0 update. To solve it, you’ll have to guide a golden goat toward an altar to light it. However, it’s not that simple, as the goat’s shadow self will attack during the puzzle! Managing both your goat’s and the shadow’s movements will be crucial to winning!
Ready to dive into the ruins and help the Golden Scapegoats light their altars? Read on and we’ll tell you where to find each puzzle and how to solve it!
All Strife Ruins Golden Scapegoat Puzzles | Tutorial and Puzzle Basics
The “Strife Ruins” Castrum Kremnos area has 4 Golden Scapegoat puzzles for you to do in Honkai: Star Rail 3.0. However, it’s a good idea to go over the basics of the puzzle before diving into each one. If you’re already familiar with this type of puzzle, though, you can just skip this section!
 A Bouquet for the Blessed in Honkai Star RailFeb 17, 2026
 Fundamentals of Imagenesis in Honkai Star Rail 4.0Feb 16, 2026
 Enter Black Cat Instacam’s Delusional Theater Once in Honkai Star RailFeb 16, 2026
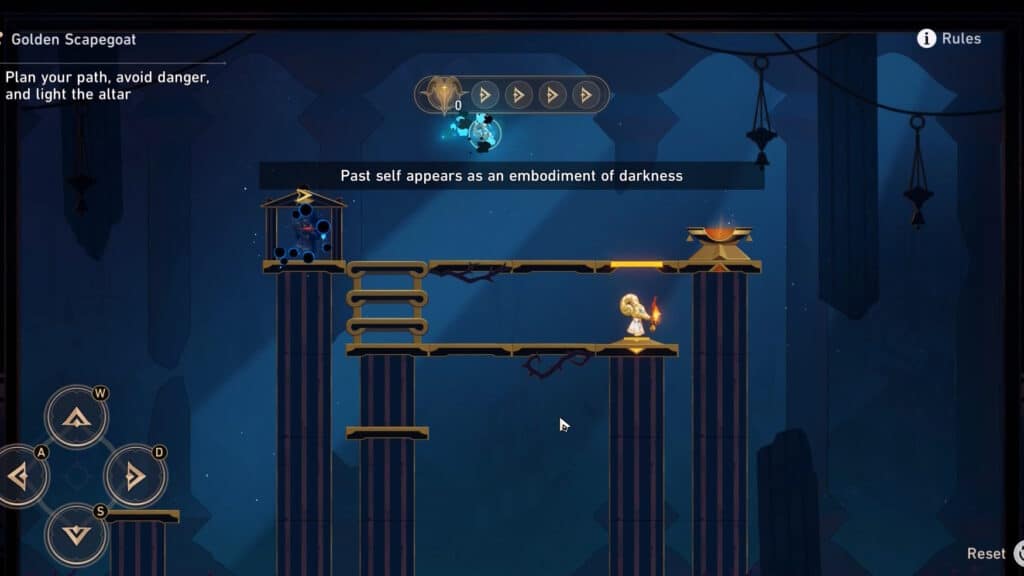
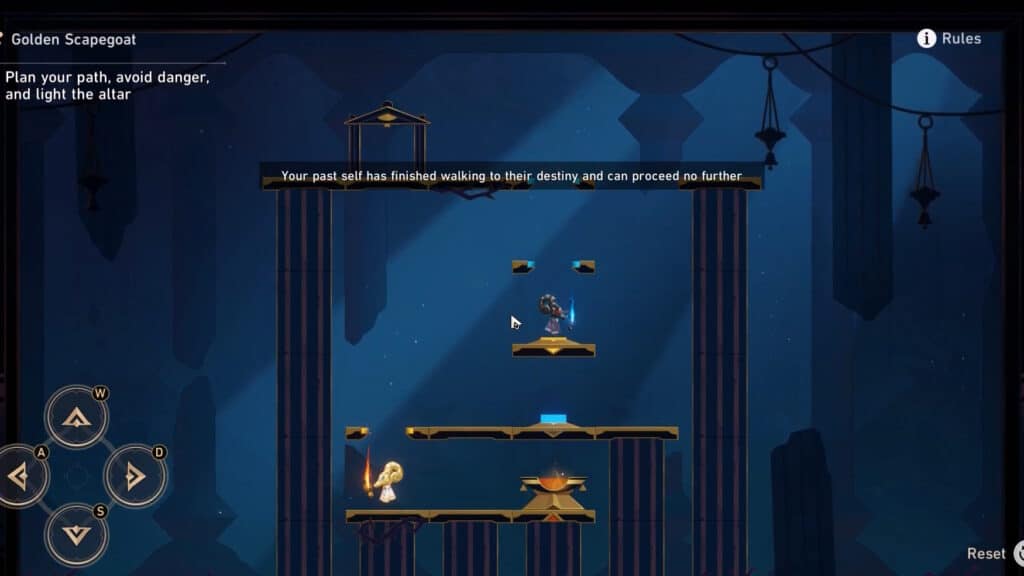
The Golden Scapegoat puzzles are represented in the overworld by golden goat head statues. Interact with them to initiate the puzzle.

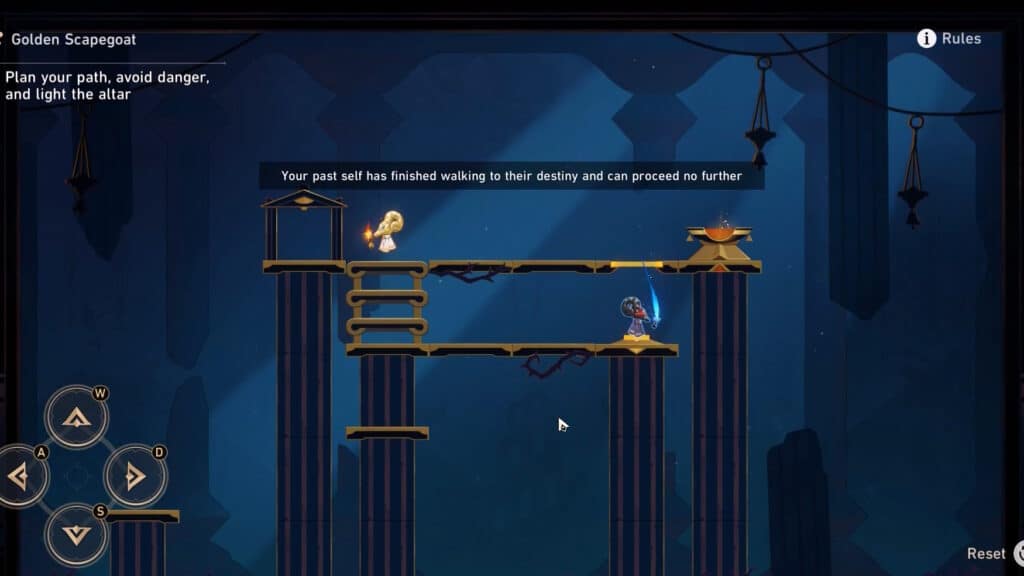
When it comes to the puzzle itself, your goal is to move your Golden Scapegoat all the way to the altar to light it.
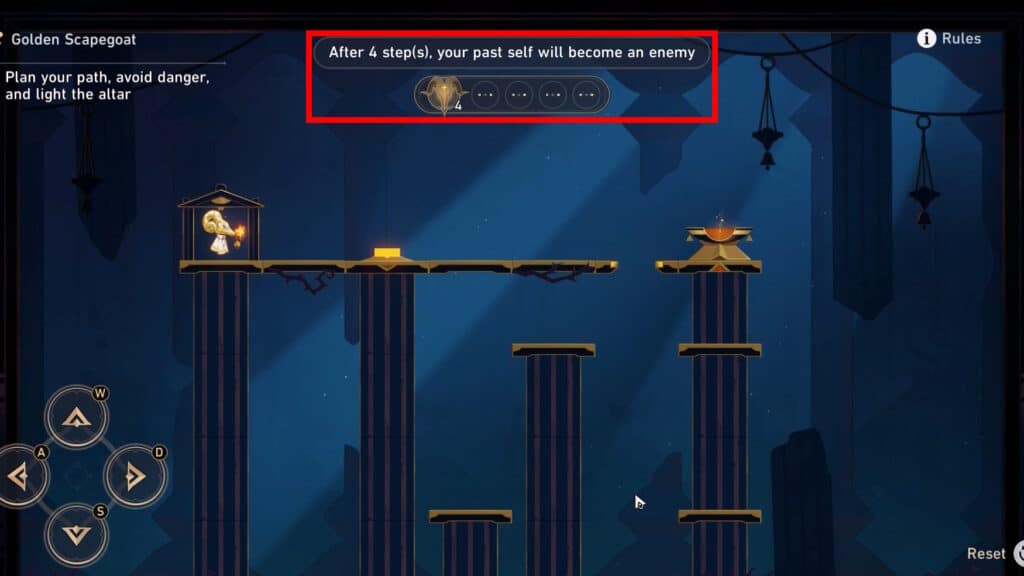
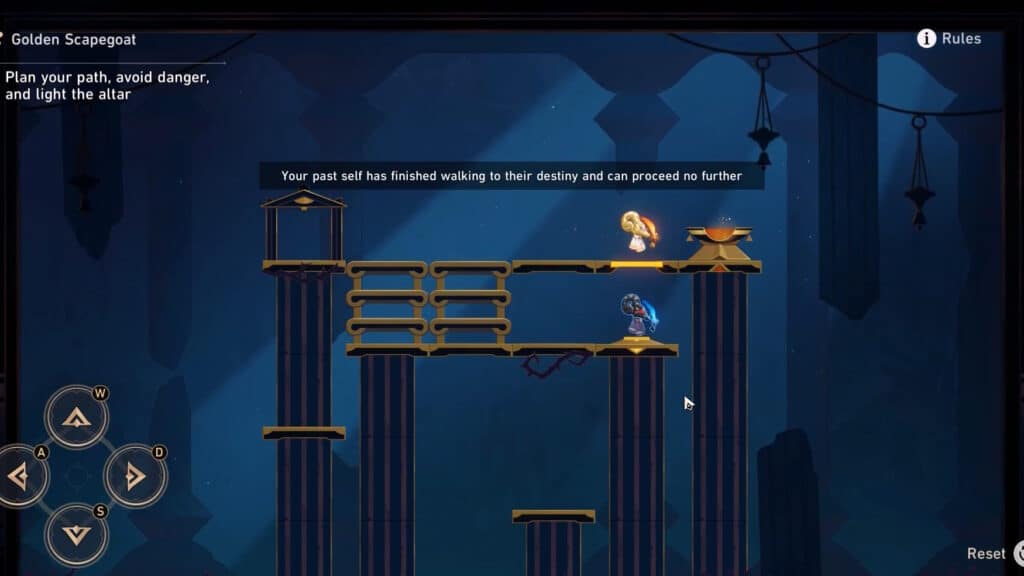
However, a shadow of yourself will appear after a set of moves. This shadow will repeat the pattern of moves you did before it appeared and then stand still.
For example, let’s say that you have 4 moves before the shadow appears and you right, right, left, left. The shadow will appear after the second time you move left and then repeat the pattern. After that, it will stay still. Avoid colliding with your shadow or it will restart the puzzle!
Sometimes, you might need to step on colored pressure plates known as Ancient Crystalline Controllers. These will help you reach the altar. A lot of the puzzles will also require you to set up your movements so that your shadow self stands on the plate to open the path for you.
With those basics laid down, let’s now go over finding and solving every single Golden Scapegoat puzzle in this area!
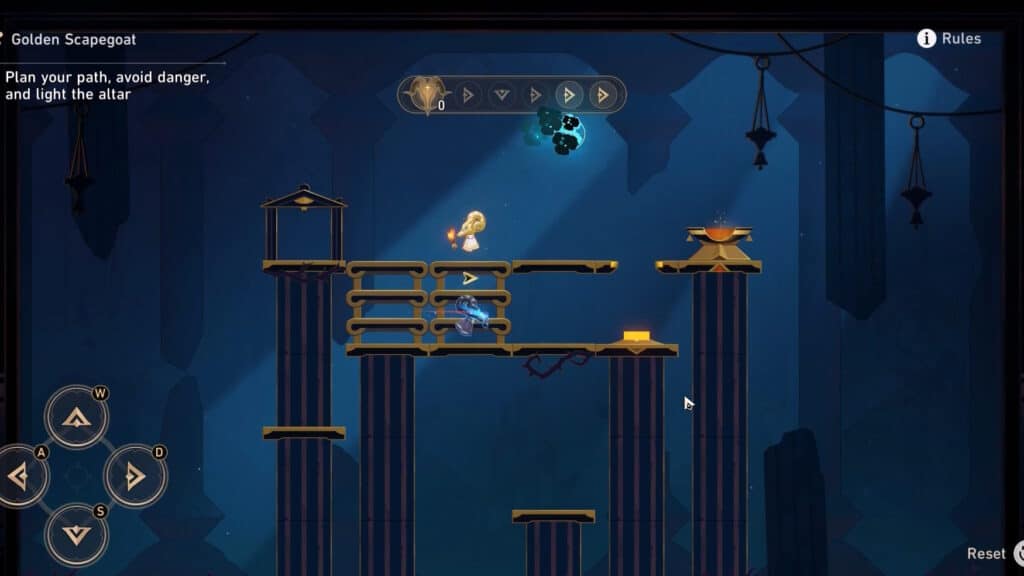
“Strife Ruins” Castrum Kremnos – Golden Scapegoat Puzzle #1
Our first puzzle in this guide is in the southeastern corner of the B1 floor of the Strife Ruins. It’s a pretty easy one to spot, as it’s out in the open.
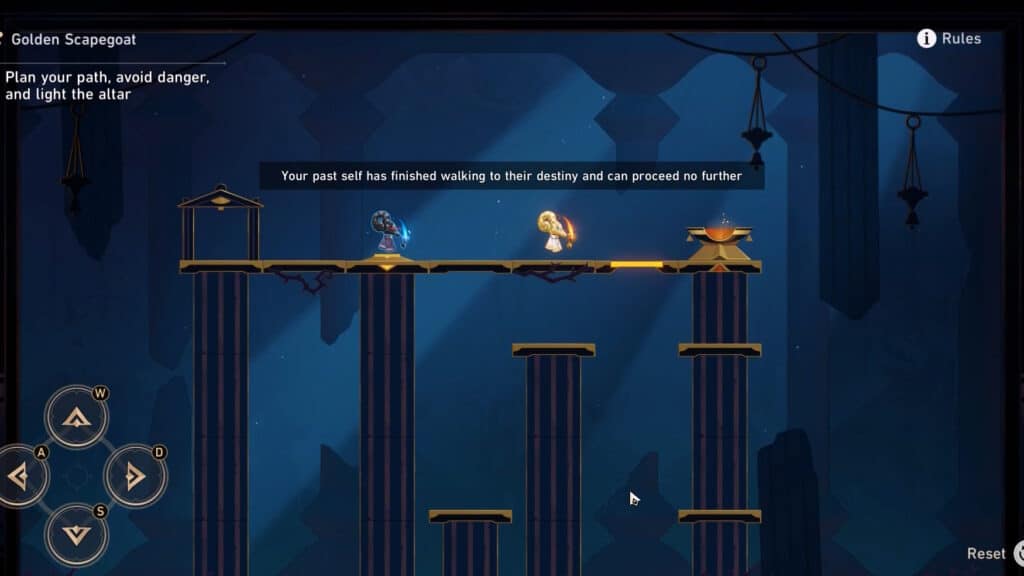
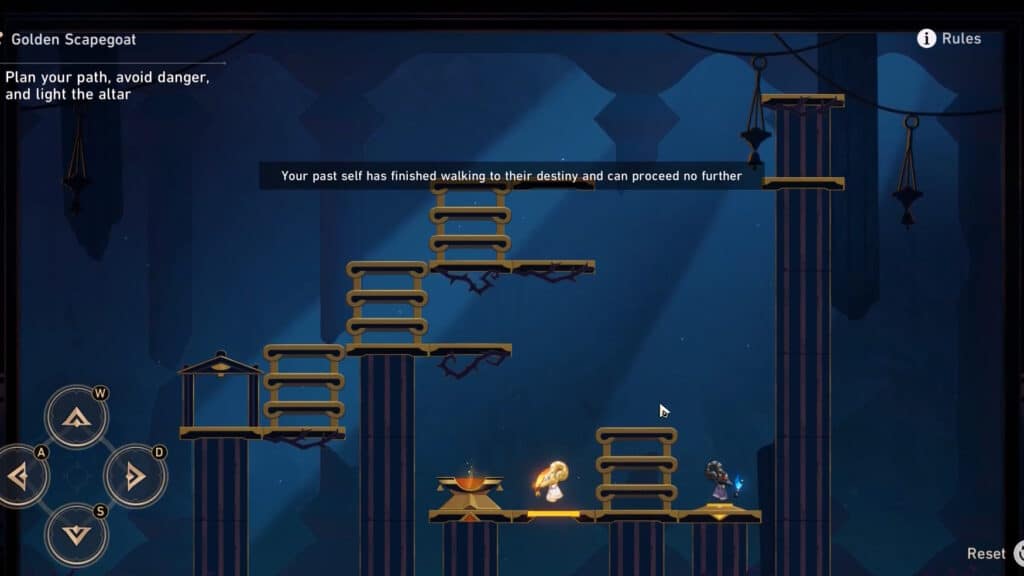
You get 4 moves before the shadow self appears. All you need to do is move to the right 4 times. You’ll fall through the gap and land on the golden plate below right as the shadow self appears.
After the shadow self appears, go three steps to the left and then take the ladder up.
Your shadow will continue to the right and fall through the gap, landing on the golden plate. Now you just need to go all the way right to reach the altar. It’s as simple as that!
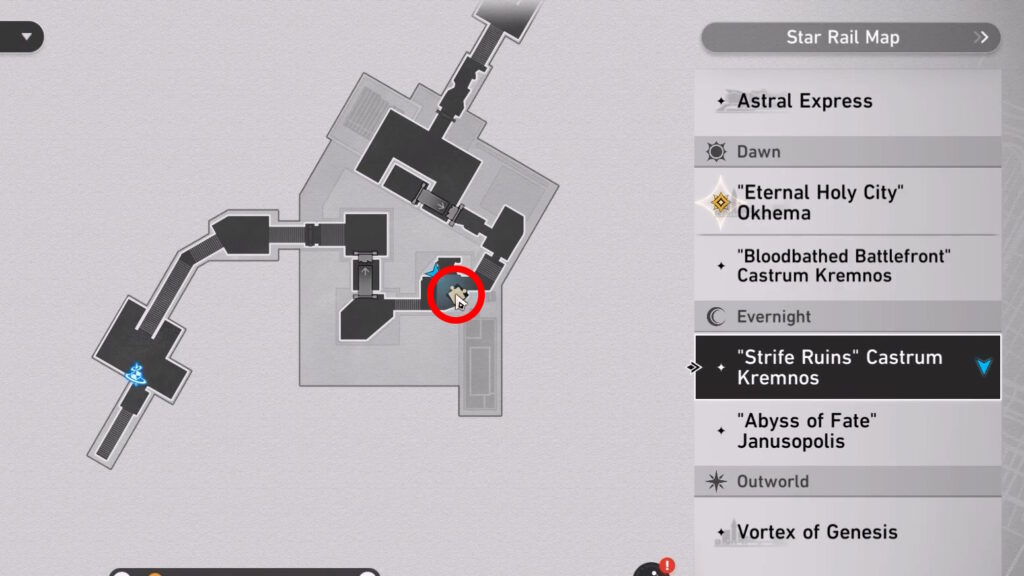
“Strife Ruins” Castrum Kremnos – Golden Scapegoat Puzzle #2
This second puzzle is on the F2 floor of the Strife Ruins. It’s in the long room on the northeastern part of the map, as you can see above.
This time, you get 5 total steps before the shadow appears. Do the following moves: right, down, right, right, right. This will have you take the ladder closest to the starting point to reach the golden plate below.

Once the shadow self appears, take two steps to the left and then go up the ladder.
You’ll narrowly miss the shadow self and get up right above it.
After that, just continue going to the right. The shadow self will step on the golden plate below to reveal the platform so you can reach the altar!
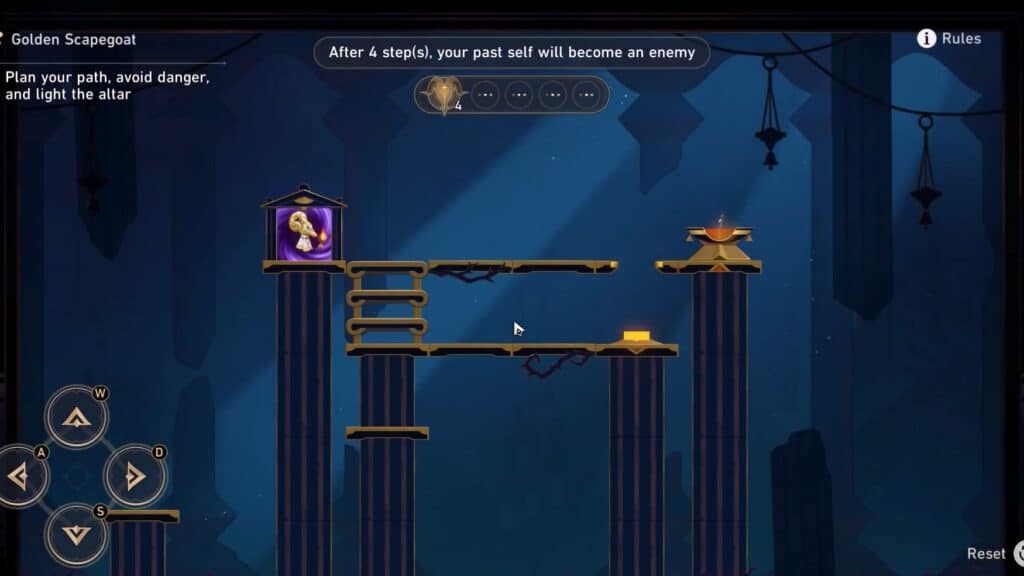
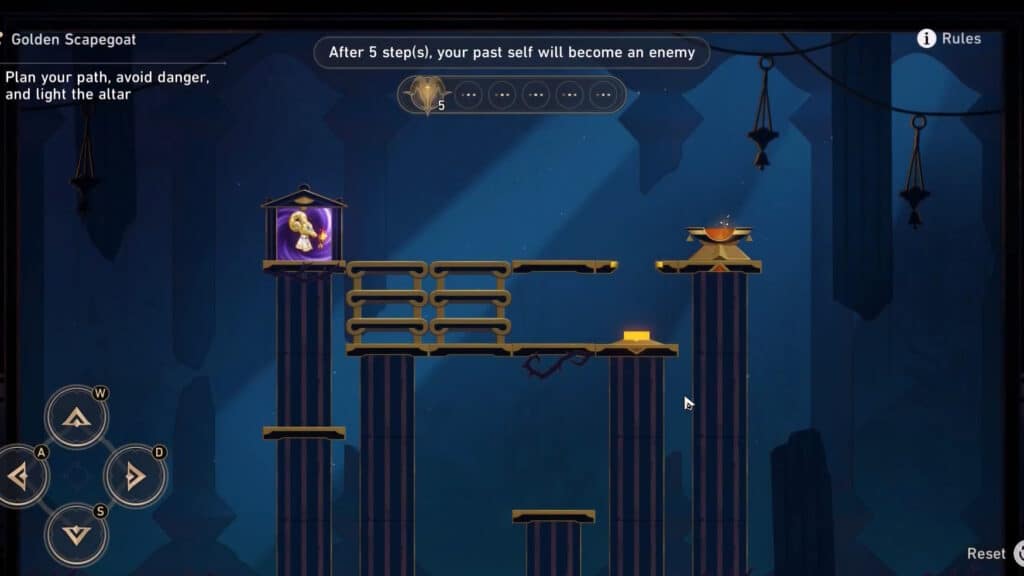
“Strife Ruins” Castrum Kremnos – Golden Scapegoat Puzzle #3
Next up, you can find this Scapegoat Puzzle in F3 of the Strife Ruins. You can get there by taking the stairs up from the easternmost part of F2.
This one looks quite odd at first glance, but it’s actually simpler than it looks. You get 4 moves before your shadow appears this time. Input the following: right, left, right, right. This will have you fall through the gap on the right, dropping onto the golden plate.
Once the shadow self appears, just move back and forth while you wait for it to fall. You don’t need to step on the blue plate at all. The shadow will fall onto the golden plate once it finishes following your pattern. This will remove the golden plate on the bottom of the puzzle, allowing you to reach the altar.
“Strife Ruins” Castrum Kremnos – Golden Scapegoat Puzzle #4
This is the last of all the Scapegoat Puzzles in the “Strife Ruins” Castrum Kremnos area as of Honkai: Star Rail 3.0. You can find it on the eastern section of the B1 floor, which you reach naturally by going through the upper floors.

This one is a bit of a long one, as you can see! It has a lot of ladders and you get 9 steps before the shadow appears.
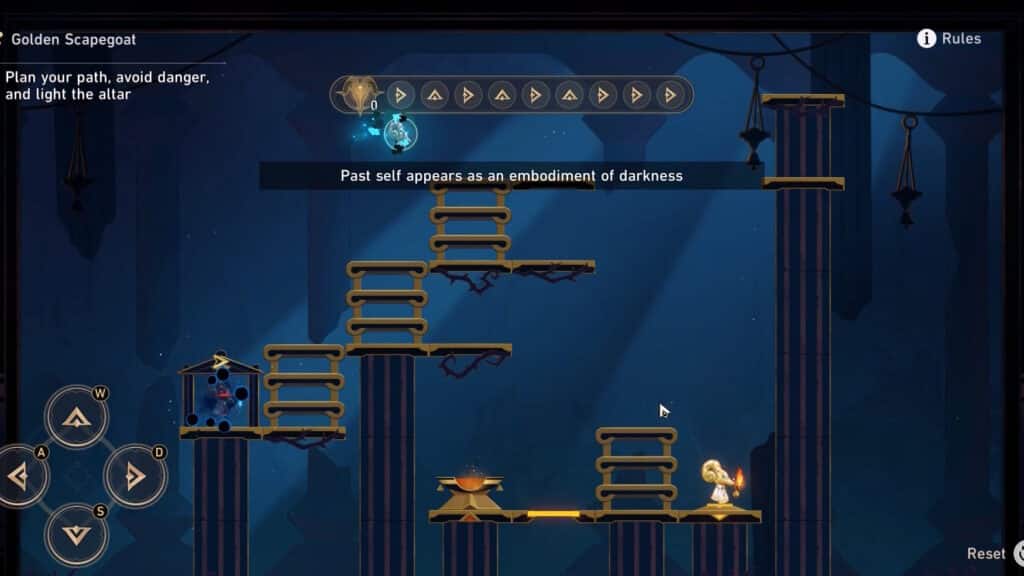
These should be your 9 steps: right, up, right, up, right, up, right, right, right. You’ll use the ladders to get you all the way to the golden plate on the bottom right.
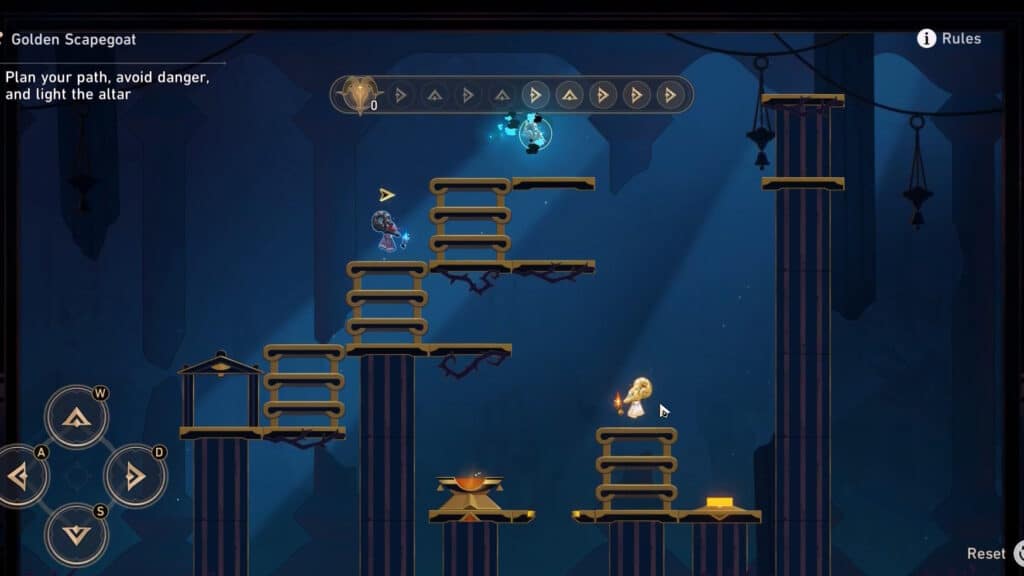
Once the shadow self appears, do the following moves: left, up, down, up, down, up, down, right, left. This will pass the time while the shadow moves and then have you avoid it as it drops onto the golden plate.
When the shadow finally gets to the golden plate, just go all the way left to light up the altar!
That’s all of the Scapegoat Puzzles in the Strife Ruins done in Honkai: Star Rail 3.0. If you want to do more of these puzzles, check out the Scapegoat Puzzles in “Eternal Holy City” Okhema as well!