Barotrauma is a submarine sim where you manage your submarine as it goes through a creepy alien ocean. In the game, power is a very important resource as it lets you keep your submarine running at all times. However, there are instances when the Nuclear Reactor overproduces so much electricity that it can end up damaging your devices.
This is why you’ll need a battery as a means of stabilizing its power.
The good news is, you can also create a backup battery array to make power management a whole lot easier. That’s what we’re going to talk about in this guide.
How to Build a Backup Battery Array in Barotrauma
The game’s submarine editor can be a bit complex to get into. However, as you start using it and learning the basics, it’s actually pretty easy to set up a handful of amazing stuff. For this guide, we’ll be using the editor to build a backup battery array.
 Barotrauma: How to Set Up Remote Radio BombMar 22, 2023
 Barotrauma: Ultimate Genetics GuideMar 22, 2023
To start, you’re going to need the following:
- 4x Battery
- 1x Junction Box
- 4x Relay Component
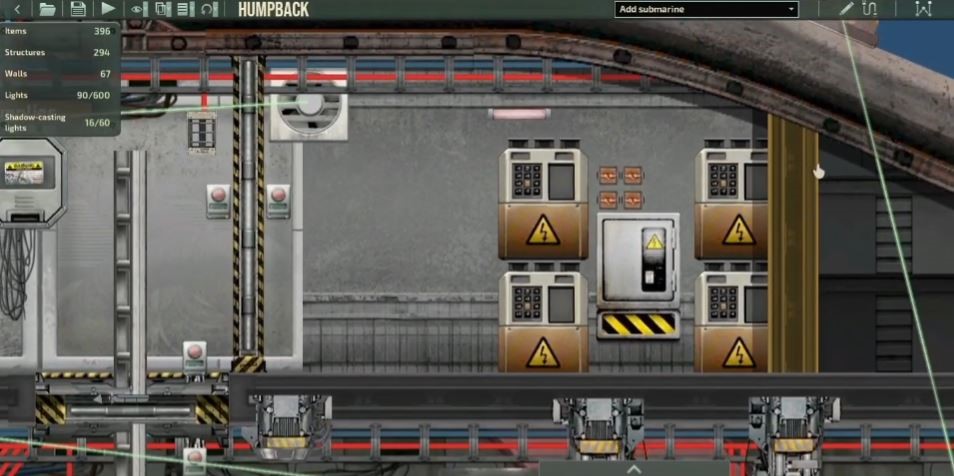
As for the layout, you want to place 2 batteries on top of each other, the junction box in the middle, then another 2 batteries on the other side. Then, on top of the junction box, you’ll want to place the 4 relay component.
You’ll want to follow this layout courtesy of Adamonus:
Once you’re done, the next step is to connect the wires. To start, press the Wiring Mode on the upper right section of the screen with the wire icon. You want to set up the wires this way:
- Red wire to the junction box Power and then connect to Power_In on the lower right relay
- Red wire to the junction box Power and then connect to Power_In on the upper right relay
- Red wire to Power_Out from the lower right relay to the junction box and then to the Power_In on the lower right battery
- Red wire to Power_Out from the lower right relay to the junction box and then to the Power_In on the upper right battery
- Red wire to Power_Out from the upper right relay to the junction box and then to the Power_In on the lower left battery
- Red wire to Power_Out from the upper right relay to the junction box and then to the Power_In on the upper left battery
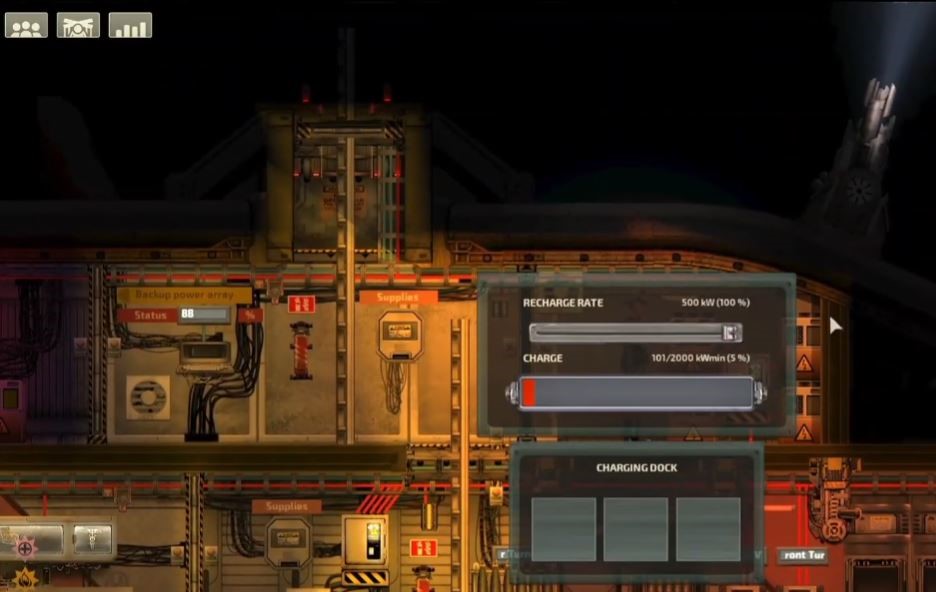
This will be your power input for the batteries, charging them which allows them to store power.
Setting Up Power Output
Now, the next step is to set up the power output. Here’s what you should do:
- Black wire to Power_Out on the upper left battery to Power_In on the lower left relay
- Black wire to Power_Out on the lower left battery to the junction box and then to the Power_In on the lower left relay
- Black wire to Power_Out on the lower left relay to the junction box Power_In on the lower left relay
- Black wire to Power_Out on the upper left relay to the junction box Power_In on the lower left relay
- Black wire to Power_Out on the upper right battery to the junction box and then to the Power_In on the upper left relay
- Black wire to Power_Out on the lower right battery to the junction box and then to the Power_In on the upper left relay

After that, you should then have a working battery backup array. The image above should be what the final output will look like. Then, you just have to make sure that the relay components are set to turn on by default.
You can check it by clicking on each relay component and checking the “Is On” checkbox under the Relay Component section. Do this to all four of them. Once you’re done, you’ll then want to set up a simple lever, connect a black wire to Signal_Out, and then connect it to Set_State on one of the relay components.
After editing, feel free to do some testing to find if it’s now working by clicking on the Test button at the upper left side of the navigation bar.