 16 articles
The Ashen Garrisons are a unique stronghold you can raid in Sea of Thieves, added as part of Season 18 of the game.
These strongholds are pretty tough, as they are full of Skeletons that are eager to attack you. What’s more, figuring out what to do as you go through them can be a bit of a pain if you’re going in blind!
In this guide, I’ll tell you everything you need to know to make the process of going through the Ashen Garrisons as easy as possible.
Ashen Garrisons Basics – What Are They?
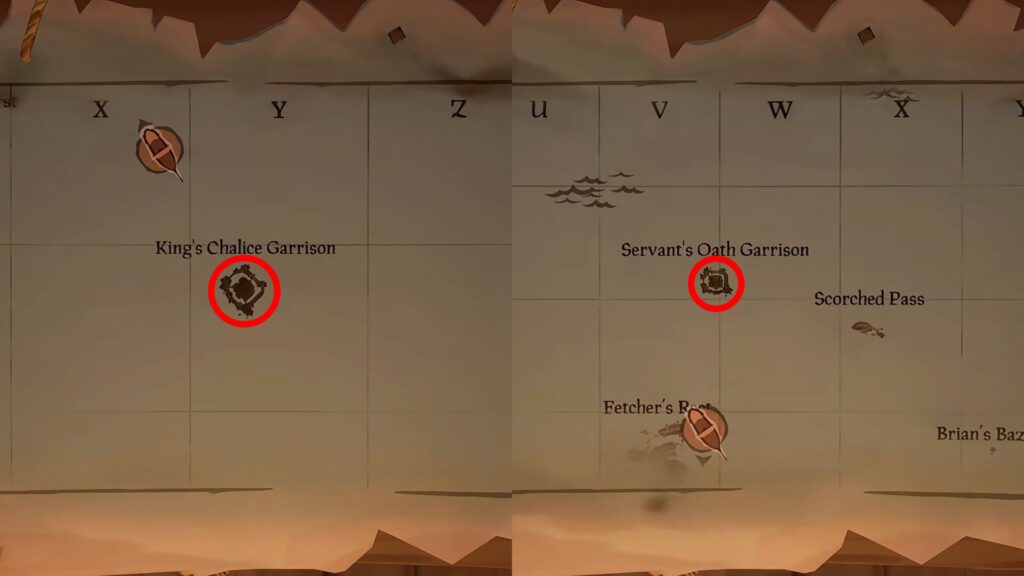
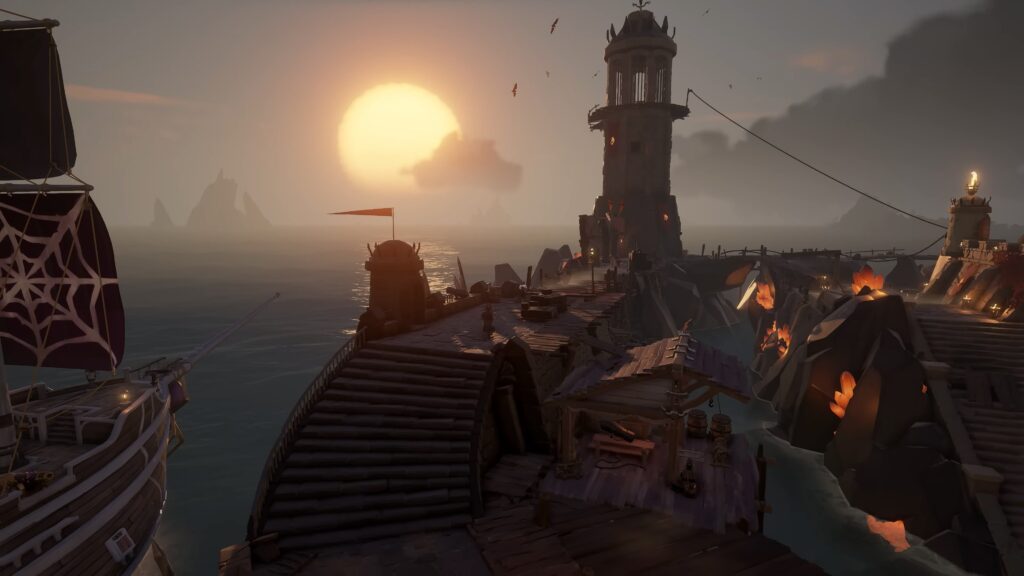
Ashen Garrisons are unique structures found within The Devil’s Roar. There are currently two of them: Servant’s Oath Garrison (V-10) and King’s Chalice Garrison (Y-22). They are shown on the map above.
 Sea of Thieves: Season 19 Shrinking Battle Bounds Hourglass of Fate GuideMar 21, 2026
 Sea of Thieves: How to Complete All Client’s Requests (Ducal Disciple Commendation)Mar 10, 2026
 Sea of Thieves: Megalodon Guide | Everything You Need to Know About These BeastsNov 5, 2022
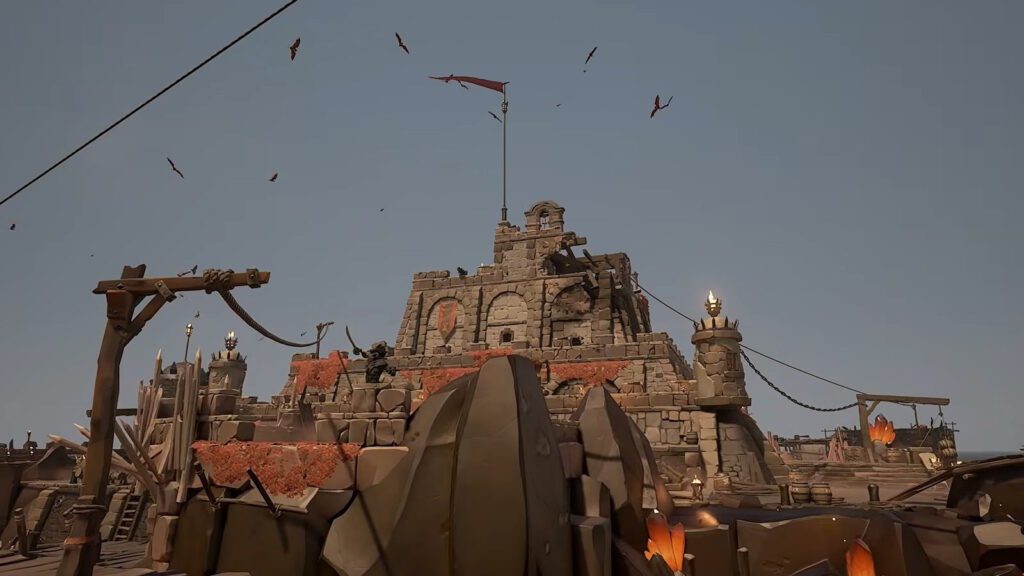
These Ashen Garrisons can be either active or inactive. While active, they will have raised flags and a faint red glow around them.
Any player can raid them in this state, but merely approaching them will alarm the Skeletons within to attack ships with the garrison’s cannons.
Once a player successfully manages to clear the Ashen Garrison by opening its Vault, it will go inactive. It will remain inactive for 12 minutes, as long as there are no players within a 1km radius of it.
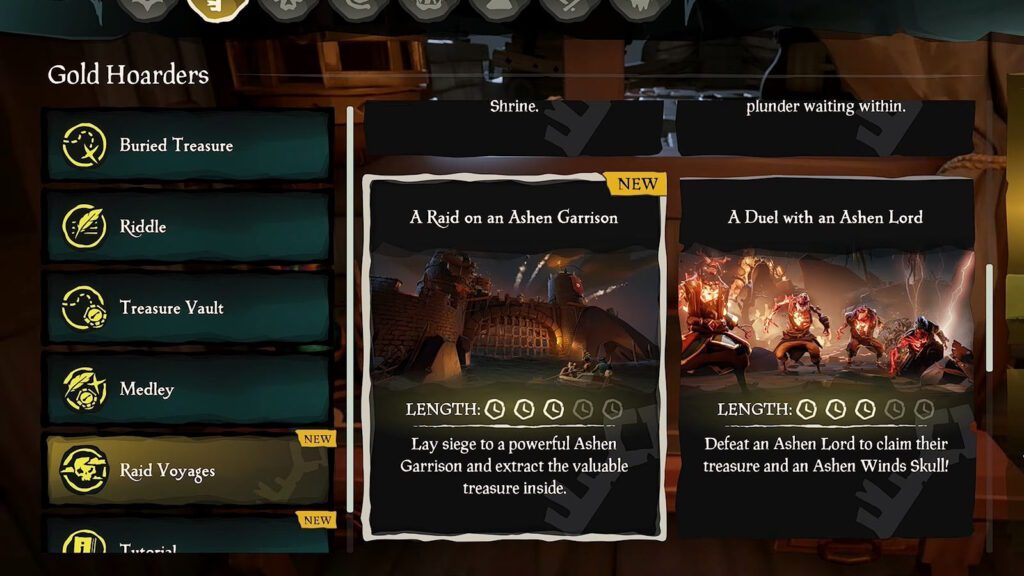
To start an Ashen Garrison raid, there are two options. You can either just sail to it directly, or start it as a Raid Voyage for any Trading Company you have a Level 25 Reputation or higher with.
Whichever method you choose, the process is almost entirely the same. The only difference is that starting it as a Raid Voyage will change the Vault’s contents to be Trading Company loot.
Lastly, it’s worth noting that the general progression through the Ashen Garrisons is the same. While both of the Ashen Garrisons currently in the game have different layouts, they have the same goals and overall progression through them.
How to Clear an Ashen Garrison
Approaching the Garrison
As I said before, no matter which method or Ashen Garrison you raid, the process is mostly the same.
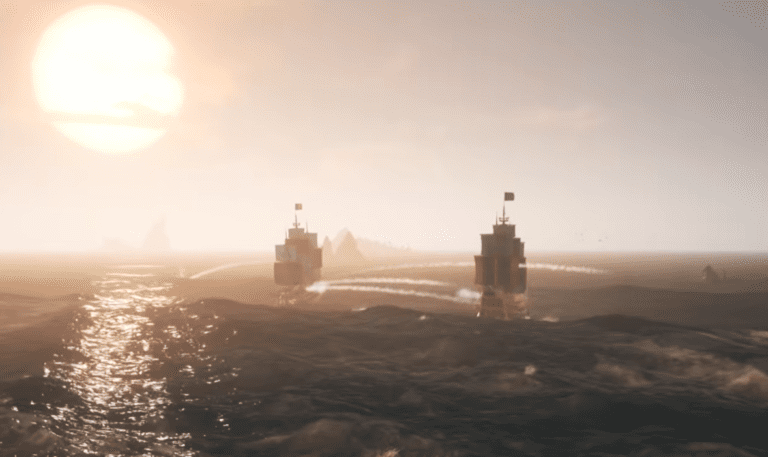
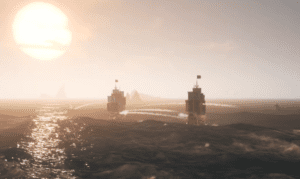
To begin with, you’ll need to dodge the hail of cannonfire from the garrison as you get closer. Then, use a Grapple Gun to be able to go over the tall seawall. It should look something like the clip below.
Find the Guardhouse Locks
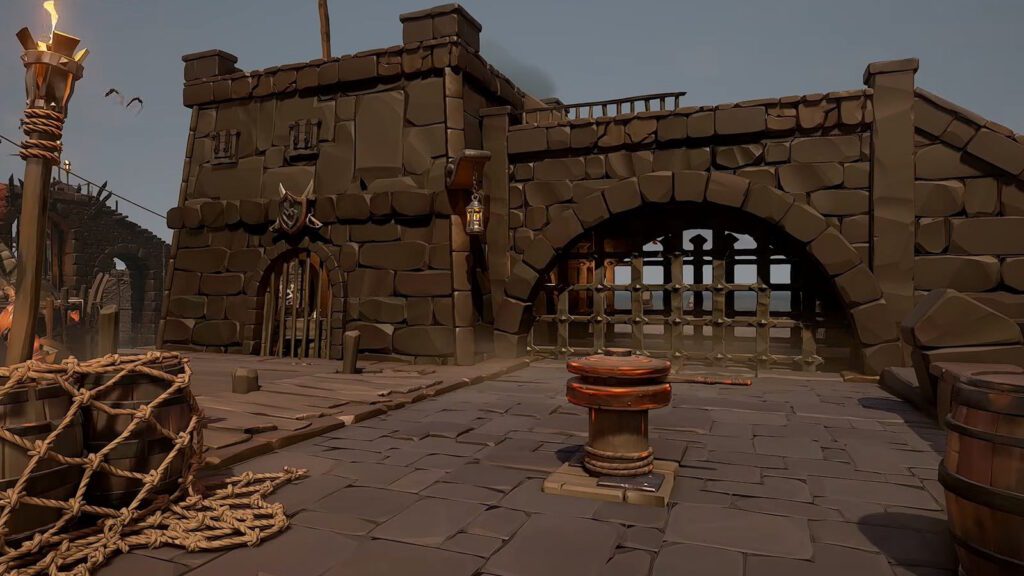
Once you’re inside the Ashen Garrison’s walls, your next goal is to unlock the Guardhouse. But, to do that, you’ll first need to open up 3 other structures within the garrison.
On Servant’s Oath Garrison, you’ll need to find and open the Lighthouse, Sentry Post, and Bonesmith Forge. You can see them in the screenshots above, for reference.
On the King’s Chalice Garrison, you’ll need to find and open the Lighthouse, Armory, and Workshop. As before, they’re shown above, for reference.
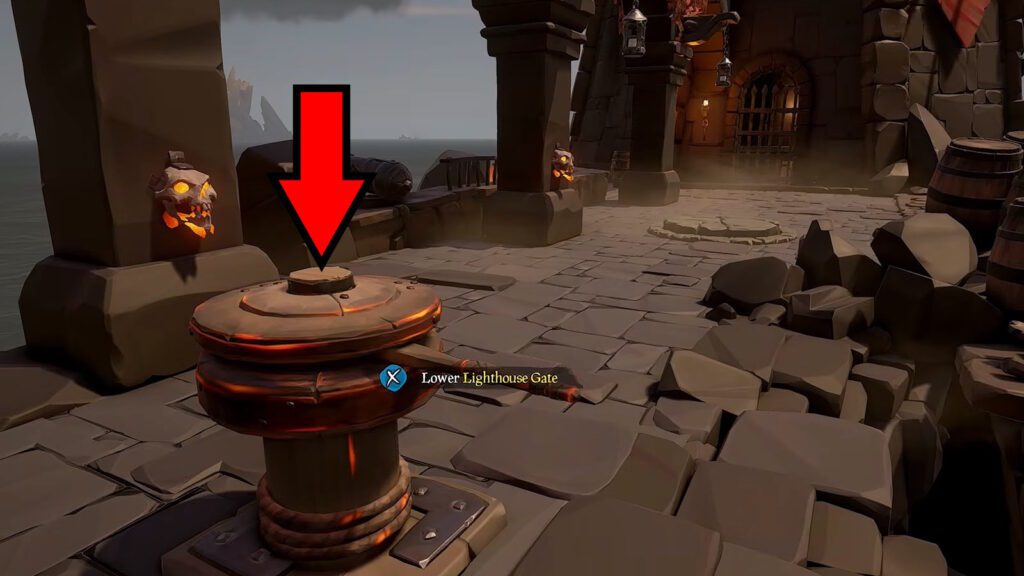
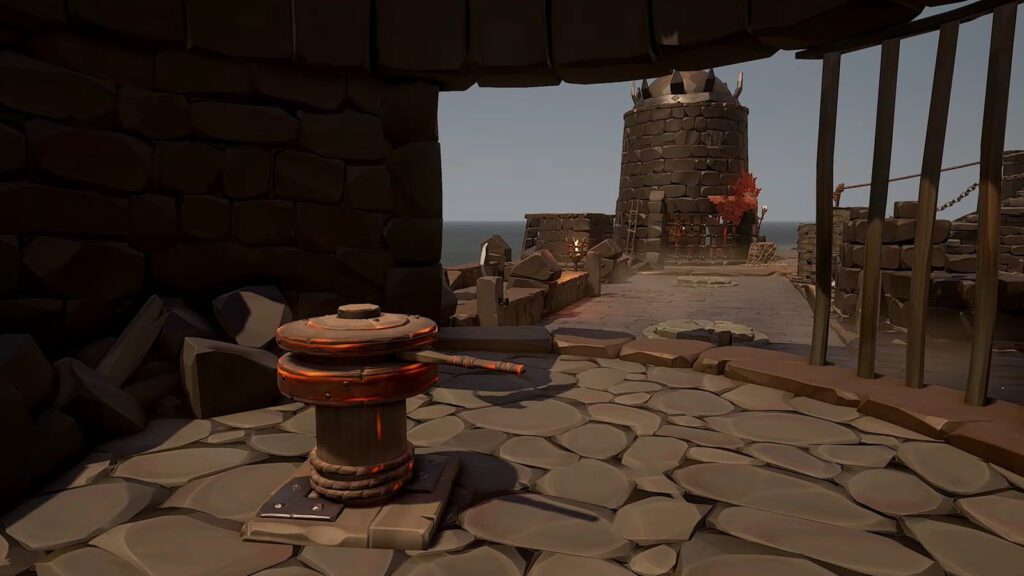
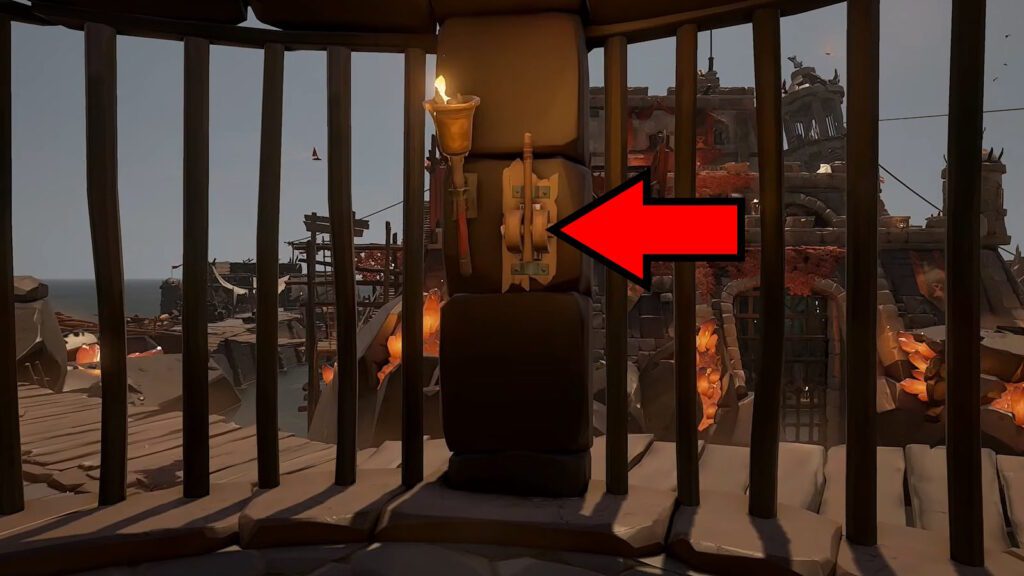
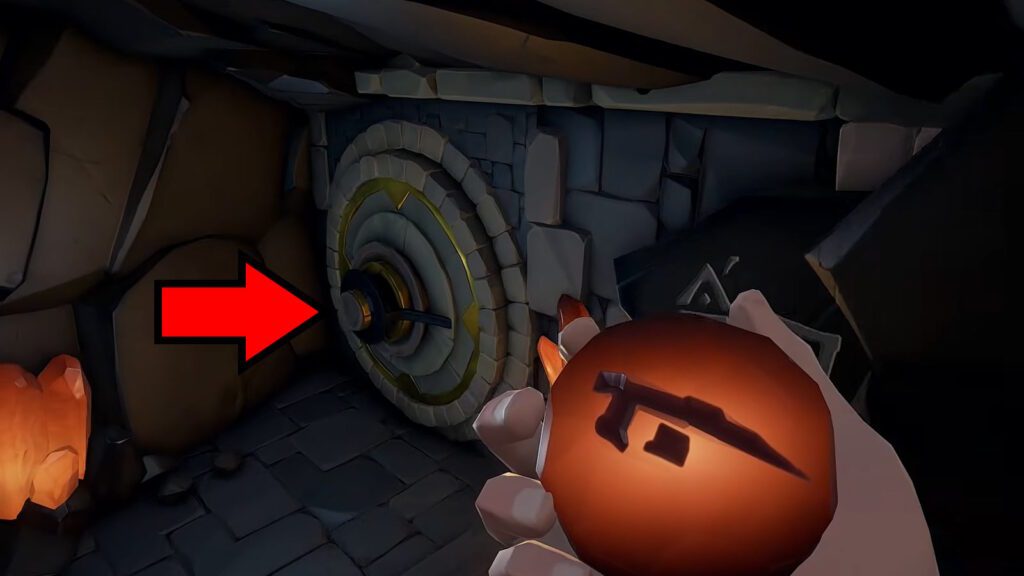
To open these structures, you just need to look for the nearby Capstan, which looks like the one in the example screenshot above. Interact with it and rotate it to open the building, but be ready for combat!
Every time you rotate a Capstan to open any structure, a wave of Skeletons will appear to attack you and defend the Garrison. You’ll need to take them out before you can proceed.
When you’ve dealt with the Skeletons, go inside of the structure you opened. You’re now free to loot it, looking for Ashen Keys in particular. You’ll be able to use those later to open containers within the Vault.
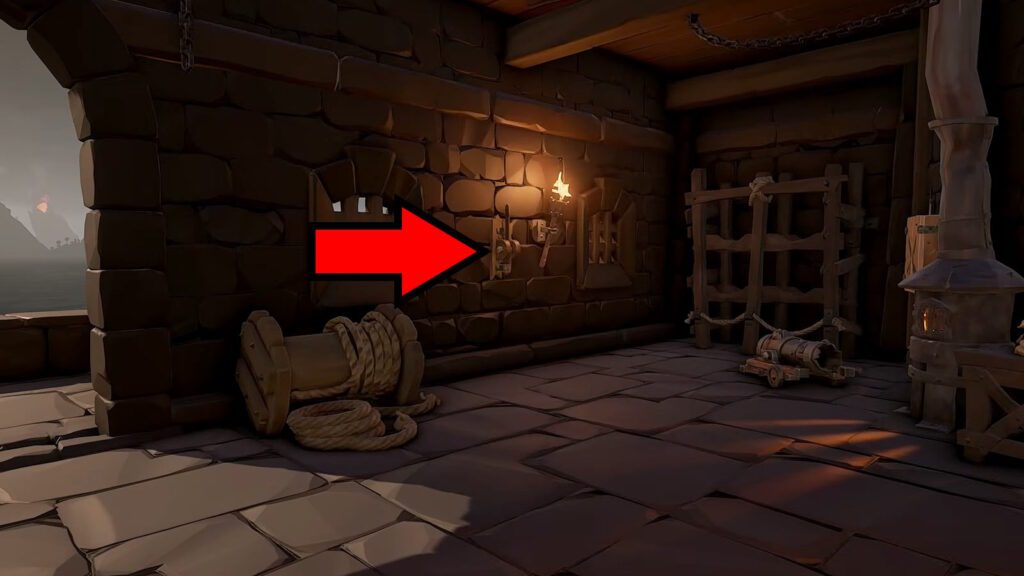
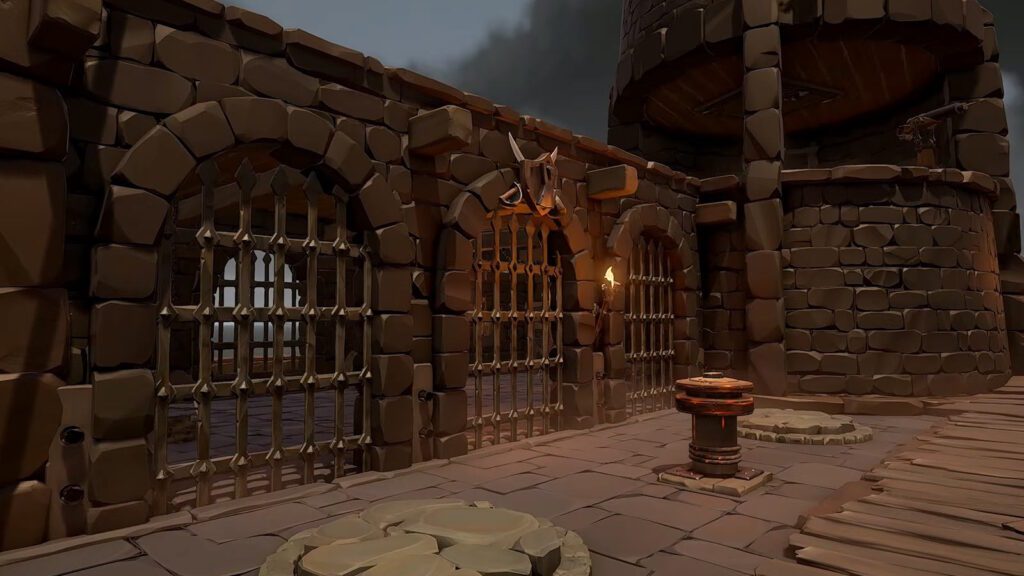
But, more importantly, you’ll also find a Guardhouse Lock inside each of the 3 structures. It looks like a lever, as shown in the example above. Interact with it to pull it down, but be ready for more combat when you do.
Pulling the Guardhouse Lock will light up one of the torches above the Guardhouse’s entrance. Light them all up and the door will open!
So, in short, the process here is to find the 3 main structures, open them with the nearby Capstans, then use the Guardhouse Locks within to open the Guardhouse.
Entering the Inner Garrison
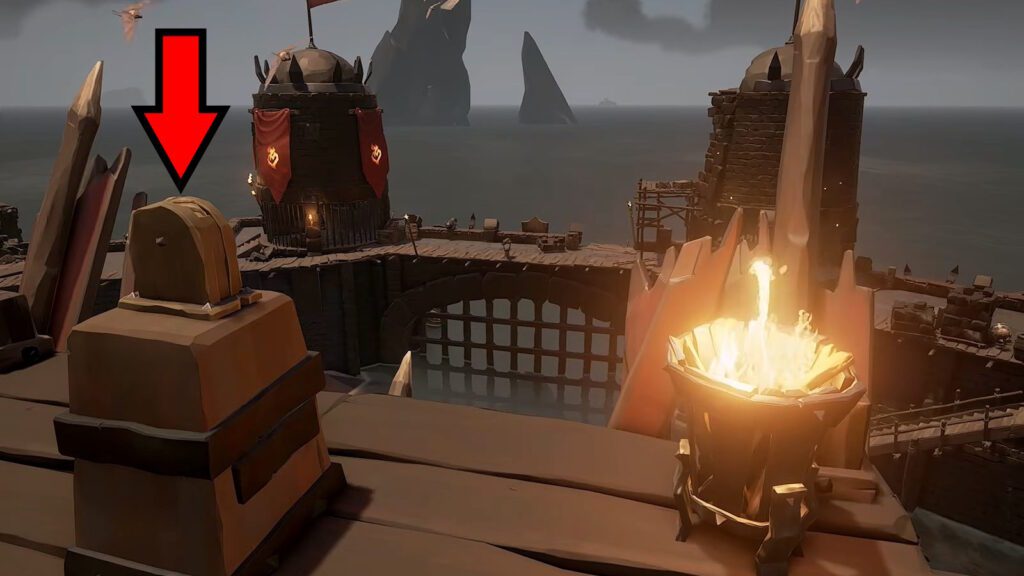
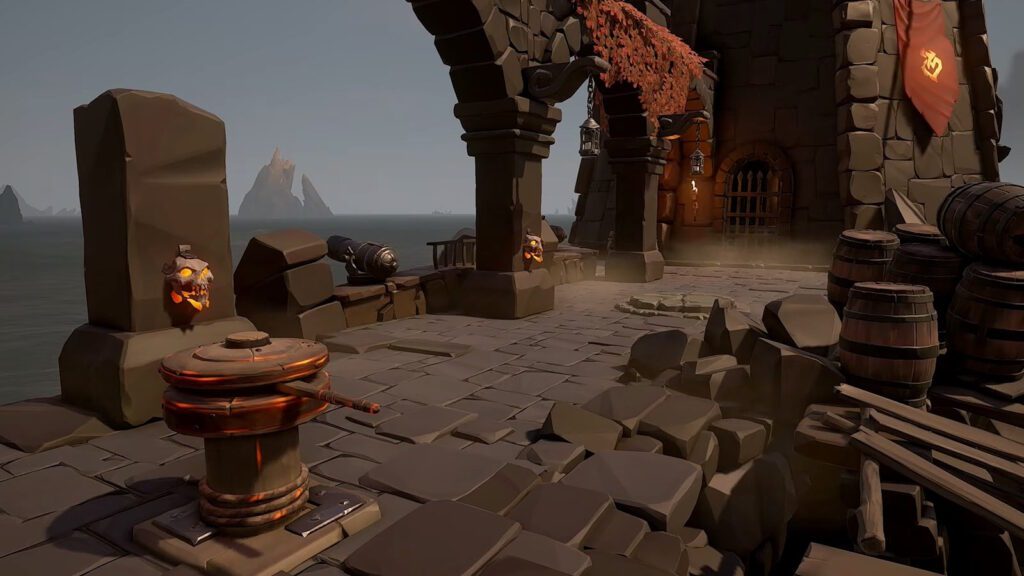
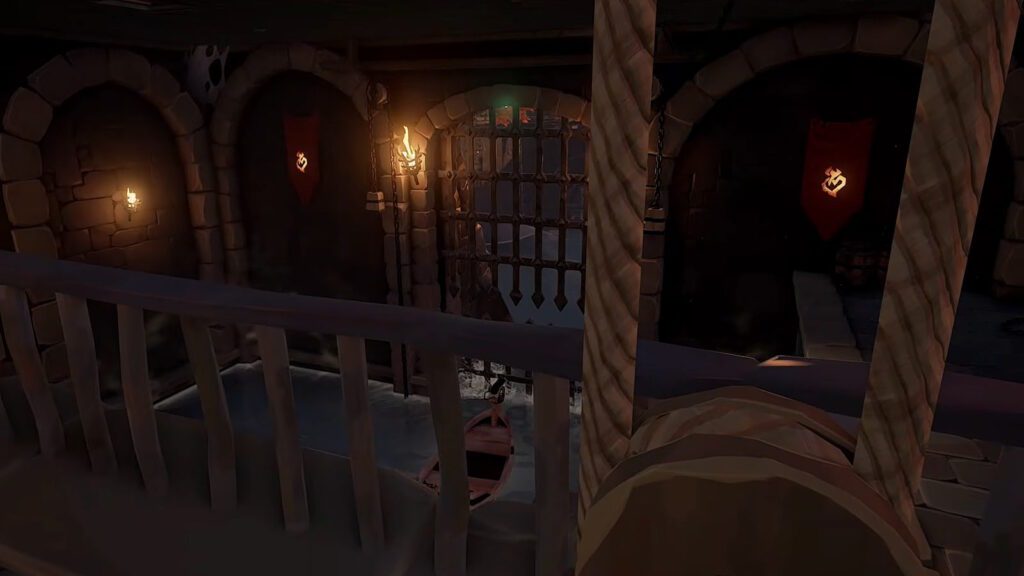
Now that you’ve released all 3 Guardhouse Locks, I also highly recommend finding the Sea Gate Pulley, which is near the top of the Ashen Garrison. It overlooks the Sea Gate, as shown in the example above.
Interacting with the Pulley will lower the Sea Gate, allowing you to escape from the Ashen Garrison more easily. Plus, doing this the first time completes the “Open Up!” Commendation.
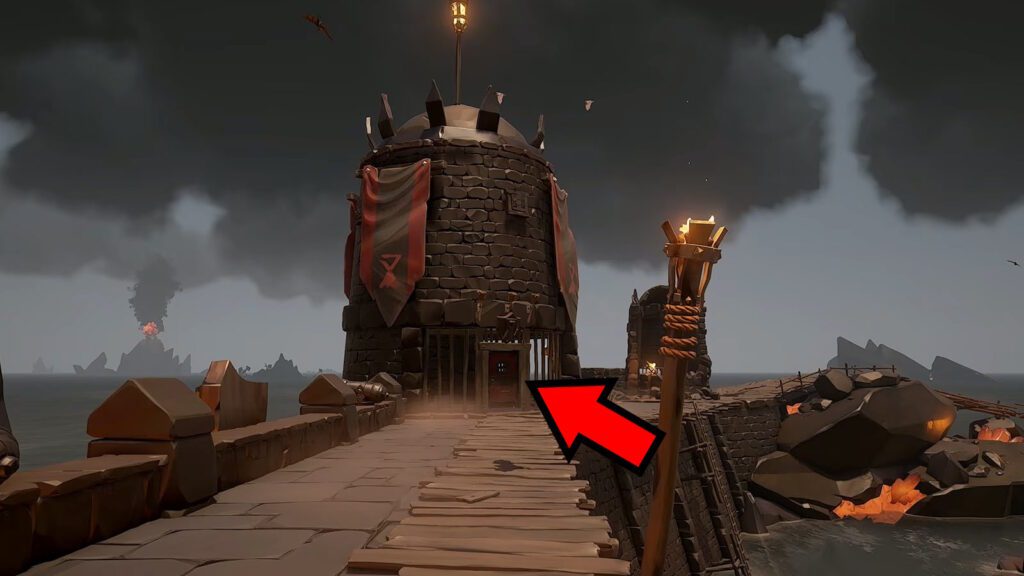
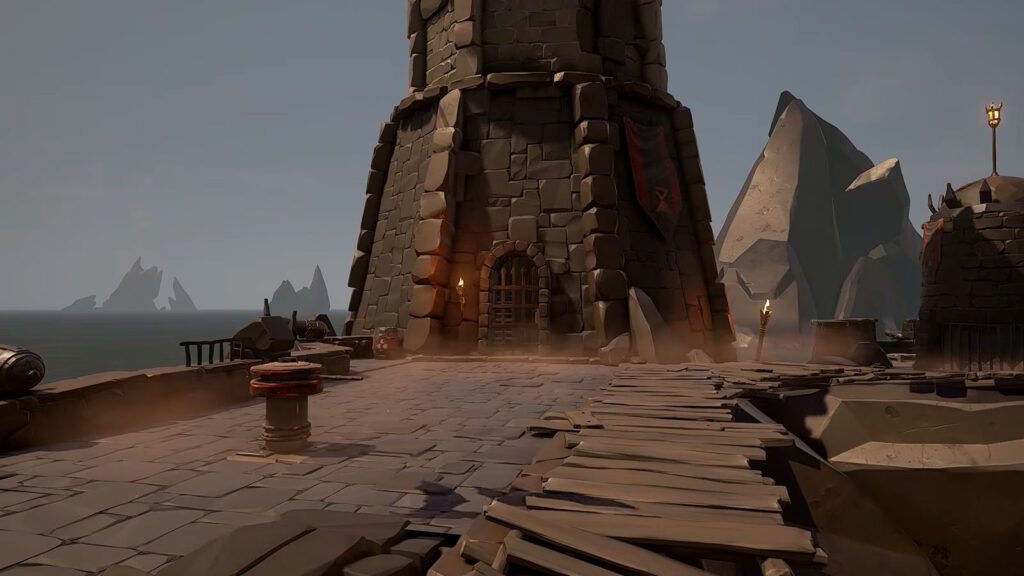
With that out of the way, you’ll want to make your way to the Guardhouse. It should look something like the example above, with the banners and torches above the entrance making it stand out.
Enter the Guardhouse and you’ll find one final lever, the Garrison Entrance Lock. Pull it down and you’ll unlock the main door leading to the inner parts of the garrison!
Find the Captain of the Vault

Once you’re inside the inner garrison, you’ll find yourself attacked by even more Skeletons. Fend them off, while looking out for the special Garrison Keymaster. You want to defeat the Keymaster to get a Garrison Key.
The Garrison Key will allow you to open any of the locked doors within the inner garrison. However, do keep in mind that more Skeletons will appear when you open almost every one of the rooms!
On the upside, every wave of Skeletons will have 1 Garrison Keymaster in it. So, you can defeat them to get another key to continue exploring the garrison.
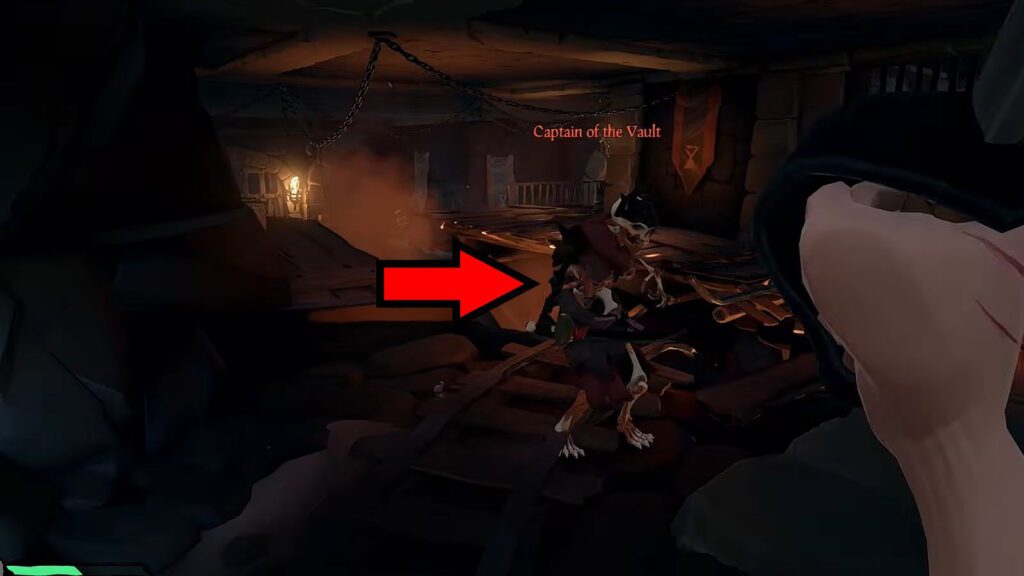
As you do this, your goal is to find the Captain of the Vault. Much like the Keymasters, this unique Skeleton drops a key when killed: the Garrison Vault Key.
Now, the Captain of the Vault’s spawn is random. The only guarantee is that they will spawn in the very last room you unlock if they somehow didn’t spawn any earlier than that.
Either way, find the Captain of the Vault and kill them (again, I guess?) to get the Garrison Vault Key! That’s your main goal within the inner garrison.
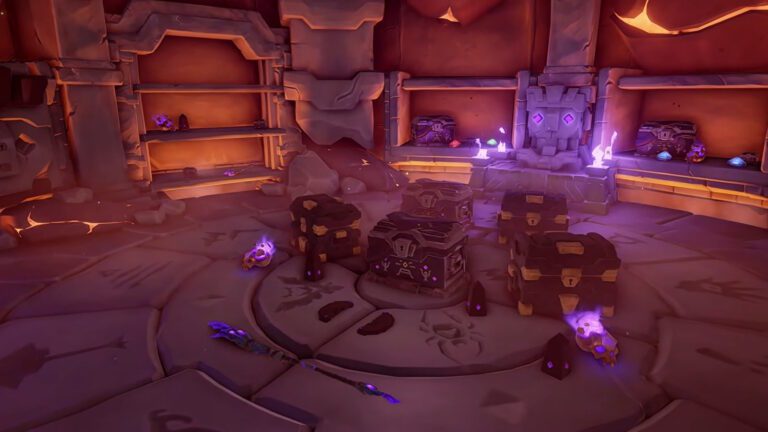
Open the Vault
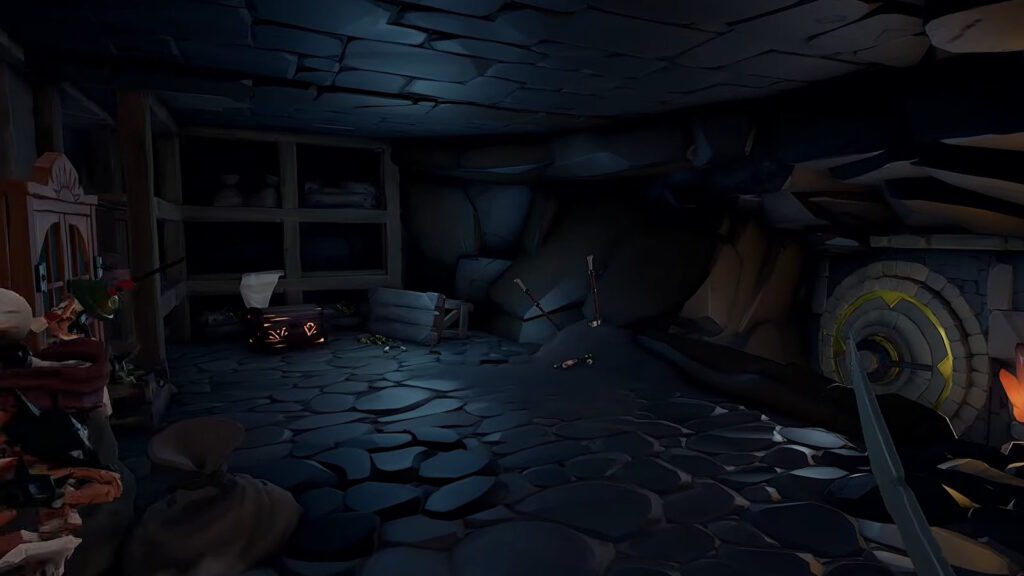
Once you’ve managed to obtain the Garrison Vault Key, the only thing left for you is to make your way down to the bottom of the inner garrison. You’ll find the Office Room and the Vault there.
Now, the Office Room is mostly optional, unless you’re doing the “Ducal Disciple” Commendation. You can open it with a Garrison Key to read a journal there and get some lore.
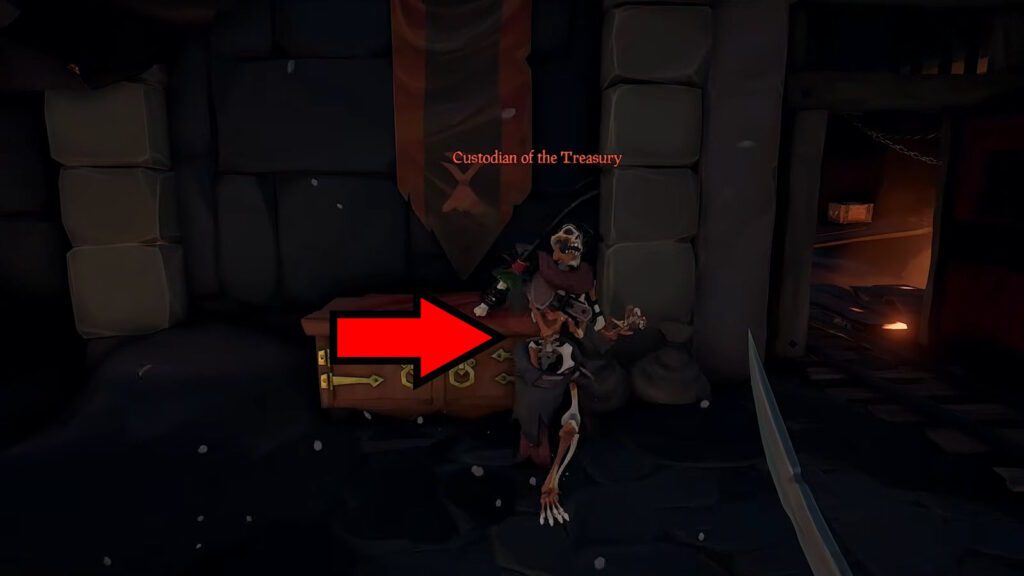
As for the Vault itself, open the door with the Garrison Vault Key and you’ll be faced with another wave of Skeletons. Defeat the Custodian of the Treasury and his minions to get the Garrison Treasury Key.
Then, you can use the Garrison Treasury Key on the nearby circular door to gain access. Congratulations, Vault Hunter! Er, I mean, sailor! All that’s left is to claim all of the loot within.
If you want a tip for claiming all the loot within, there’s a Rowboat on the water outside of the Vault. You can use it to bring loot to your ship, provided you lowered the sea gate. Alternatively, use the Harpoons you can find in the Ashen Garrison.
Opening Locked Containers Within the Treasury Vault
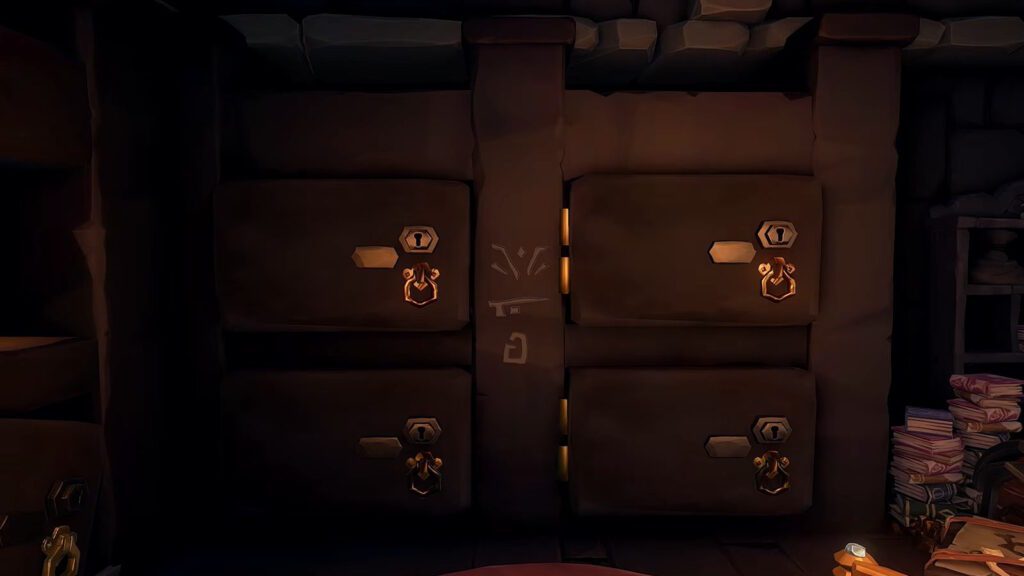
Worth noting, as I mentioned before, that you can open the locked containers within the Treasury using any Ashen Keys you found. This lets you get some extra loot, so it’s well worth the effort.
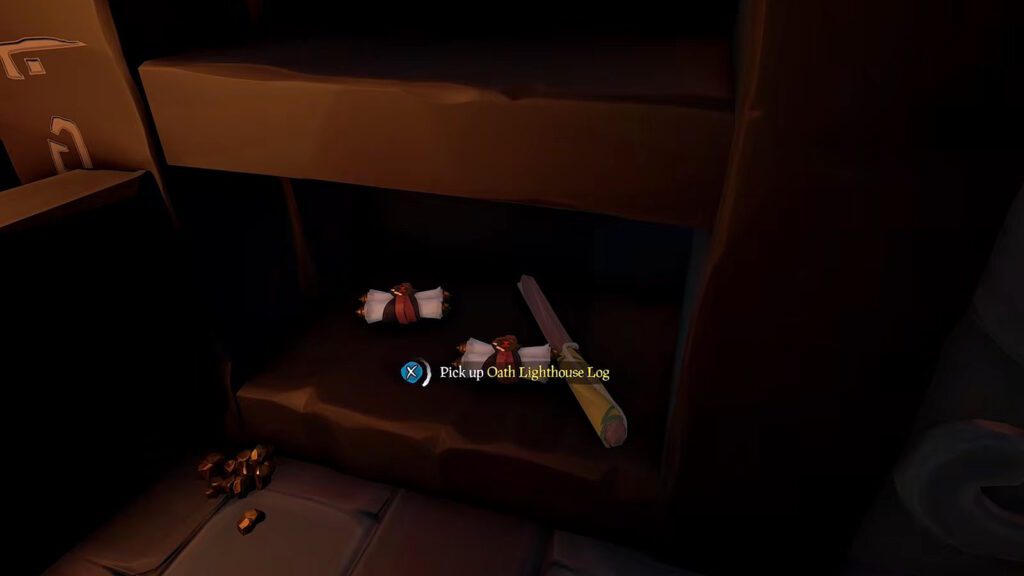
That aside, Lighthouse Logs are the main and most unique reward you can get from the locked containers within the Treasury. They come in two varieties: Oath and Chalice. You unlock cosmetics by selling these logs to Trading Companies.
However, they are exclusive to High Seas mode. They are also extremely rare, but they are unique to these Ashen Garrisons’ containers. Can’t find them anywhere else!
Wrapping Up
As you can see, the Ashen Garrisons are a bit simpler than they first appear to be. Grapple in, open the 3 key locations, unlock the main entrance in the Guardhouse, then kill enemies until you get the key to the Treasury Vault. That’s the gist of it!
Of course, that’s all a lot easier when you know what you actually need to do. So, I hope this guide helped make the process of going through the Ashen Garrisons in Sea of Thieves a lot easier for you.