 51 articles
“The Three Swords of Mastery” is one of the many sidequests you can find in Arknights: Endfield.
For this one, meet a disciple at the Bureau of Swordmancers and help them on their quest to graduate. But, for that, you’ll need to solve a series of puzzles!
In this guide, I’ll help you solve all of these puzzles so you can finish this quest with ease.
Starting the Quest and Raising the First Pell
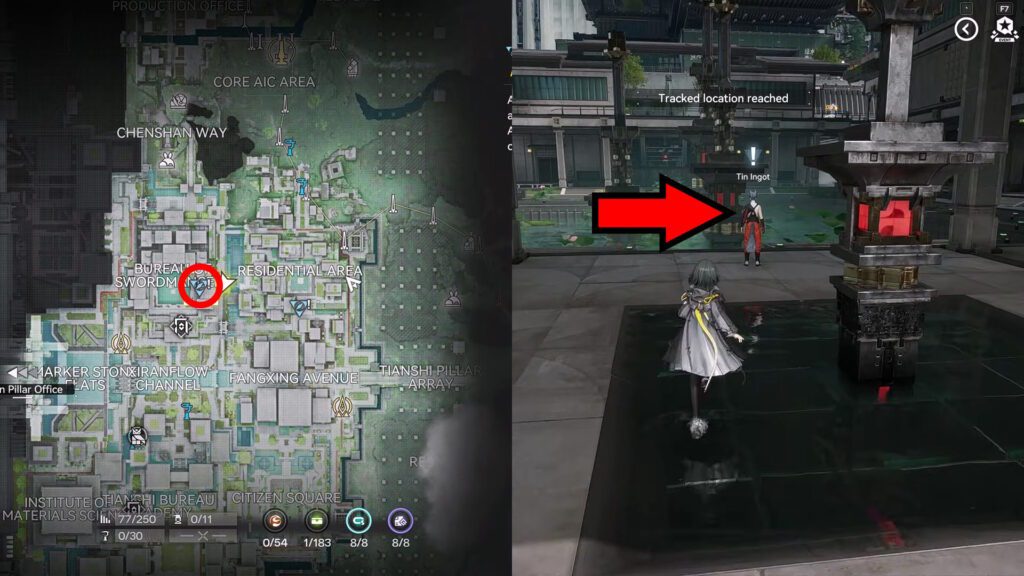
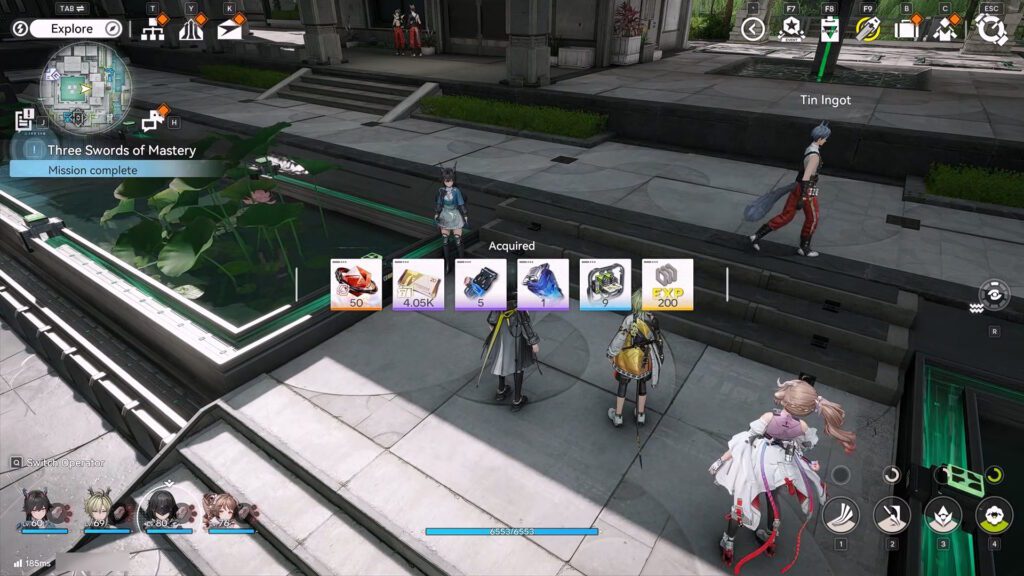
To start this quest, meet up with Tin Iron at the Bureau of Swordmancers in Wuling City. You can see Tin Iron and his location in the image above.
 How to Build and Play Camille in Arknights EndfieldJul 2, 2026
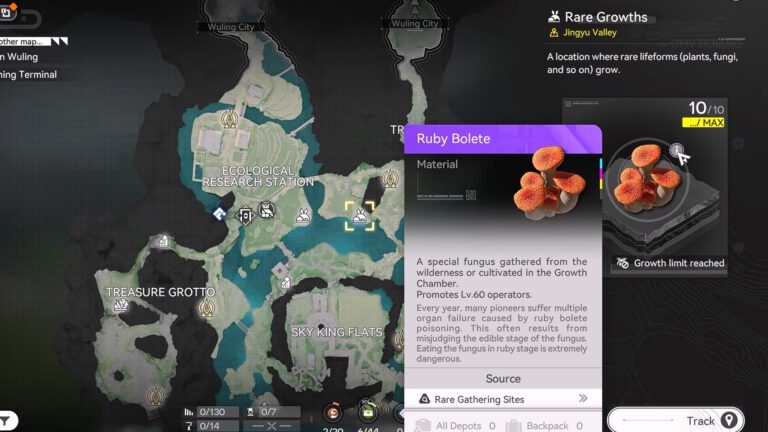
 Ruby Bolete Location in Arknights: EndfieldMay 14, 2026
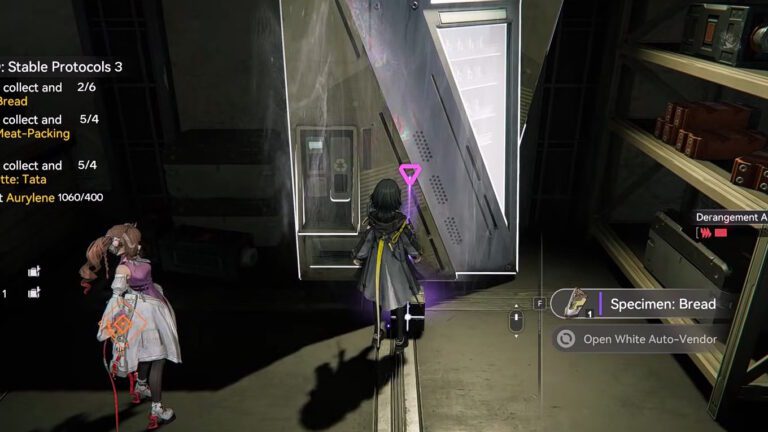
 Specimen Bread Location in Arknights EndfieldMay 12, 2026
Talk to Tin Ingot to find out he’s troubled by the Sword Pells nearby. Interact with the closest Sword Pell yourself and you’ll see 3 pressure plates light up in order.
This is, in essence, a Simon Says puzzle. You have to remember the sequence of pressure plates and dive attack (jump and attack) them in the same order, as shown in the clip below.
Since this is the first one, it’s pretty simple and serves mostly as a tutorial. The sequence this time is as follows:
- Right.
- Middle.
- Left.
Once you input the sequence properly, a short cutscene will play out showing the path to the next Sword Pell. Strap in, because you’re just getting started!
How to Raise the Second Pell
After solving the first Sword Pell puzzle, talk to Tin Ingot again. Then, follow the path that opened up and use the jump pad to reach up to the second Sword Pell, as shown in the video above.
Like before, interact with the Sword Pell and a sequence of pressure plates will play out. You’ll once again need to repeat the sequence in the exact order shown. It’s more or less the same as the first puzzle, but a lot more complex!
To help you further, here’s a quick reference of the sequence you have to follow, based on the same camera angle the preview in-game shows:
- Bottom Right.
- Top Left.
- Top Right.
- Bottom Left.
Do it right and you’ll once again be shown a cutscene with the path to the next Sword Pell. Making progress here!
How to Raise the Third Pell
Drop down from where the second Sword Pell was and walk across to the opposite side of the fountain. Use the jump pad there to reach the third Sword Pell, as shown in the clip below.
Much like before, this puzzle just requires you to repeat the sequence by doing dive attacks on the pressure plates. The trick here is that there is a 5th pressure plate hidden behind a shelf at the top!
The sequence for this one is as follows:
- Bottom Left.
- Bottom Right.
- Top Left.
- Top Center (the hidden pressure plate behind the shelf).
- Top Right.
You’ll once again get a cutscene as soon as you input the right sequence, showing the final platform raising around the central Sword Pell.
However, things are different this time! You’ll immediately be shown a long sequence of pressure plates. Try to pay attention to memorize it! Though you know I’ll give you the full sequence in a moment to help you out, of course.
How to Raise the Central Pell
Since the game probably caught you off guard with the sequence before, please refer to the clip below for the solution to the central Sword Pell. This Sword Pell is in the center of the fountain, as a reminder.
The sequence for this one is a massive step up from the previous 3 Sword Pells, requiring a total of 10 inputs across 3 pressure plates! So, if you find it hard to memorize, here’s the sequence written down for you:
- Right.
- Bottom.
- Left.
- Bottom.
- Right.
- Left.
- Bottom.
- Right.
- Bottom.
- Left.
Manage to input the sequence right and you’ll only have one thing left to do at this point: talk to Tin Ingot once more. It’s time for him to celebrate! But not for long… well, you’ll see it for yourself.
Regardless, that’s all you need to do to complete “The Three Swords of Mastery” in Arknights: Endfield. For help with another long quest, check out our guide on “Fix the Super Crane.”