59 articles
The Siwakama Shrine in the Gerudo Desert involves massive stone spheres that are necessary for solving the puzzle.
The gist is to move the spheres around in certain areas of the shrine and use them as a platform to get to the very end. As always, you’ll get a Light of Blessing upon completion.
If you don’t know how to solve the puzzle, this quick guide will help you out.
How to Solve the Siwakama Shrine Puzzle in Zelda: Tears of the Kingdom
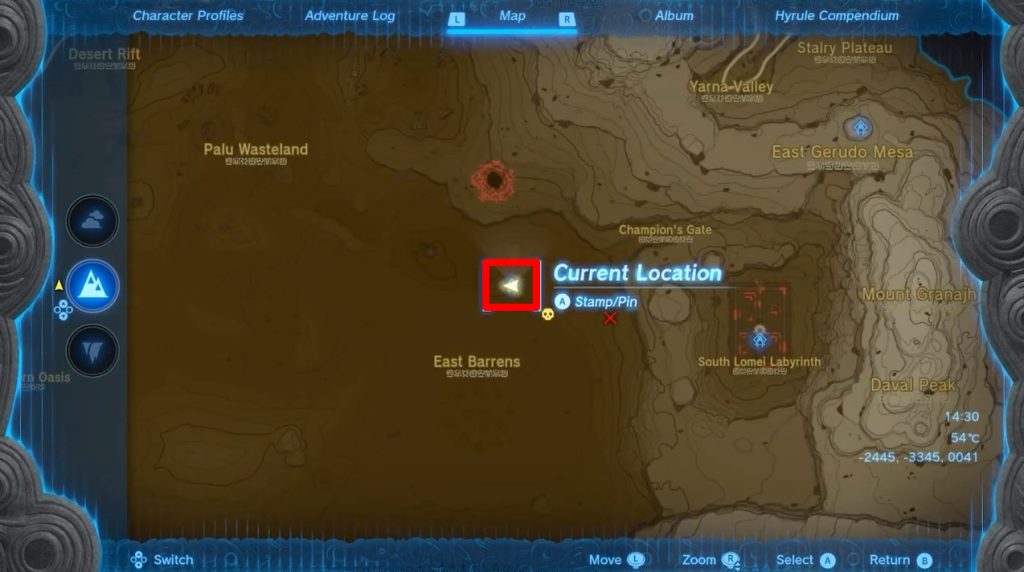
You’ll be able to find the location of the Siwakama Shrine’s entrance in the eastern part of the Gerudo Desert. It’s slightly east of Champion’s Gate as shown in the image above.
 How to Get Full Sheik Gear Set in Zelda Tears of the KingdomMay 26, 2023
 Zelda Tears of the Kingdom: Spotting Spot Quest GuideMay 25, 2023
 How to Upgrade Your Horse in The Legend of Zelda Tears of the KingdomMay 19, 2023
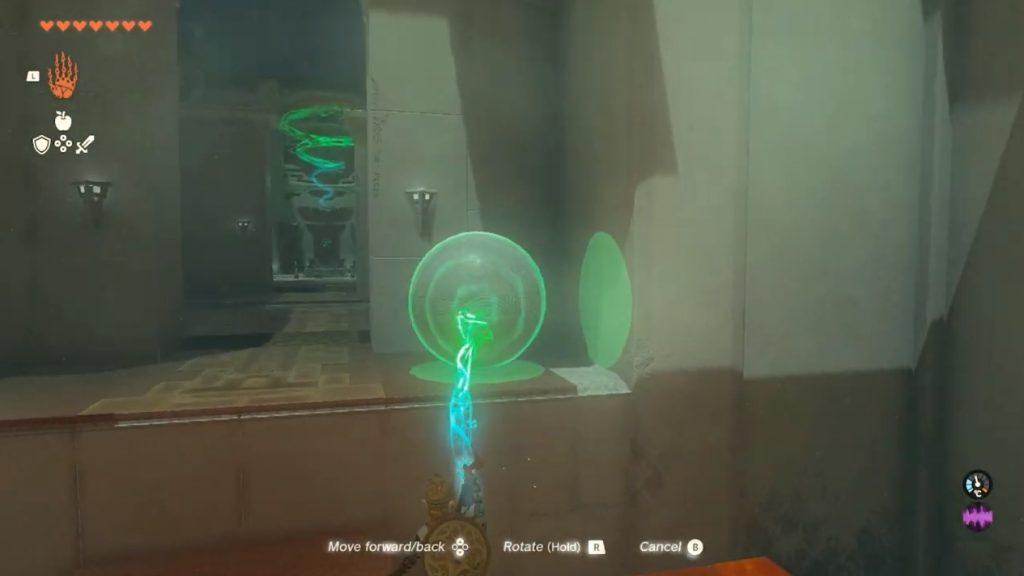
You’ll notice a massive stone sphere just up ahead. Use your Ultrahand to grab it then place it on the trench directly in front of you.
Use it as a platform to jump over so you can get to the other side.
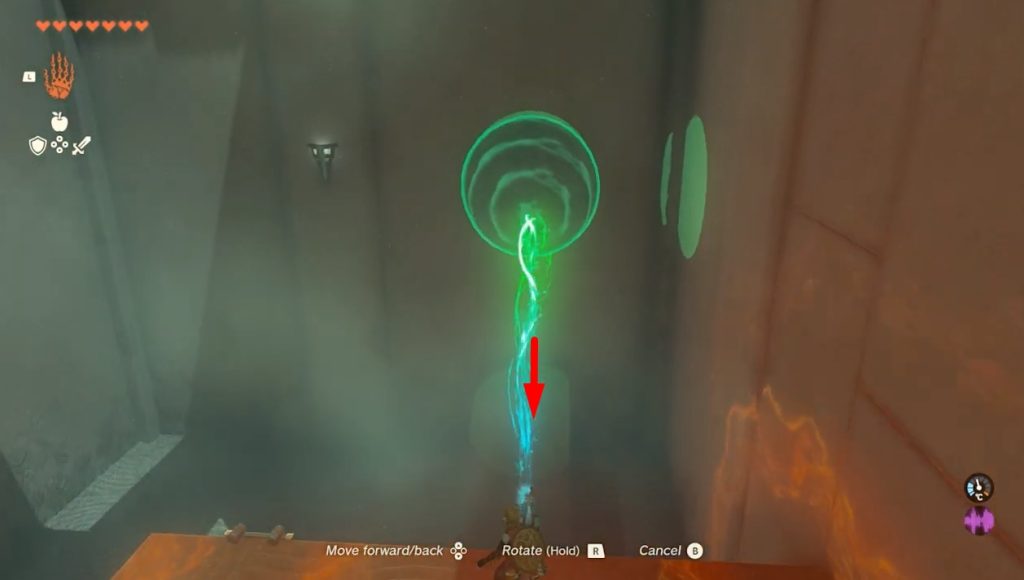
Grab the ball and bring it with you to the next room. Then, turn to the right and place it on top of a ramp. This will cause it to roll down, revealing a hidden wall.
Get inside the room in the hidden wall to find a chest containing some Bomb Flowers.
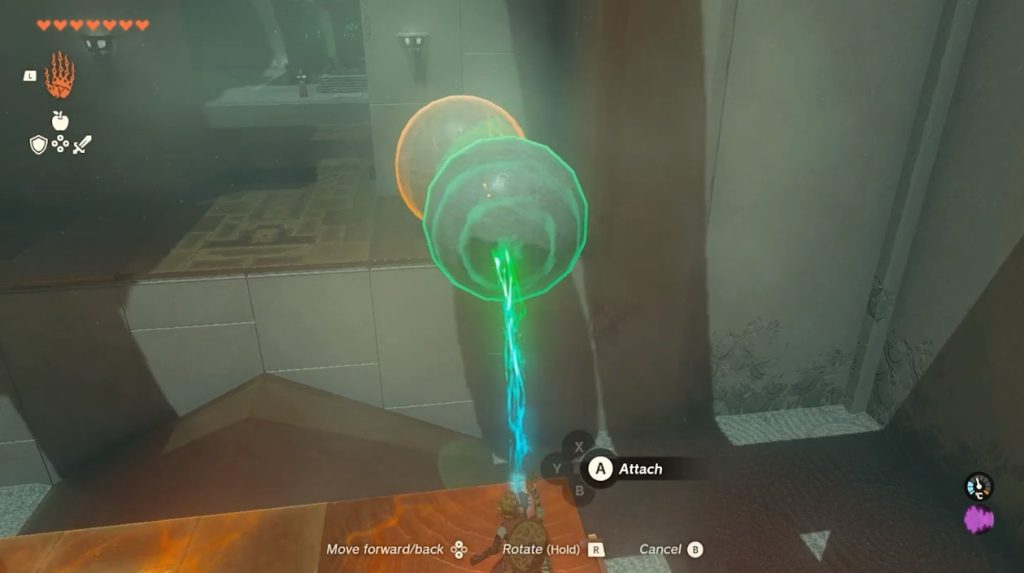
Return to the upper level then grab the sphere once more. This time, attach it with another giant sphere on the right corner up ahead.
Then, place it in front of you and make sure they’re properly positioned in the pointed ramp. This should allow you to use the spheres as a platform to cross to the next area.
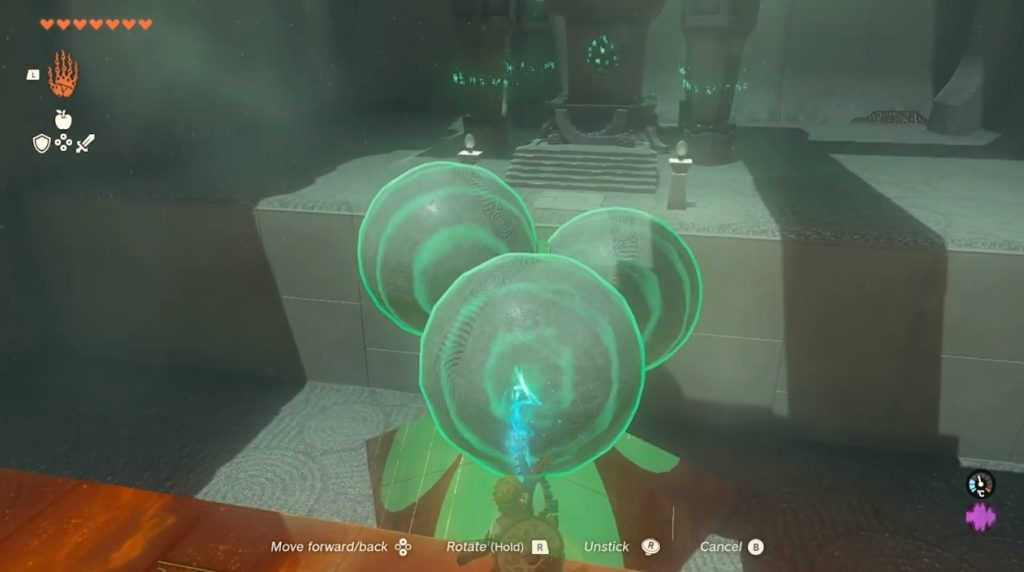
Same as before, bring the two spheres with you to the final room. You’ll notice a third sphere on the ground to the right.
Attach the two spheres with it, then place them properly in the pyramid in the middle.
This might take a little while, but once they’re positioned properly, you can then use them to get to the other side.
Afterward, interact with the sigil to get a Light of Blessing as your reward.
ALSO READ: All Puzzle Solutions in Rotsumamu Shrine – Zelda Tears of the Kingdom