88 articles
Blacksmithing is one of the new activities Henry can partake in in Kingdom Come Deliverance 2.
This allows you to craft various things, primarily weapons like swords and axes. However, it can also be used to make certain tools, like horseshoes. Mastering this activity can be extremely rewarding, as it allows you to create high-quality items.
In this guide, we’ll tell you the basics of how blacksmithing works in Kingdom Come Deliverance 2 and give you tips to make it easier.
Blacksmithing Guide | Kingdom Come Deliverance 2
Starting the Smithing Process
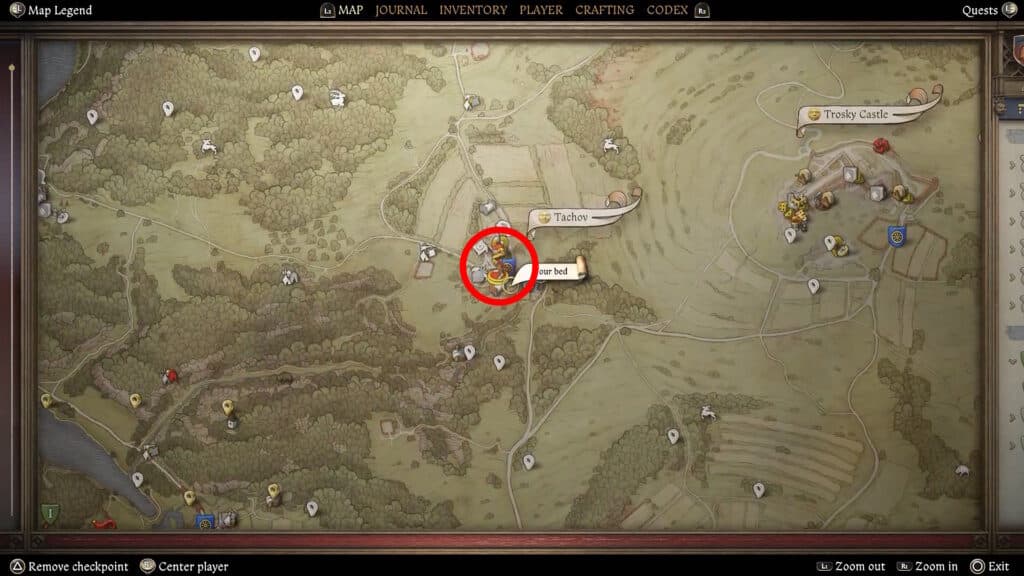
You can start Blacksmithing in Kingdom Come Deliverance 2 once you meet your first blacksmith. For most players, this would be Blacksmith Radovan in Tachov. This can happen early on as part of the “Wedding Crashers” quest and can help you get the best equipment possible for said quest.
 How to Return 3 Lost Items in Opatowitz in KCD2 – In the Service of the GuildJul 7, 2026
 How to Solve Alchemist Riddle in KCD2 – Fetch Ingredients for BushekSep 16, 2025
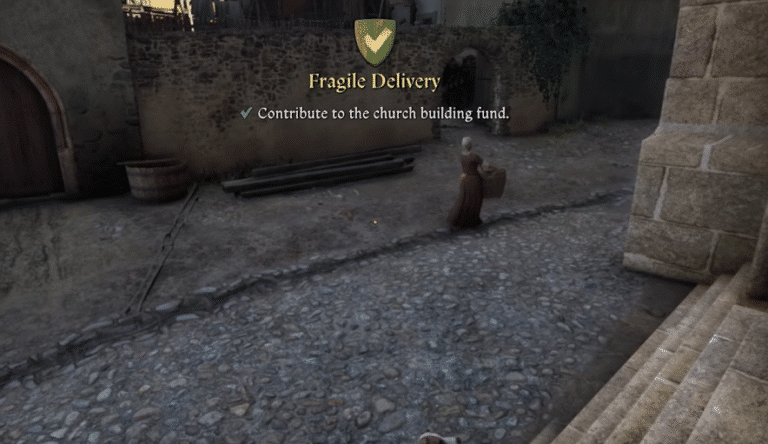
 How Much to Contribute to Church Building Fund in KCD2 – Fragile Delivery TaskSep 15, 2025
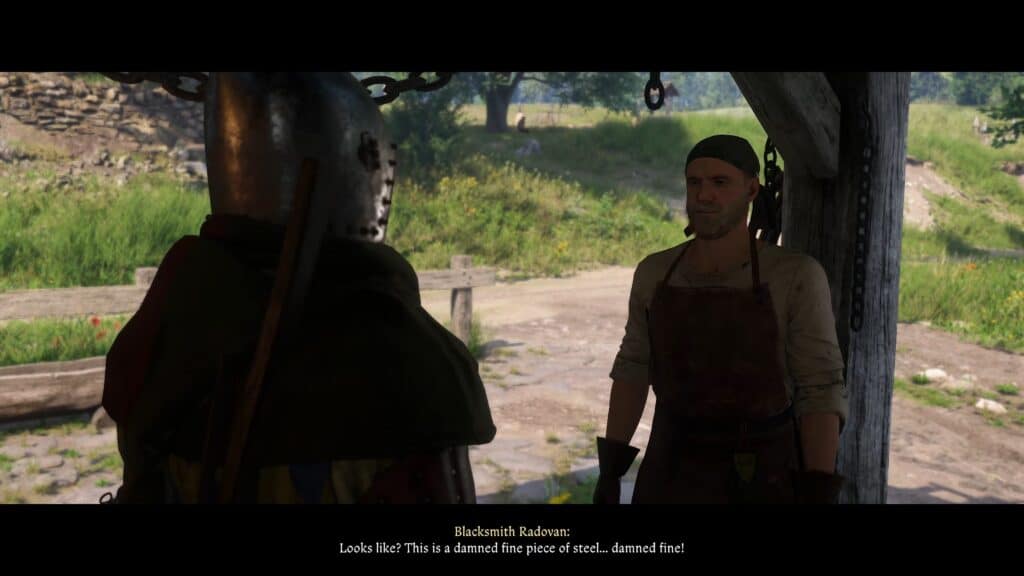
The key thing to look out for is that every blacksmith sells Sketches. These are, essentially, the crafting recipes you need to be able to start smithing. Each recipe has different materials depending on the quality and type of item you’re making.
You can also learn certain extra recipes by learning specific Perks. For example, the Martin’s Secret Perk from the Craftmanship skill unlocks the highest quality weapons in the game.
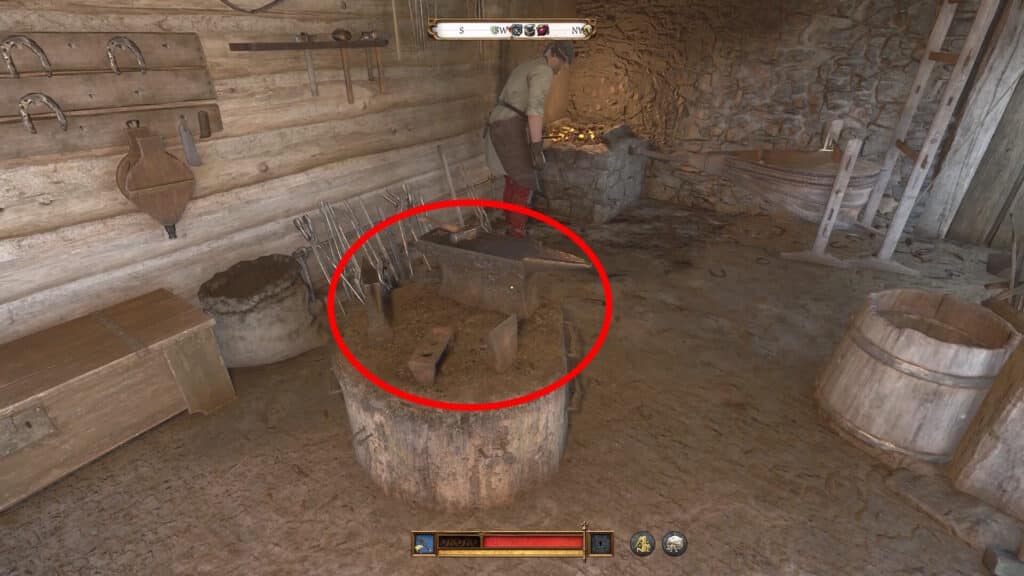
Once you have a sketch or two and the materials required, you can initiate blacksmithing by interacting with any anvil you find at a smithy. Select the item you want to create and a 3-step process will begin!
Bonus Tip: we recommend making a save before blacksmithing if you’re low on resources. You can always reload if you mess up, as long as you don’t mind a little savescumming.
Heat the Metal

The first step in the smithing process is to heat up the metal you’re going to use. This is fairly simple, you just need to blow the bellows liven up the fire while moving your workpiece. You can check the controls in the bottom right corner of the screen.
It’s a good idea to blow the bellows up to three times in a row. Then, move to the next section of your workpiece and blow the bellows again. Of course, the specifics will depend on what exactly you’re making.
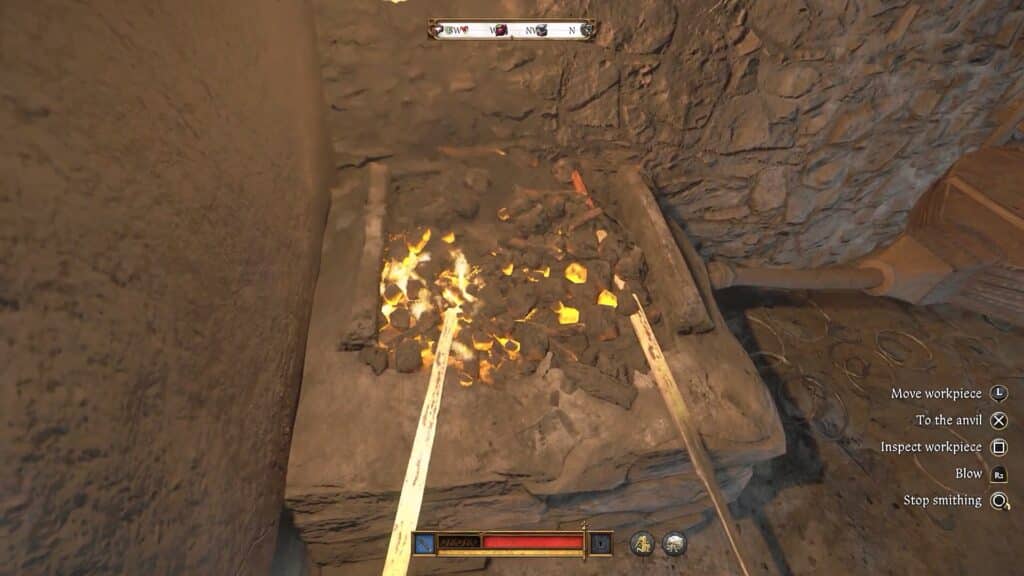
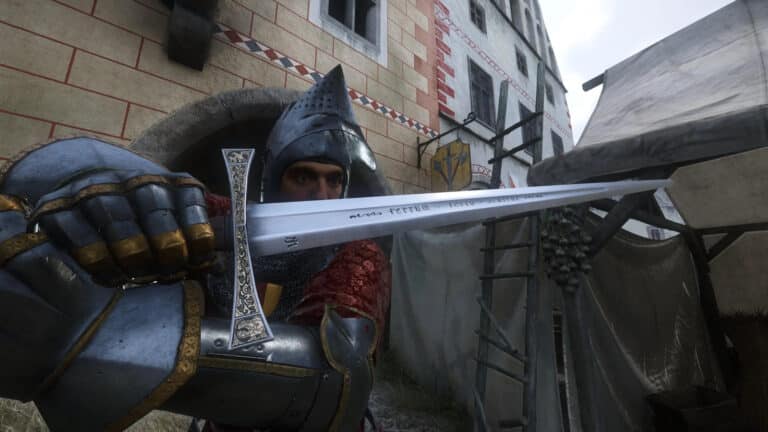
However, there’s a simple rule to follow here: make sure that your entire workpiece has an even golden glow. The image above shows an example of a properly heated sword. As long as it’s all evenly heated up, you’ll be fine! When you’re done, take it to the anvil.
As a extra pointer, make sure to pay attention to Henry. As a blacksmith’s son, he knows a thing or two about smithing. He’ll comment on if the workpiece is ready for the next step or not. This tip applies to every single step of the smithing process.
It’s Hammer Time
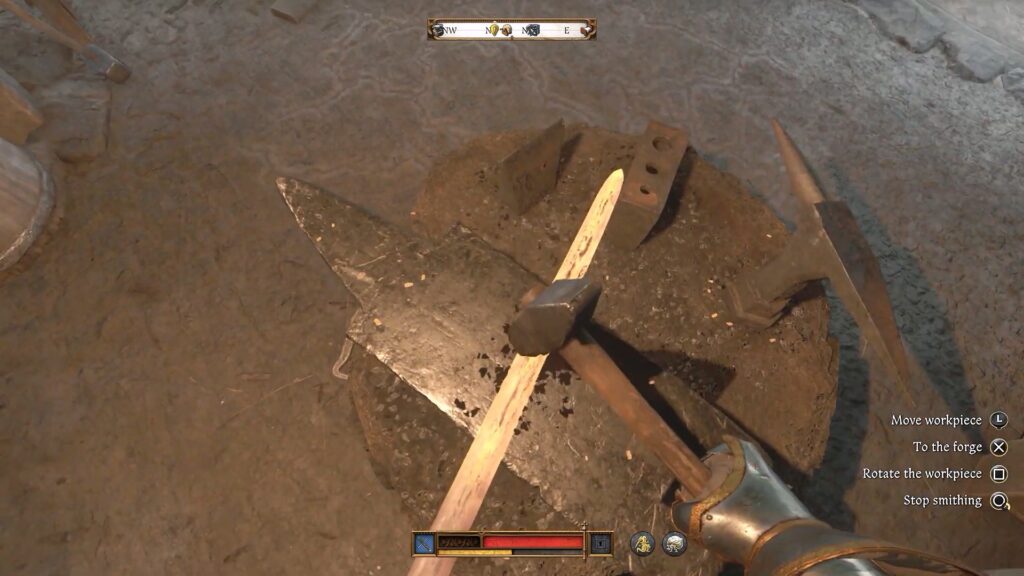
This is the simplest part of the process, but also the hardest to get right. You have to hammer your workpiece into shape. You can hit different spots of the workpiece and also turn it around to hit the other side. Try to hammer up and down the workpiece doing a pass on one side, the flipping it over to repeat the process in the other side.
The key here is to have a solid rhythm. You want to hammer fast so that the workpiece doesn’t cool down, but you also don’t want to hammer too fast. Also, be warned, that you’ll need to manage your Stamina during the entire hammering process.
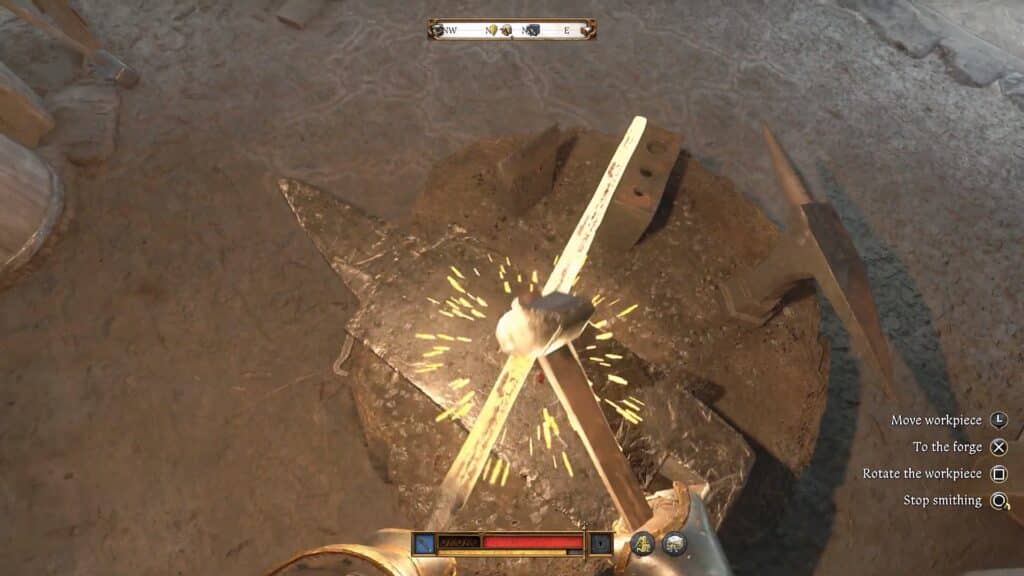
That said, there are two indicators here to let you know how well you’re done: sparks and Henry’s humming.
If you see sparks when you hammer the workpiece, your hit was spot-on. Getting a dud hit with no sparks means you didn’t time it properly. When you have a consistently good rhythm going, Henry will start humming a little tune. Look out for both of these indicators and adjust your rhythm accordingly!
Let Henry Finish Up
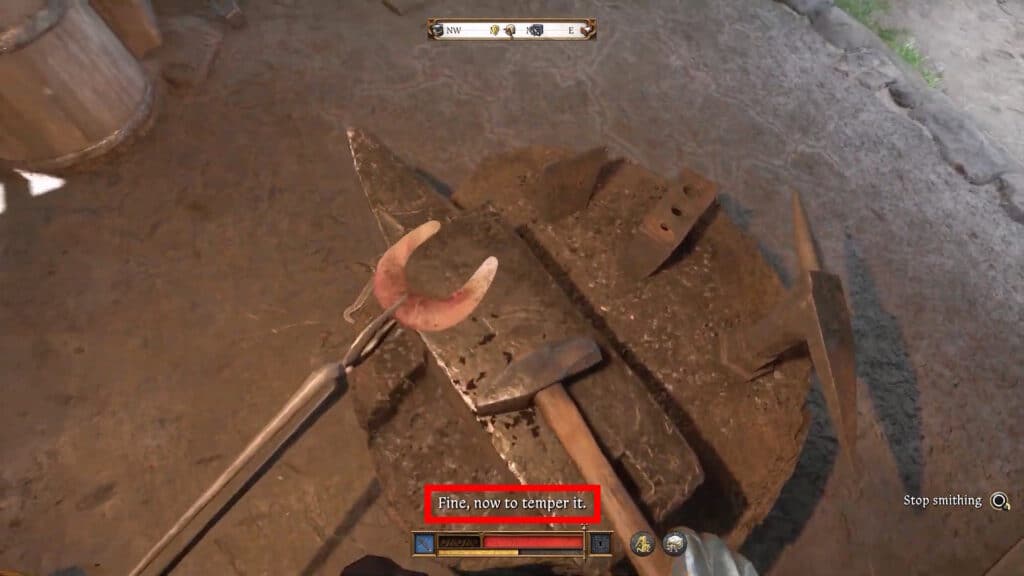
The third and final step is, thankfully, automatic. Henry will say that that workpiece is fine and that he just needs to temper it. When he says that, just stop smithing and let him take over. He’ll finish creating the workpiece you were working on!
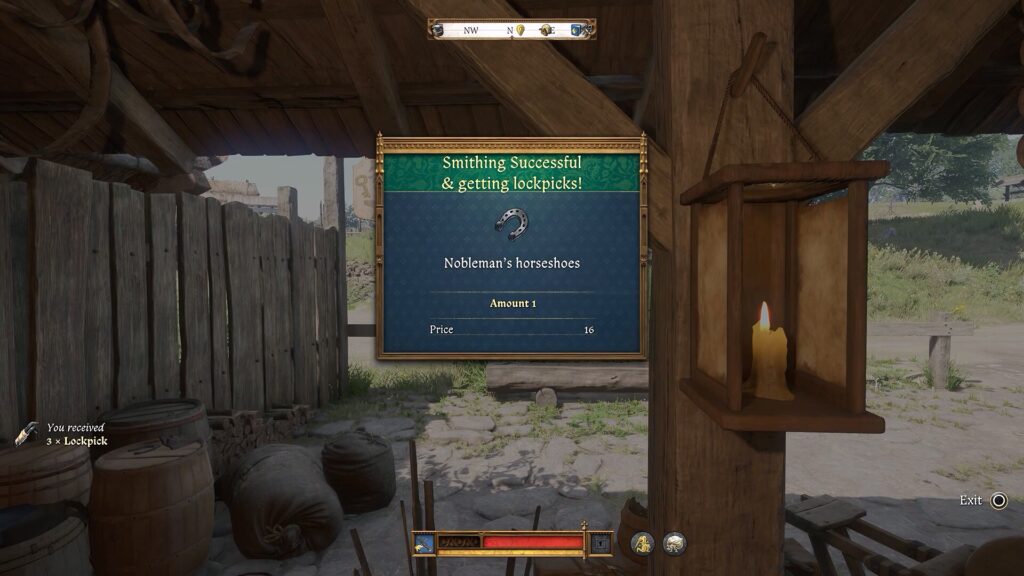
At this point, the results of your blacksmithing will appear on screen. If you have the Locksmith perk, you’ll also get a few lockpicks. The quality will depend on how well you performed during the previous steps. This is all very reliant on practice, so don’t feel bad if your first few attempts result in low-quality items.
That’s all you need to know to get started with blacksmithing in Kingdom Come Deliverance 2. Keep practicing this and raising your Craftmanship level to be able to create better items. It requires patience, but mastering blacksmithing is a good way to get top-tier weapons fairly easily.
Besides making your own weapons via blacksmithing, you can also create potions with various effects. To know more, check out our guide on Alchemy and how to brew potions.