162 articles
The Blue Gate map in ARC Raiders has a few secret puzzles to it, and completing them is a great way to get rare loot and a lot of coins!
These puzzles are all spread all over the map. None of them are super complex, but they can be very hard to figure out when dealing with hostile Raiders and the ARCs. So, it’s a good idea to know how to solve them before you dive in.
In this guide, we’ll tell you how to complete every one of these puzzles with ease.
Blue Gate ALL Secret Puzzles Guide | ARC Raiders – Rare Loot and Coins
Ancient Fort Fuel Cells
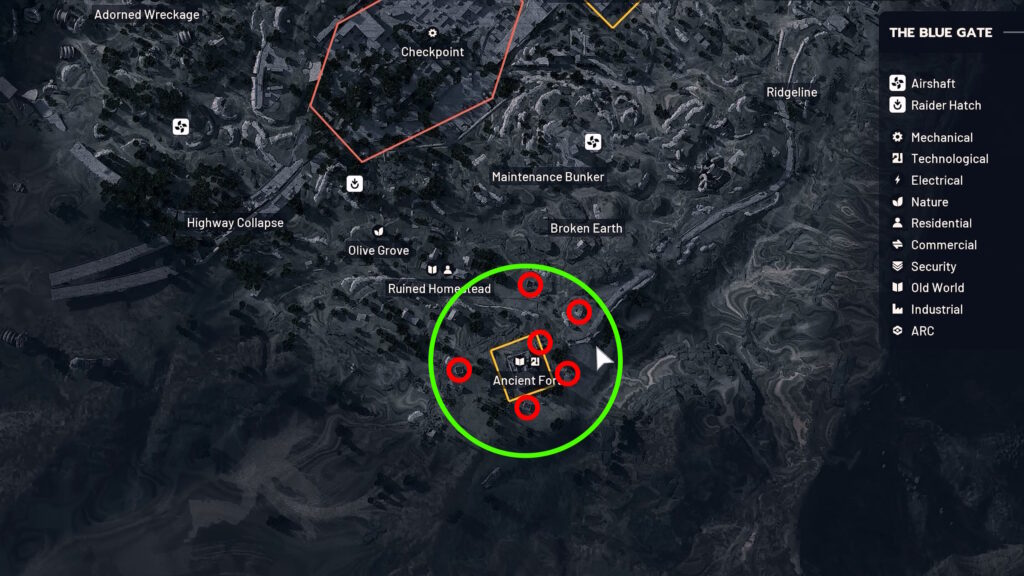
For this puzzle, you’ll need to go to the Ancient Fort in the southeastern part of the map. More specifically, you need to check the 6 square-shaped ruins on the fort’s perimeter. They are represented by the smaller red circles on the map above. This puzzle is easier if you have teammates, also!
 Hotel Panorama Puzzle Solution in ARC RaidersApr 30, 2026
 ARC Raiders: How to Find & Use Dockmaster’s DetectorApr 30, 2026
 ARC Raiders: Where to Find Turbine CompressorApr 30, 2026
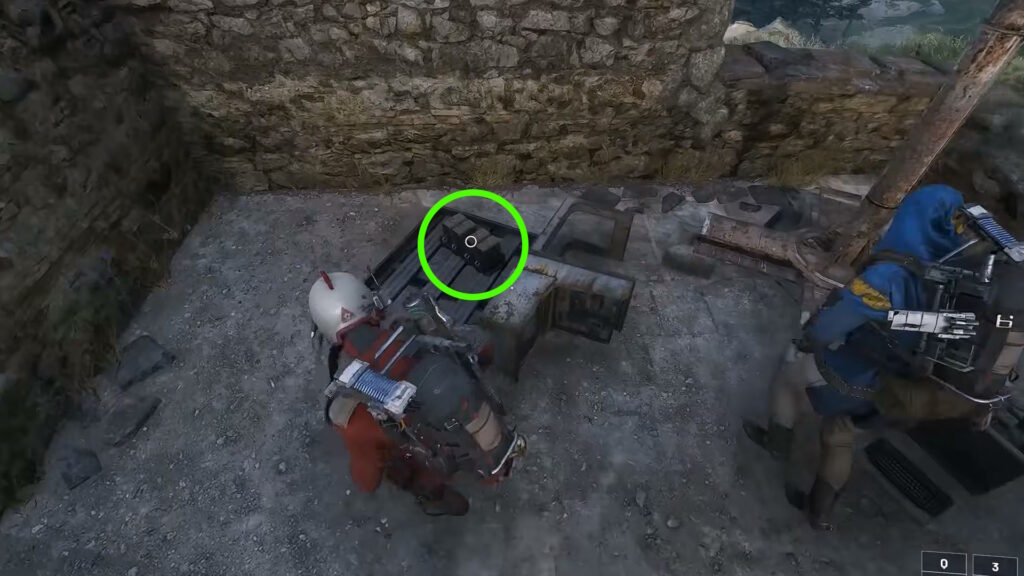
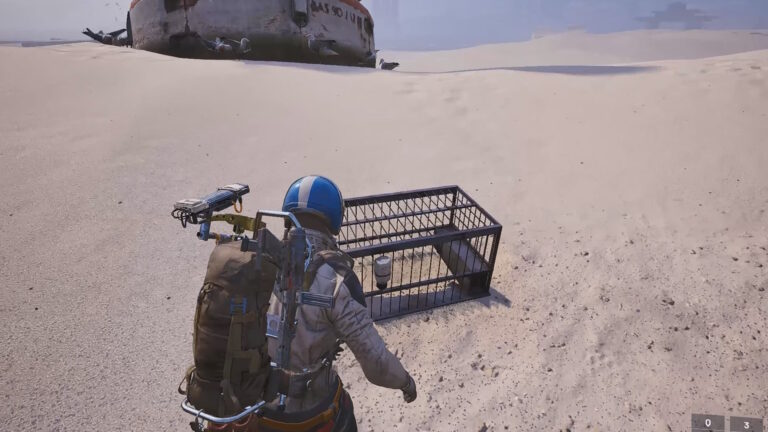
These ruins all have a chance to contain a fuel cell. Your goal here is to grab 3 of these fuel cells and put them into the empty power banks in the fort’s central tower.
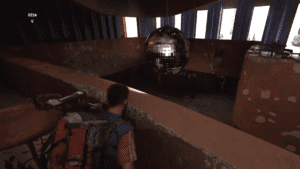
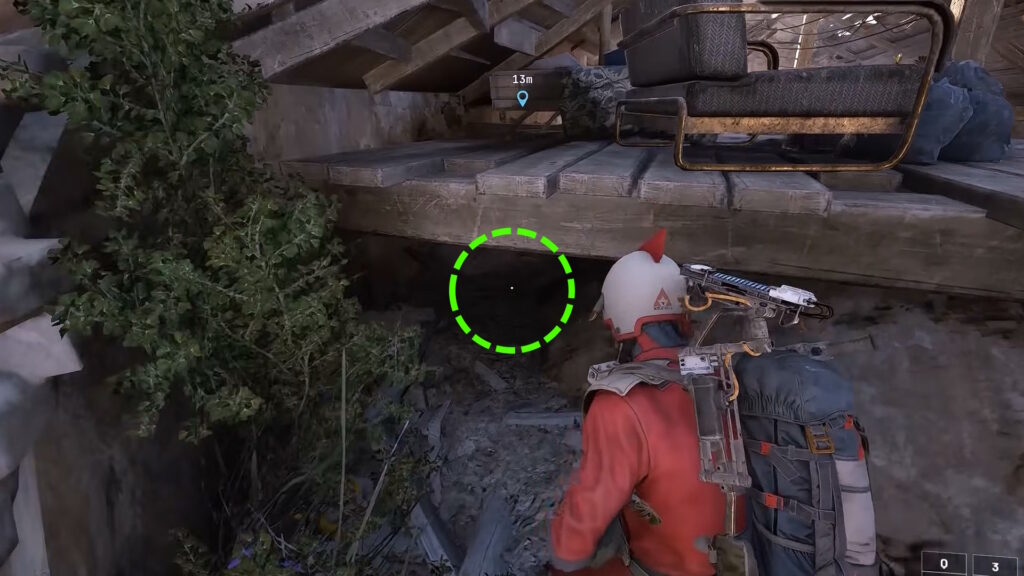
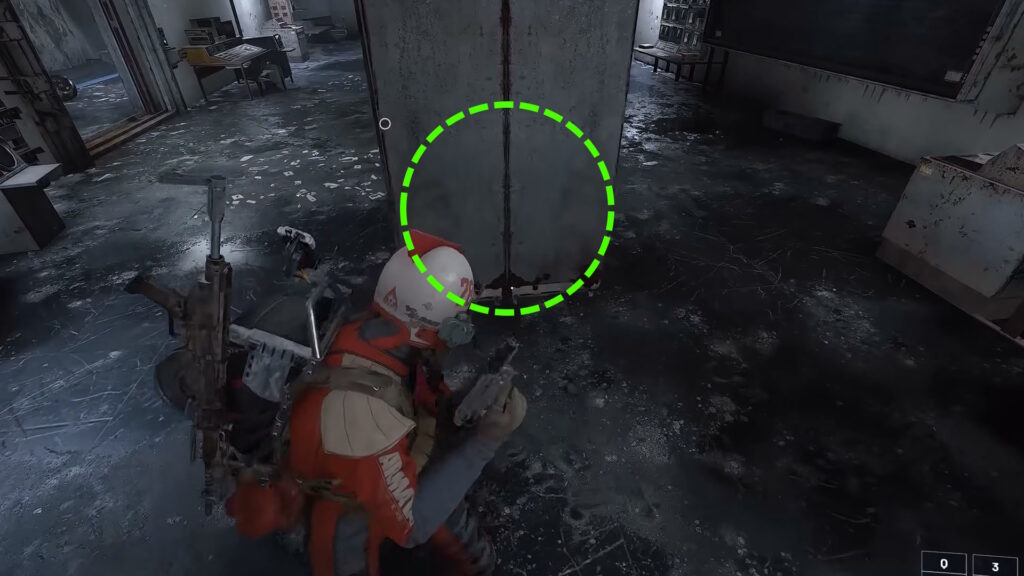
Aside from these ruins, though, a fuel cell can also spawn in the central tower. It’ll be in the dark room to your right as you enter the central tower, as shown in the clip above.
Now that you know where to find the fuel cells, it’s time to start putting them into the power banks in the central tower!
But first, do note that you can only carry one fuel cell at a time. You also can’t use your weapons while holding the fuel cell. This is why we recommended getting some help for this puzzle.
Anyway, one of the power banks is on the southeastern wall on the outside of the central tower.
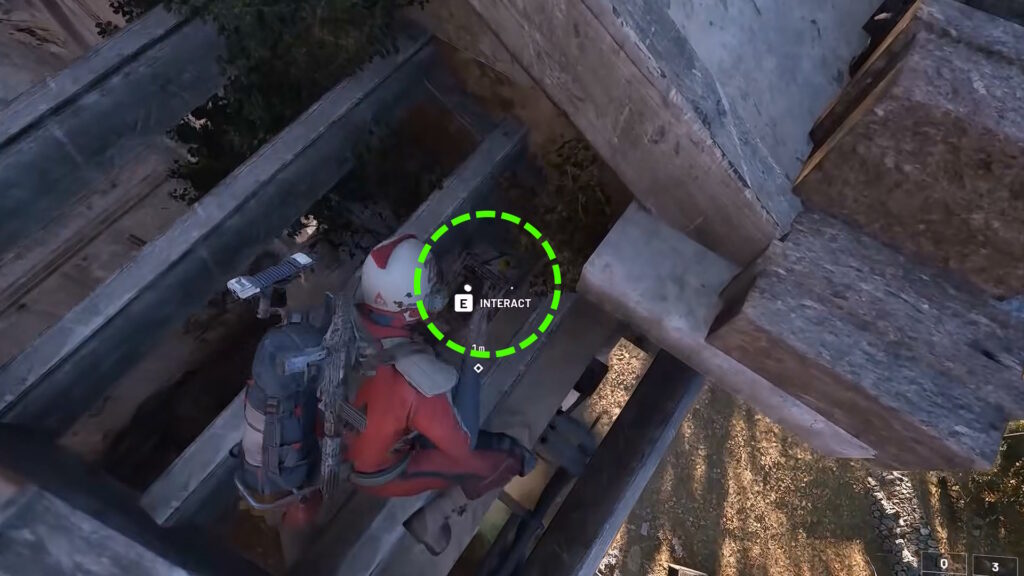
Another power bank is to your right as you take the stairs up to the second floor of the central tower.
Lastly, there’s a power bank at the very top of the central tower. It’s in the dark room at the top, near a ladder.
Do note, you can also follow the black cables on the ground. They’re all connected to the power banks here, so they lead you straight to them.

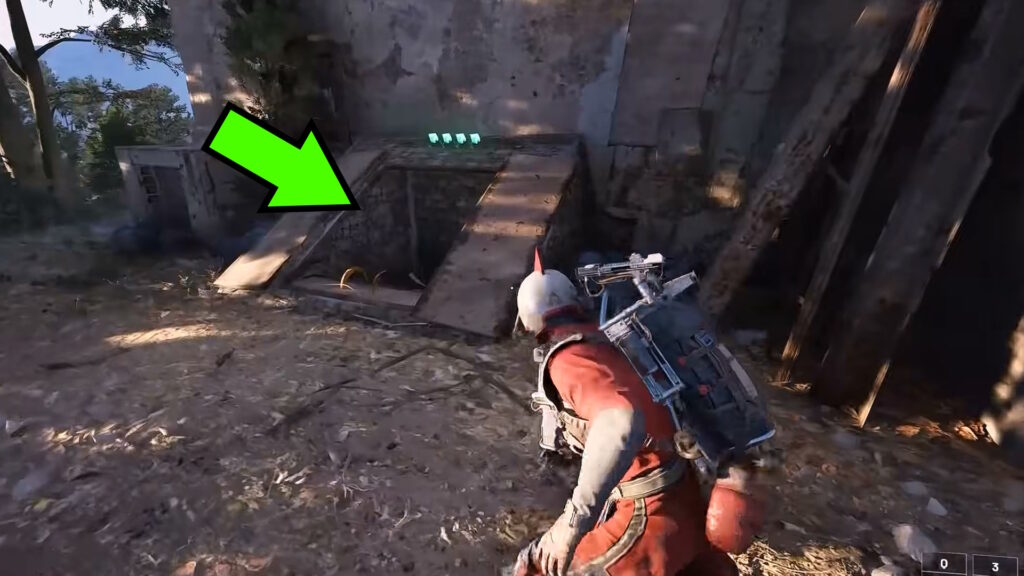
Once all the fuel cells are in place, check the northwestern wall of the central tower’s exterior. The basement hatch there should now be open, allowing you to enter a secret area! All that’s left for you to do is to grab all the loot within.
Raider’s Refuge

For the next puzzle, you need to go to the Raider’s Refuge. It’s within the forest area, on the northwestern corner of the Blue Gate map.
Once you get there, look at the southeastern wall of the refuge. You’ll once again find a locked hatch. To unlock it, you’ll need to find 4 switches hidden all over the Raider’s Refuge.
Now, finding these switches can be quite tricky. Mainly because their locations seem to be randomized! But also because there will likely be other players in the area, also looking for these switches to beat you to the loot.
Regardless, let’s go over the switch spawn locations we do know of:
A switch can spawn to the left of the hatch, near the refuge’s entrance.
Another can spawn on the vanity in the middle of the refuge.
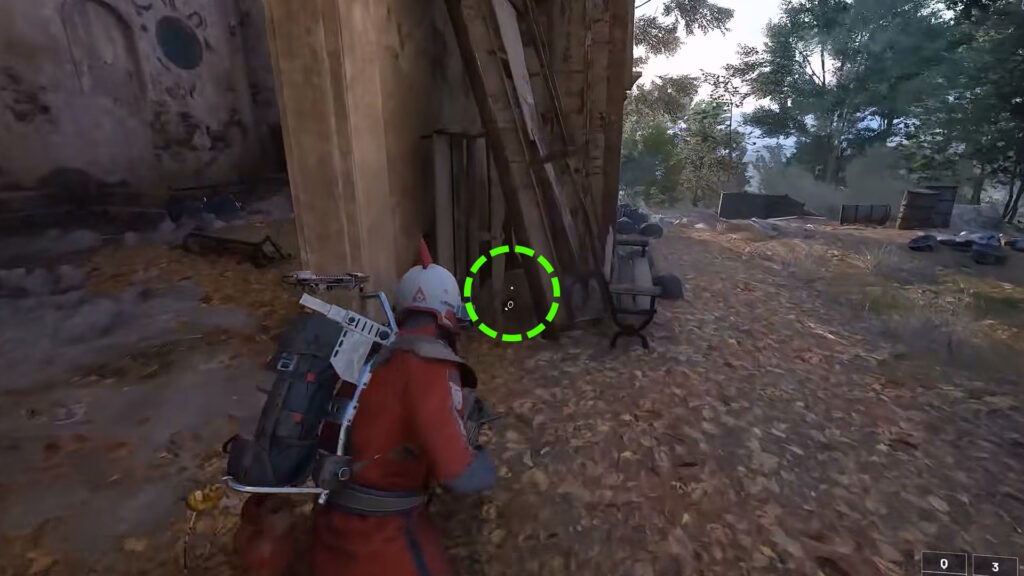
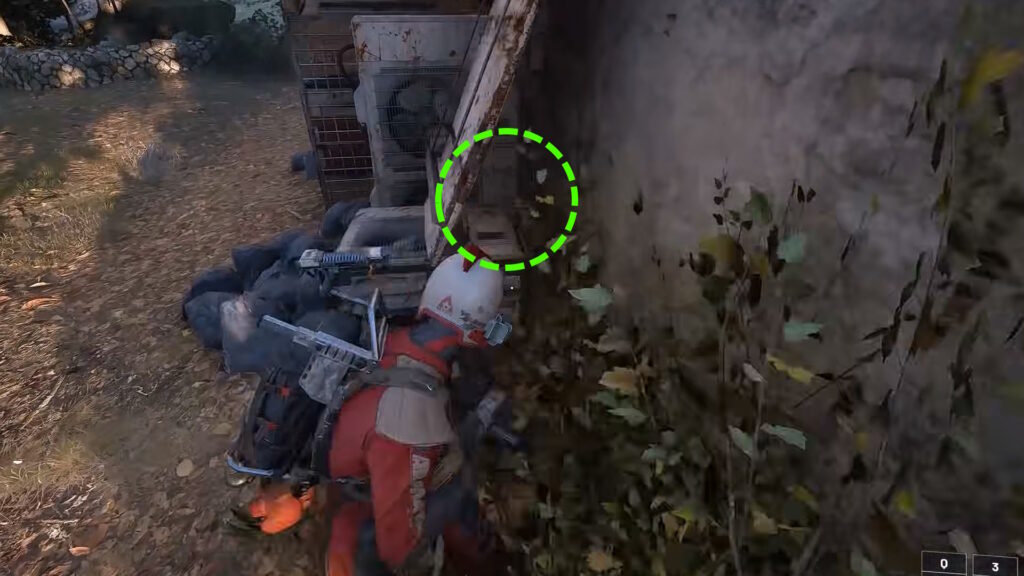
Yet another switch can appear on the northeastern corner of the refuge. It would be atop the junk on the exterior.
A particularly tricky one can spawn behind some debris by the northwestern entrance to the refuge.
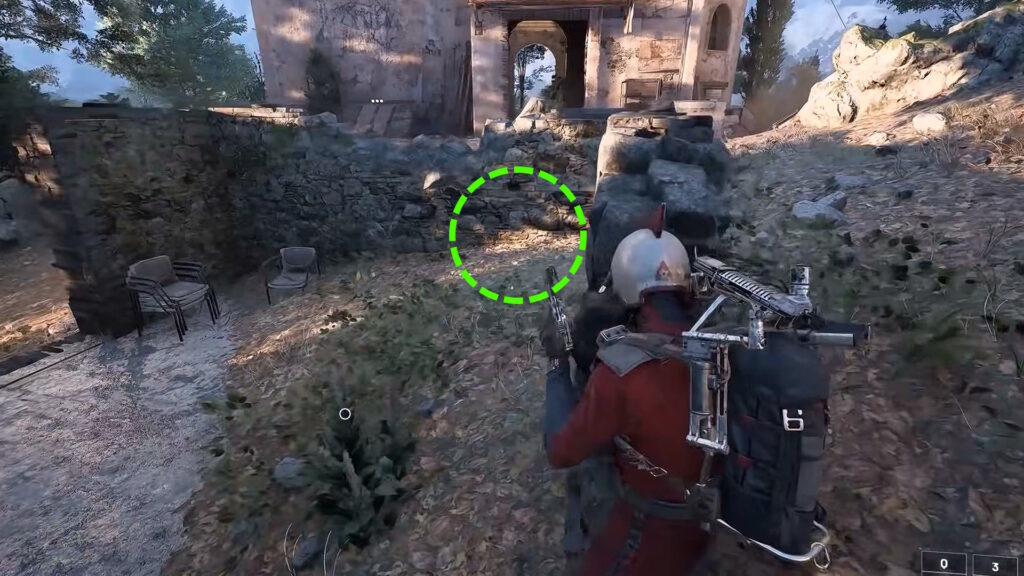
Similarly tricky, another potential spawn location is behind some debris on the southwestern corner of the refuge’s exterior.
Far less tricky than those, a switch can spawn by the terminals inside the refuge proper.
Another location is the overhang on the northeastern part of the refuge. You’ll have to climb up to the top of the building to reach it.
One more location is on the western side of the ruined attic at the top of the refuge.
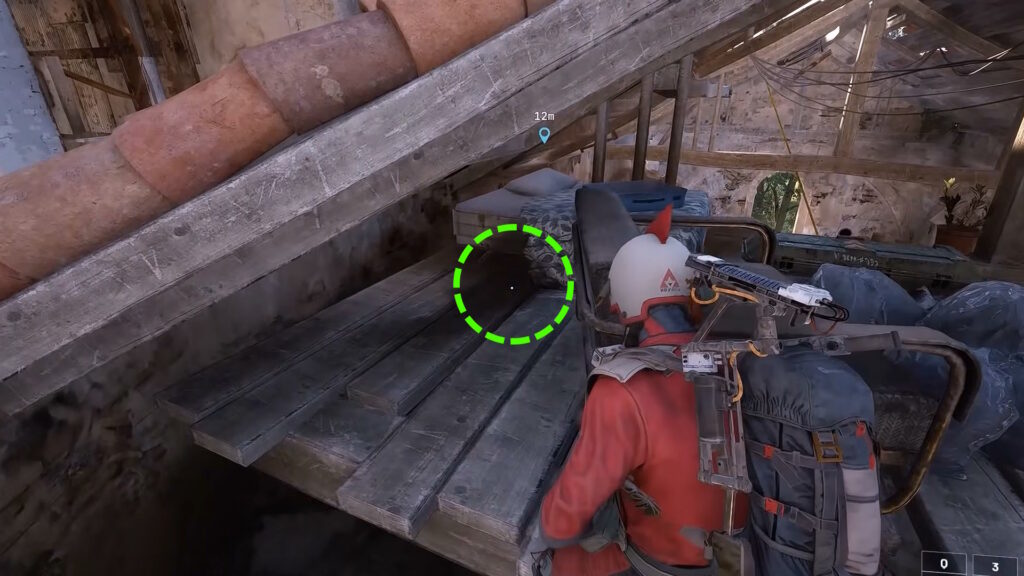
Speaking of that ruined attic, you can also find a switch on the eastern side!
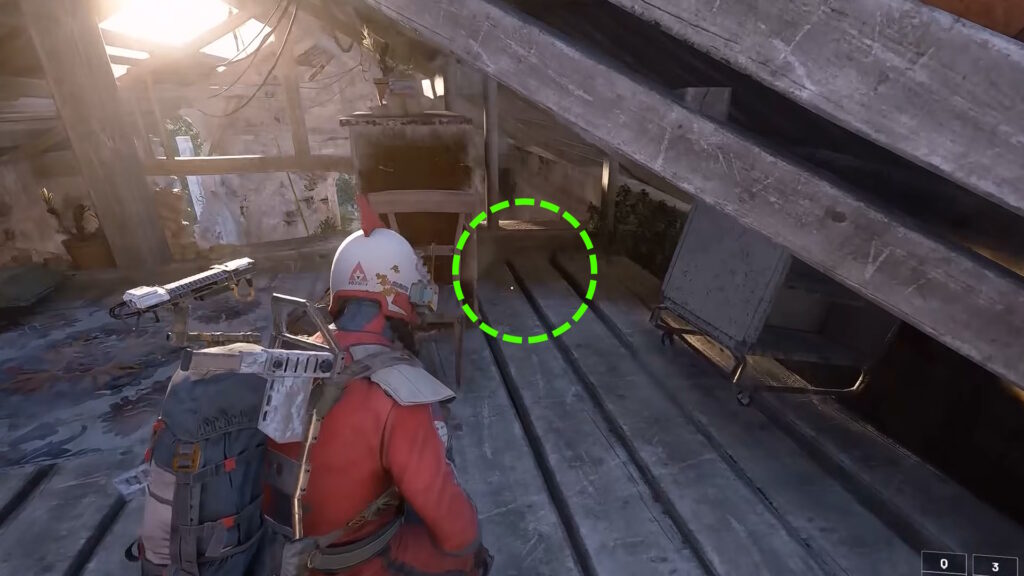
And potentially below the eastern side, under the attic’s floor.
While also on the rooftop of the building, another potential spawn location is a hole in the southwestern corner of the roof.
Lastly, a switch can also potentially spawn on the square-shaped ruin southeast of the refuge.
Phew, that’s a lot of potential locations! Admittedly, there could be even more of them, too. But regardless, press 4 of these switches and return to the hatch from earlier. You’ll notice that it is now open! Have fun looting the secret cellar.
Defender Husks
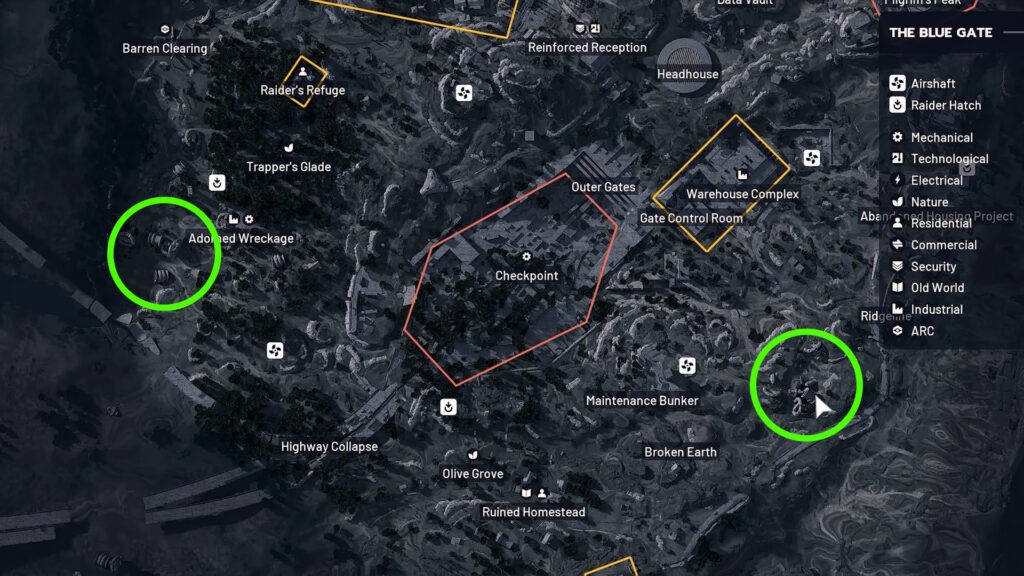
Next up are the Defender Husk puzzles. There are two of these, but both of them work pretty much the same. One is on the west by the Adorned Wrecked, while another is on the east by the Broken Earth.

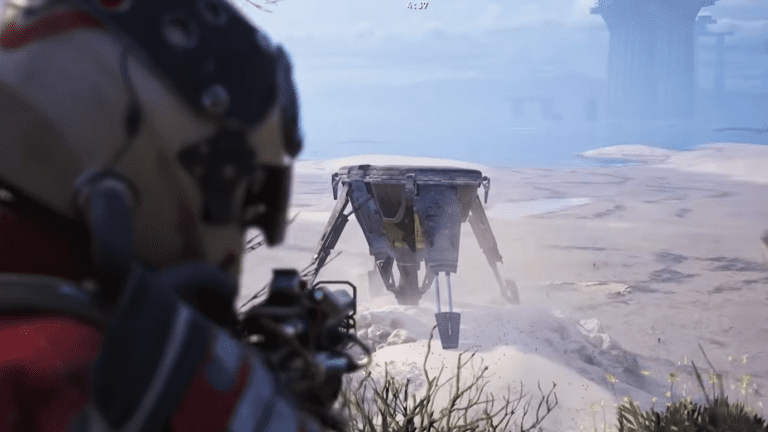
For your first step here, you will want to look for broken ARCs in the area. Loot them and collect at least 2 ARC Power Cells.
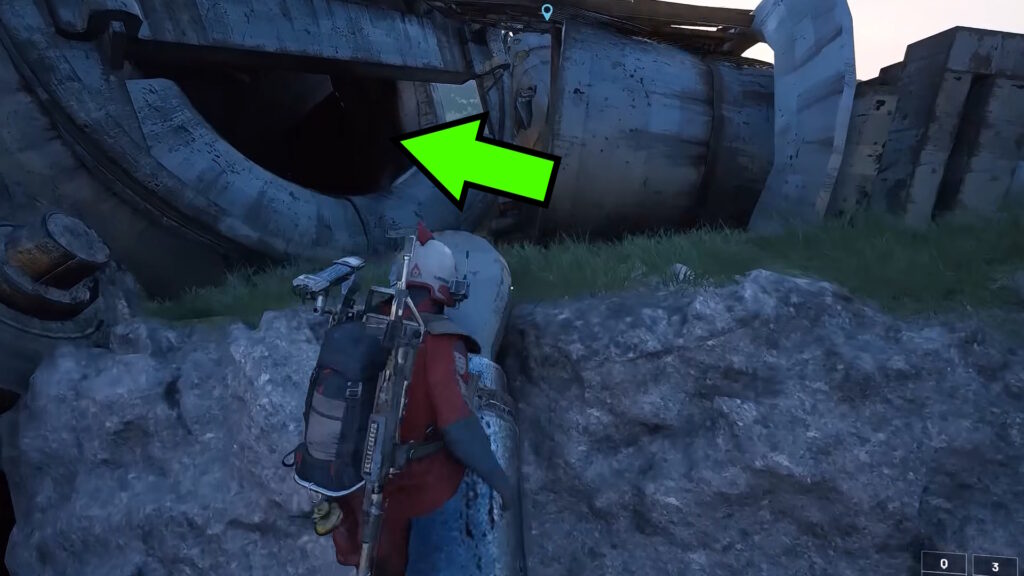
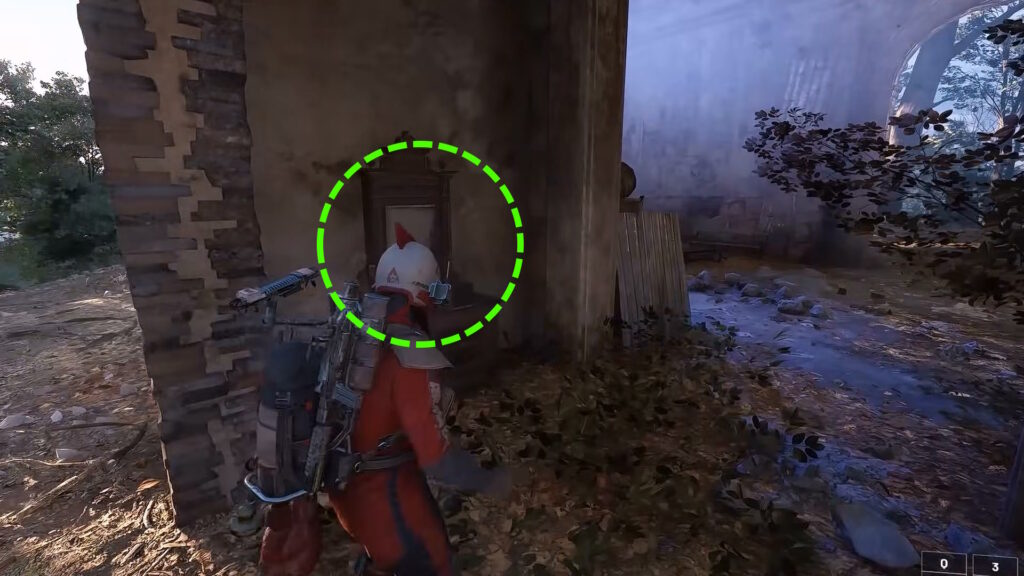
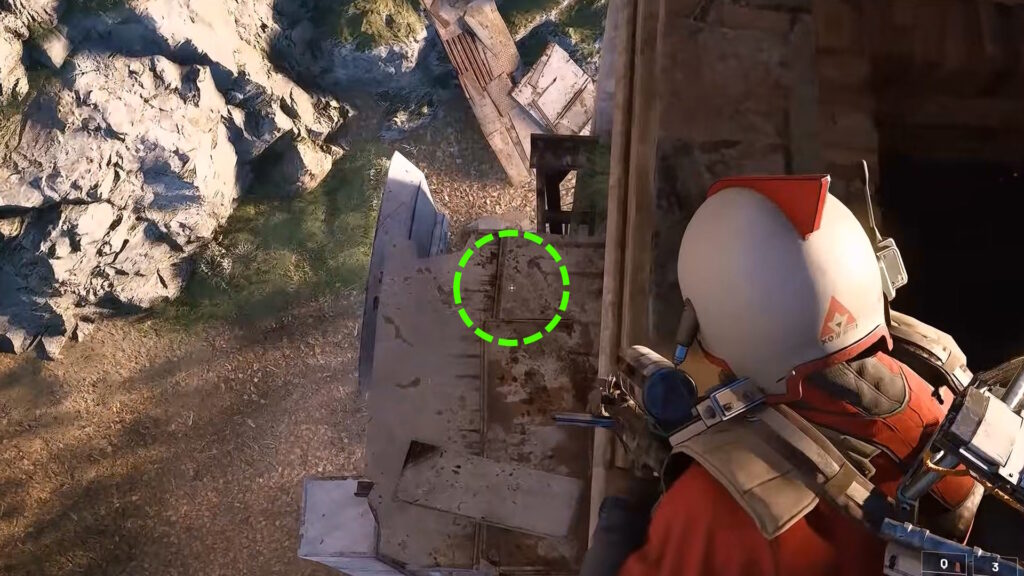
Once you manage to get the Power Cells, you will need to climb up inside the Defender Husk’s wreckage. The image above shows an example of what it looks like, using the eastern husk.
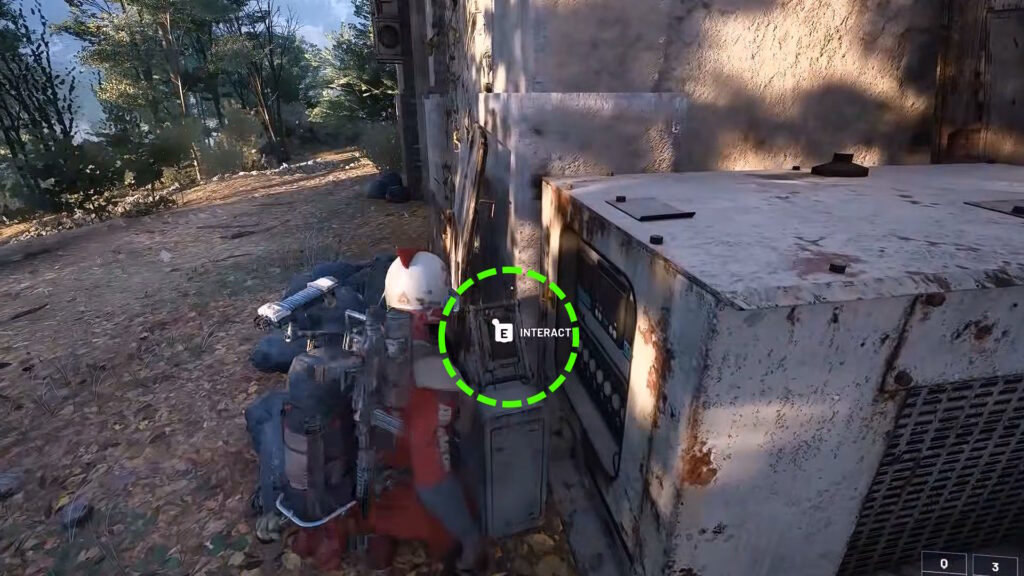
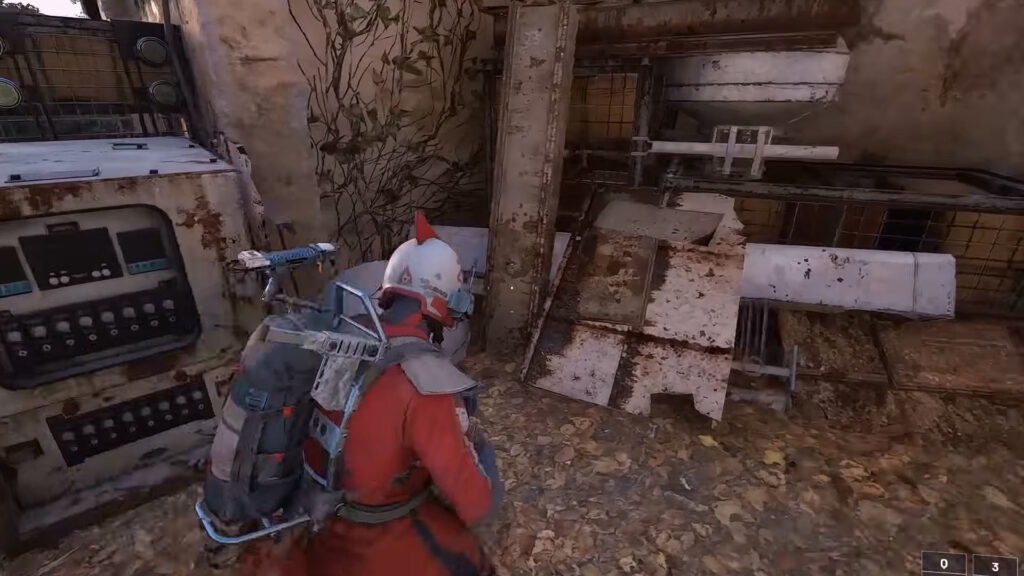
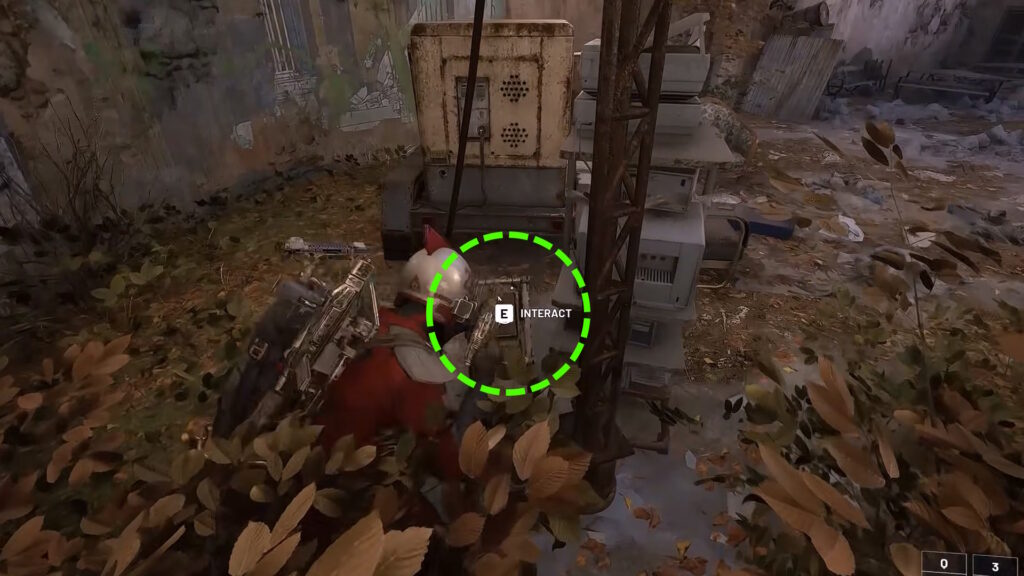
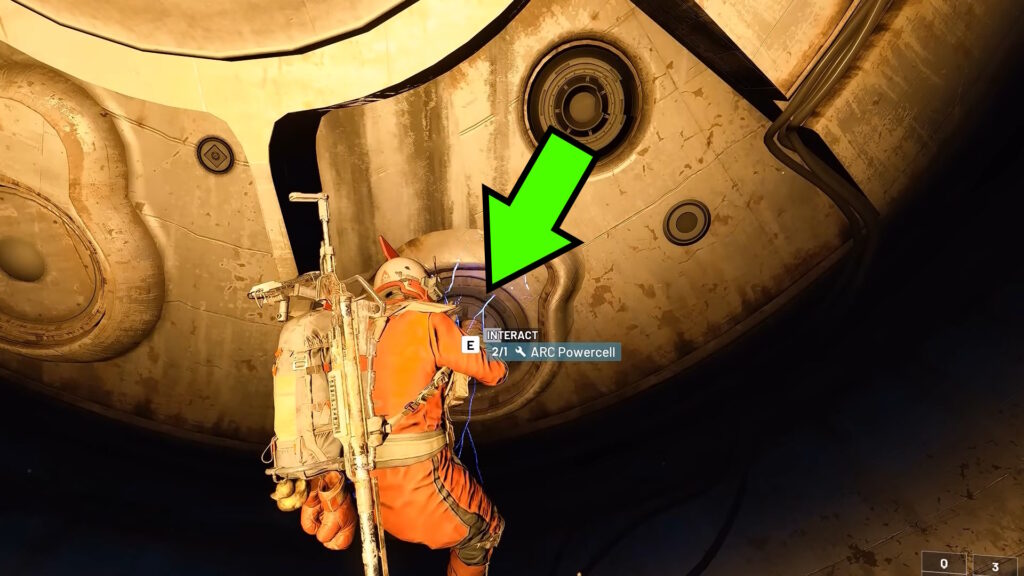
When you get inside, you’ll see some exposed wiring with electricity. Interact with it to insert one of the ARC Power Cells. This will cause a lot of noise, though, so be wary!
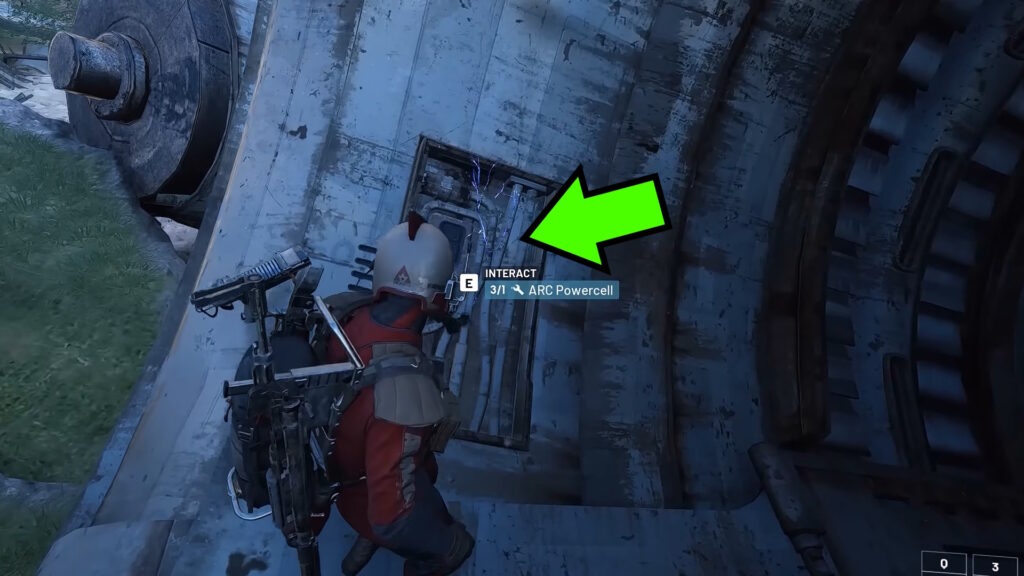
After placing the first Power Cell, look to the back of the husk to find another spot with exposed wiring. Avoid the pillars of fire, then insert another Power Cell into that spot as well.
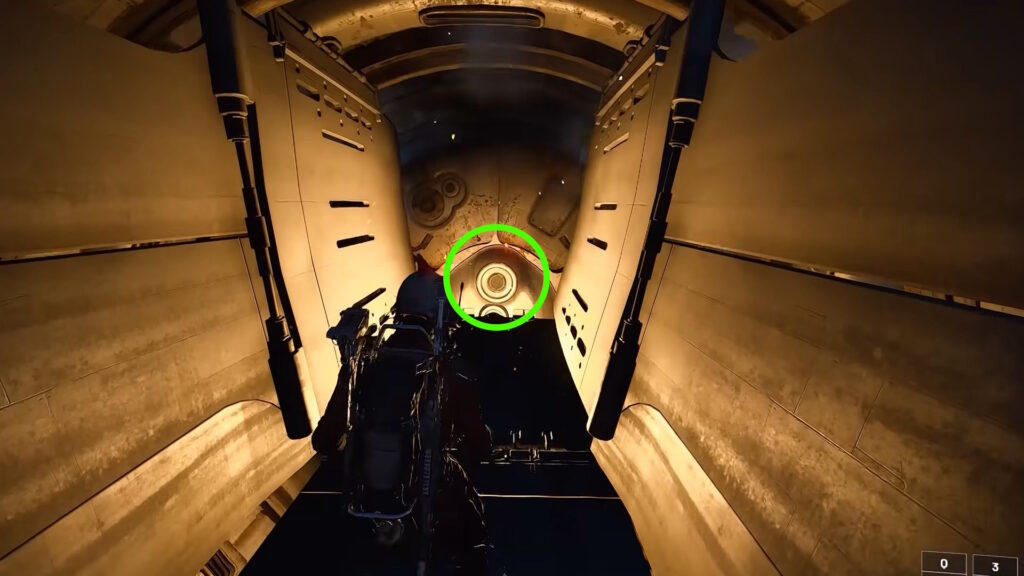
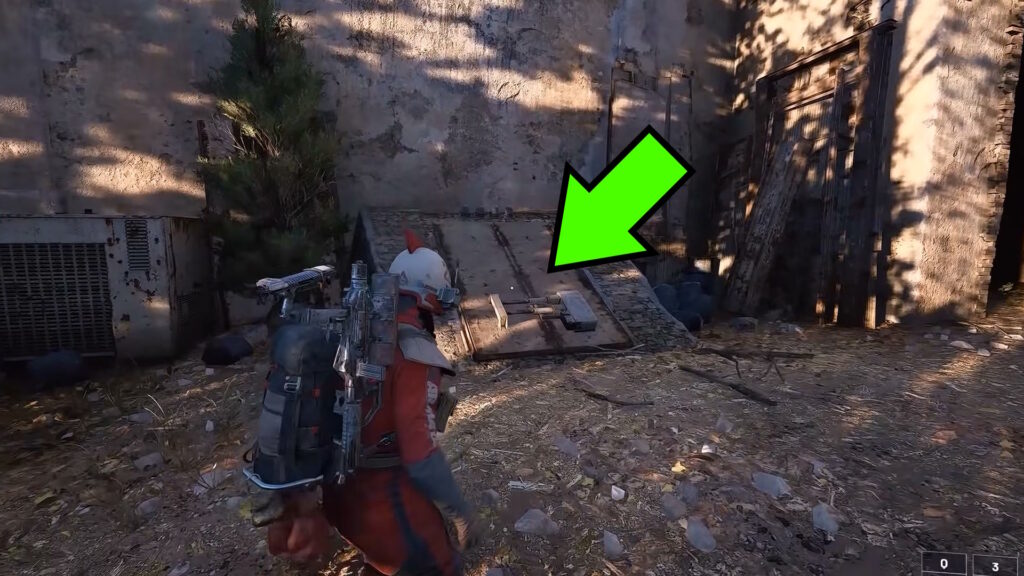
Lastly, you’ll need to climb up to the upper part of the husk’s interior. Avoid the flame pillars by paying attention to their timing and interact with the circle-shaped container there.
Finish breaching that container and you’ll get some loot! It’s generally not as rewarding as any of the other puzzles we’re covering in this same guide. But it does also require a lot less time and effort, to be fair…
Reinforced Reception Terminals
Next up, we’re going into the tunnels in the northeastern part of the Blue Gate map. More specifically, you want to go into the Reinforced Reception POI. Go in there and use the ziplines to get underground.
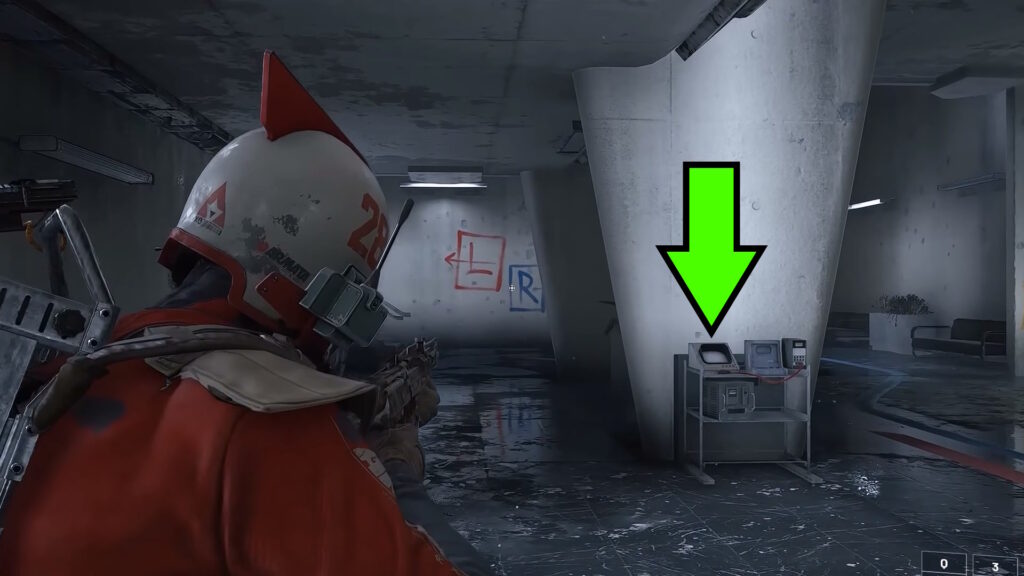
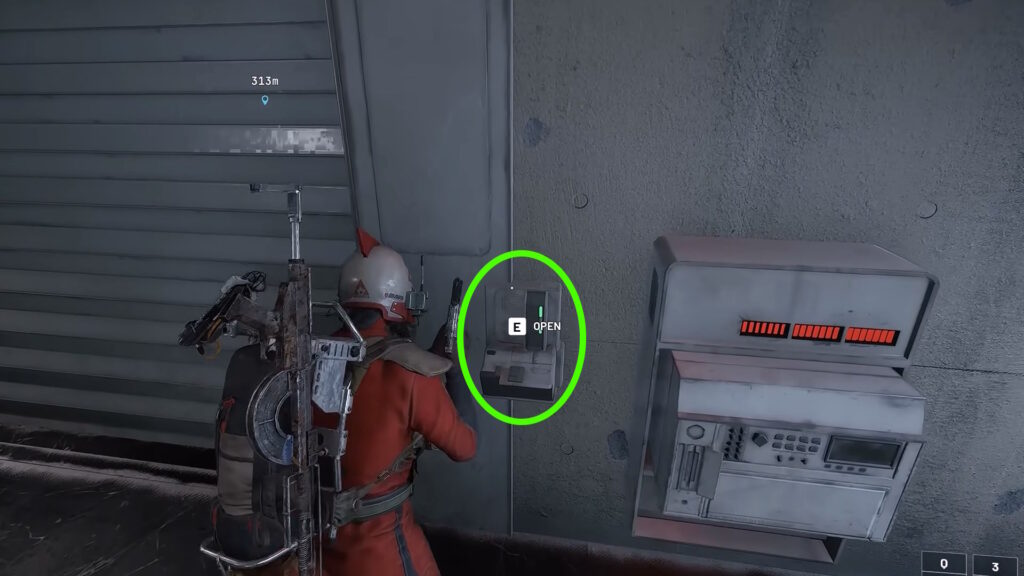
As soon as you enter the underground section, turn to your left and you’ll see some colored markings on the wall. More importantly, you’ll also see an interactable terminal there.
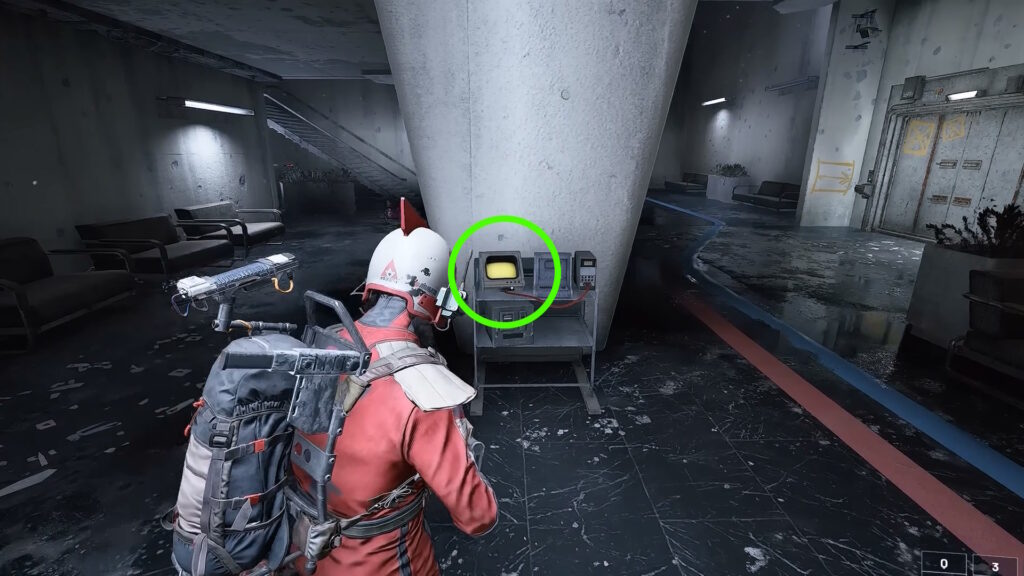
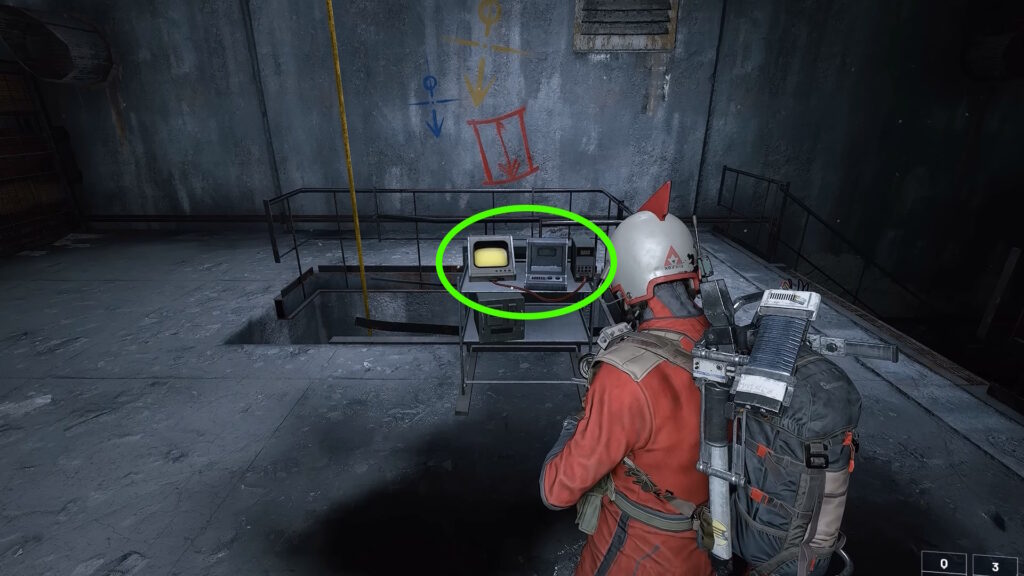
Interact with that terminal and wait a few seconds. Eventually, its display will change to show you one of three colors: red, blue, or yellow. In the example above, it shows yellow.
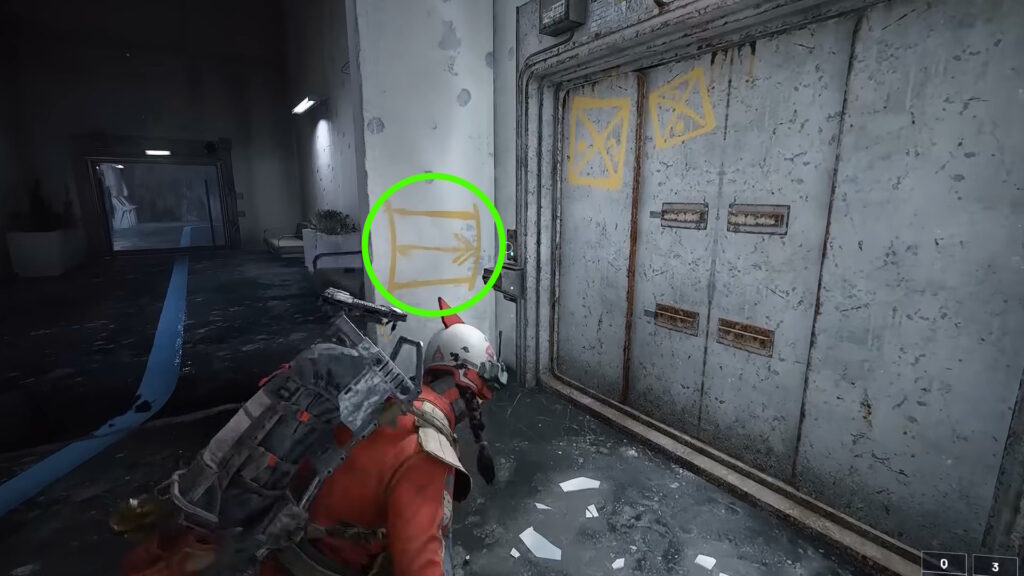
These colors match the markings on the walls and floor of the building. They tell you which markings to follow to complete the puzzle.
In this case, following the example, we have to follow the yellow arrows painted on the walls.
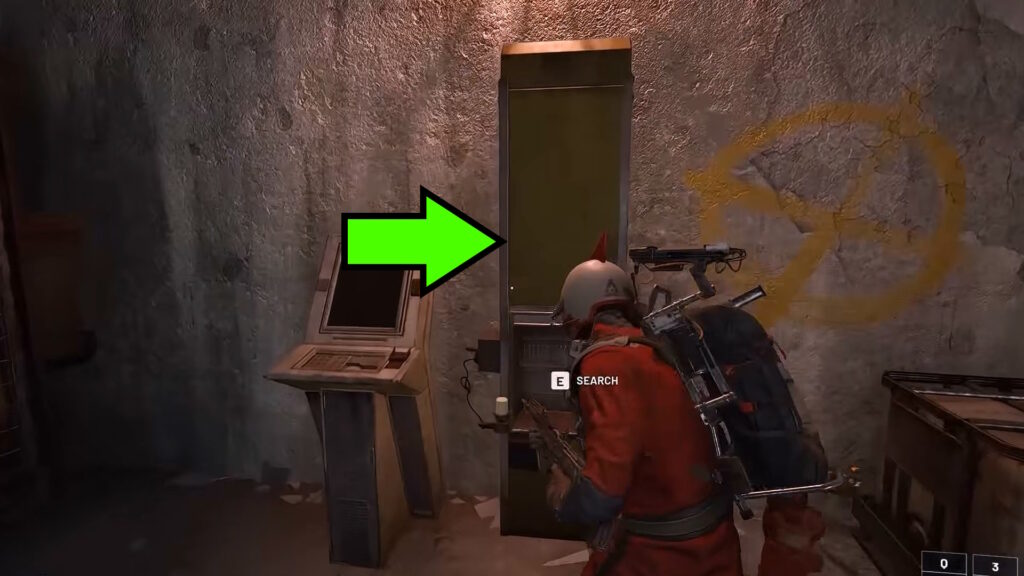
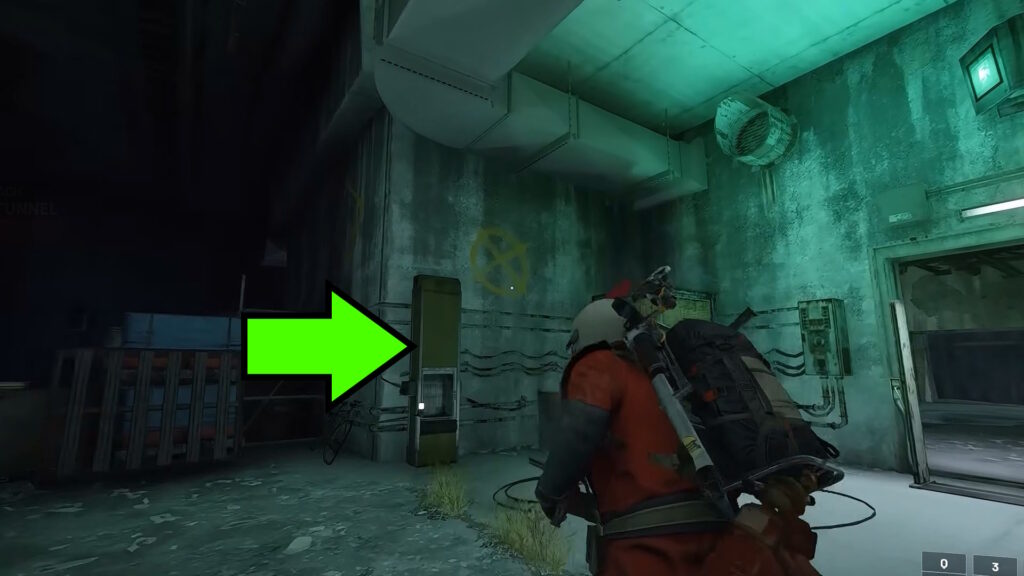
This will eventually lead you to another interactable computer with a colored X symbol near it. As usual, X marks the spot of treasure! Use the computer there to finish the puzzle and collect some loot.
Reinforced Reception Fuel Cells
The terminals aren’t the only puzzle in the Reinforced Reception, though! There’s also one involving fuel cells, similar to the one at the Ancient Fort.
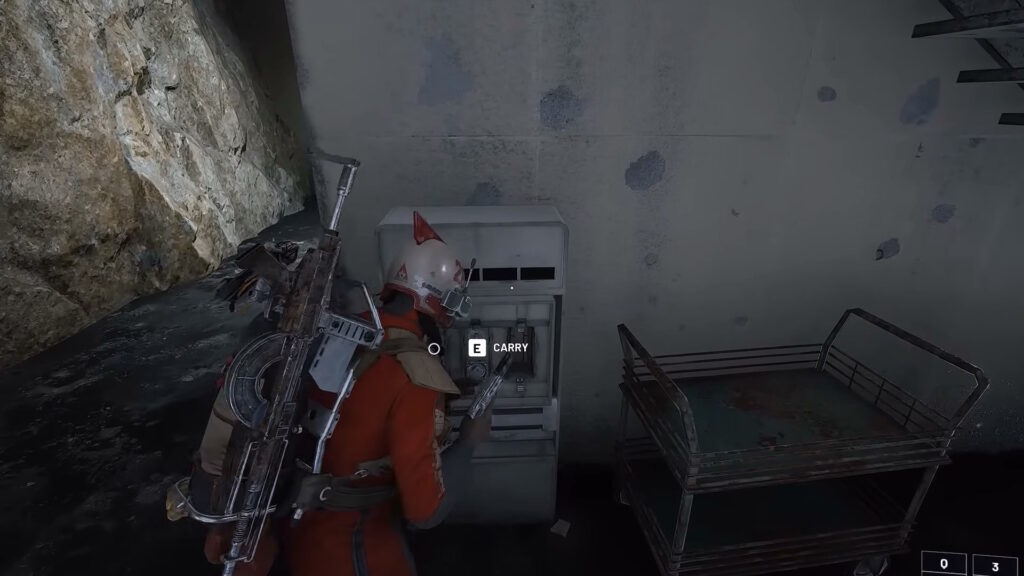
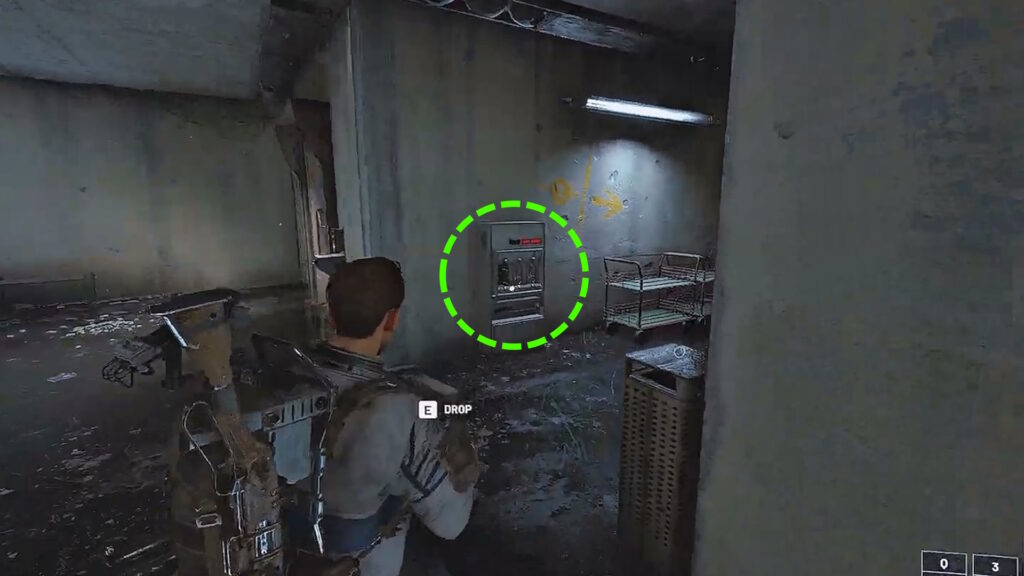
For this one, you need to look around the Reinforced Reception for filled power banks with charged fuel cells. There are 3 in each one, and you’ll need to move all three.
However, similar to the Raider’s Refuge puzzle, the spawn locations of the charged power banks seem to be random. But we’ll tell you about the locations we do know of:
One would be right below the stairs with the L and R colored signs.
For another location, go inside the room that has the L and R colored signs. You could find the fuel cells there, near one of the breachable containers.
Another location is upstairs, by following the red L sign. It would be in front of you and slightly to the right as you go up the stairs.
Lastly, they could also appear right below one of the yellow arrow signs. Follow the yellow arrows for this one.
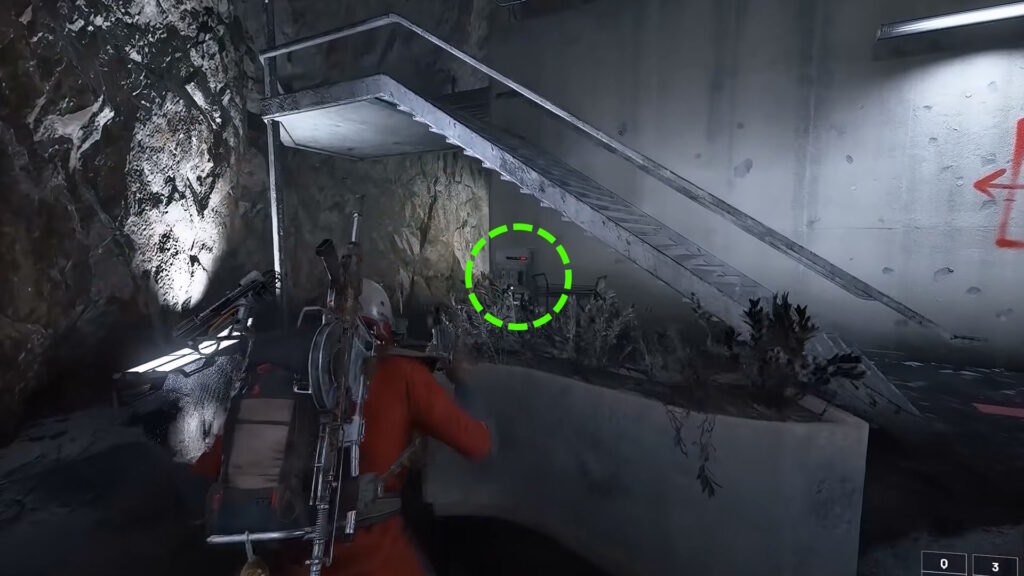
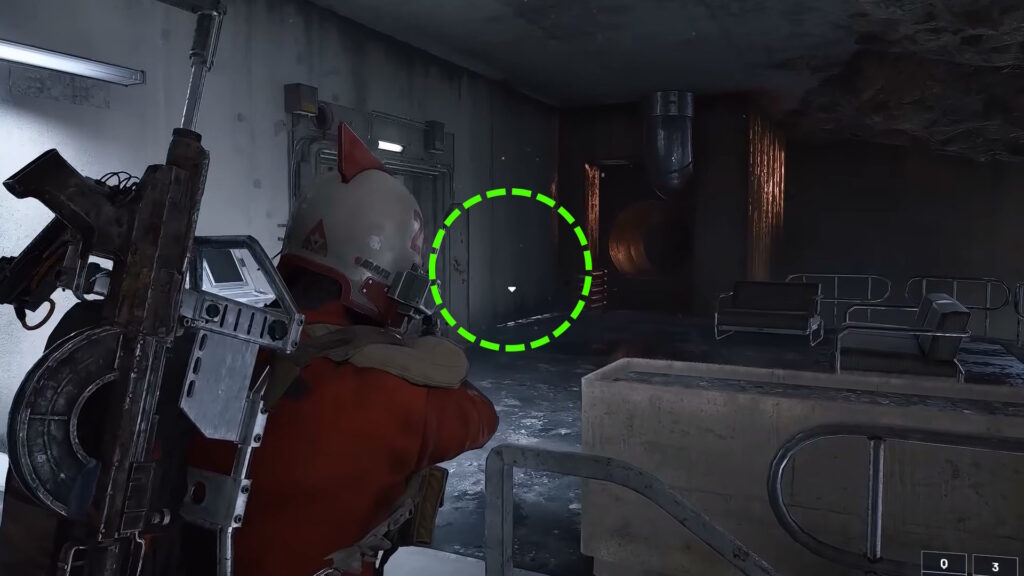
As for where to take the fuel cells, we recommend just following the blue line on the ground for this one. It will eventually take you across a large white steel gate, which has an empty power bank next to it.
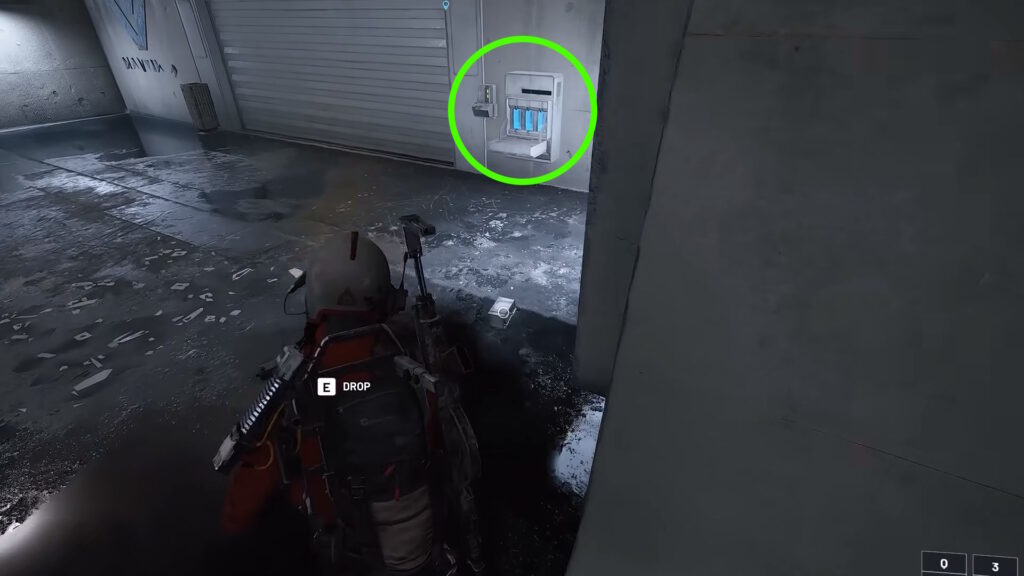
All you need to do is to (very slowly) take all 3 fuel cells from the filled power bank to this empty power bank! Make sure there are no hostile players or ARCs left in the area, though, you’re very vulnerable while carrying a fuel cell.
Once you’ve put all the fuel cells in, just use the panel to your left! It will open the steel gate, revealing a massive room with an eerie red light. And, more importantly, loads of loot for you to grab!
East Tunnel Terminals
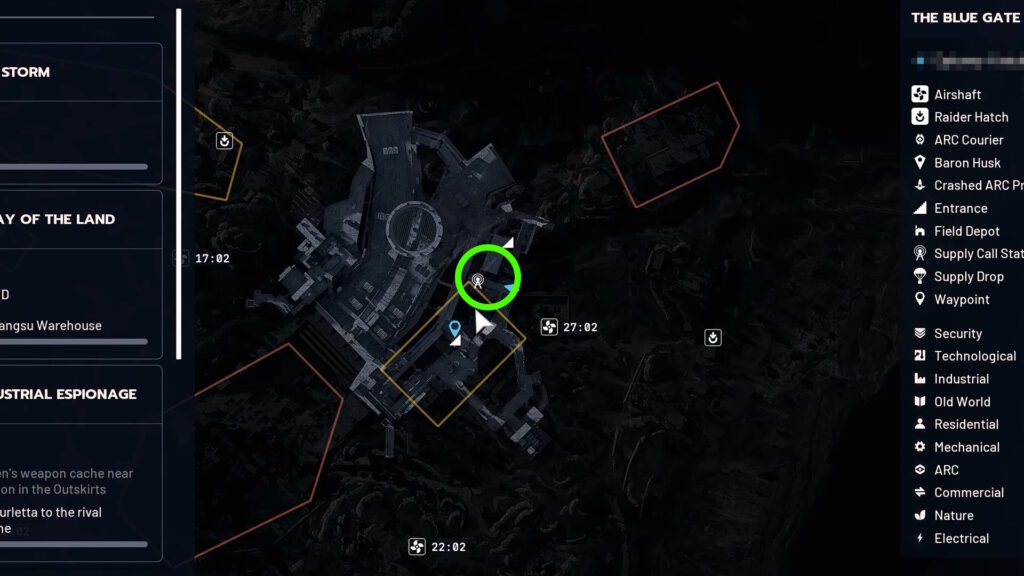
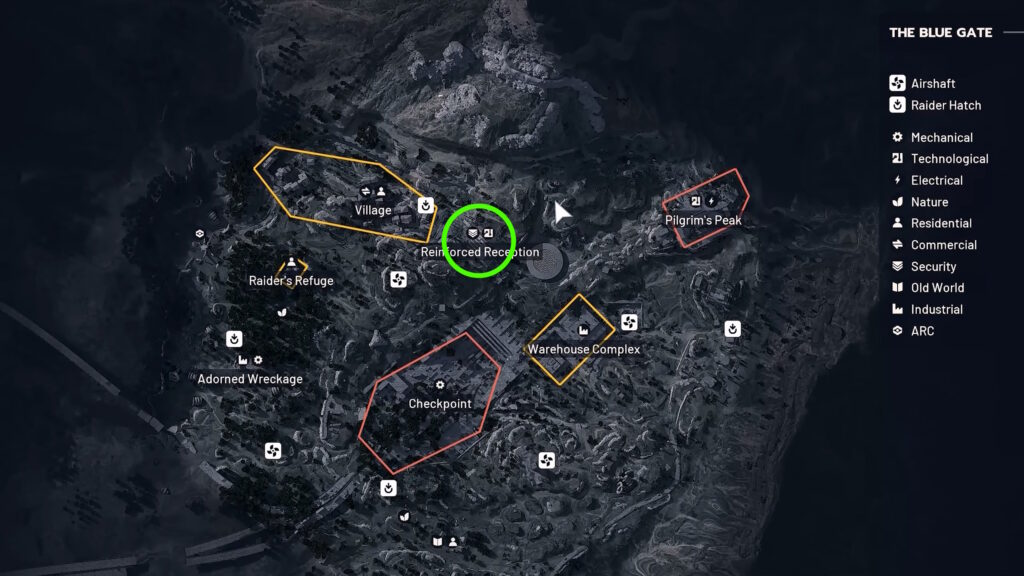
Last but not least, we have another colored terminals puzzle. This one is on the eastern side of the underground, on the spot shown on the map above.
Go to the second floor of that unnamed area and you’ll once again see an interactable terminal. Just like with the Reinforced Reception puzzle before, press it and wait for it to show a color. Then, follow the markings on the walls and floors that match that color.
Much like before, following the markings will lead you to a lootable computer with a colored X symbol on it. Just gotta keep following those colored markings, Raider!
There you have it, that’s how to solve all the secret puzzles in the Blue Gate map to get loads of loot and coins in ARC Raiders. You might become one of the richest Raiders after these puzzles.