88 articles
You’ll need to find the Voivode’s Letter of Conduct as part of the “Miri Fajta” quest in Kingdom Come Deliverance 2.
Marika tells you that she hid the letter near one of her hideouts. However, her instructions are fairly nondescript. Like, really, she tells you to look for a tree in a forest!
Fret not, though, we’ll help you by giving you the exact location of this hidden letter!
Where To Find Voivode’s Letter Of Conduct | Miri Fajta Quest
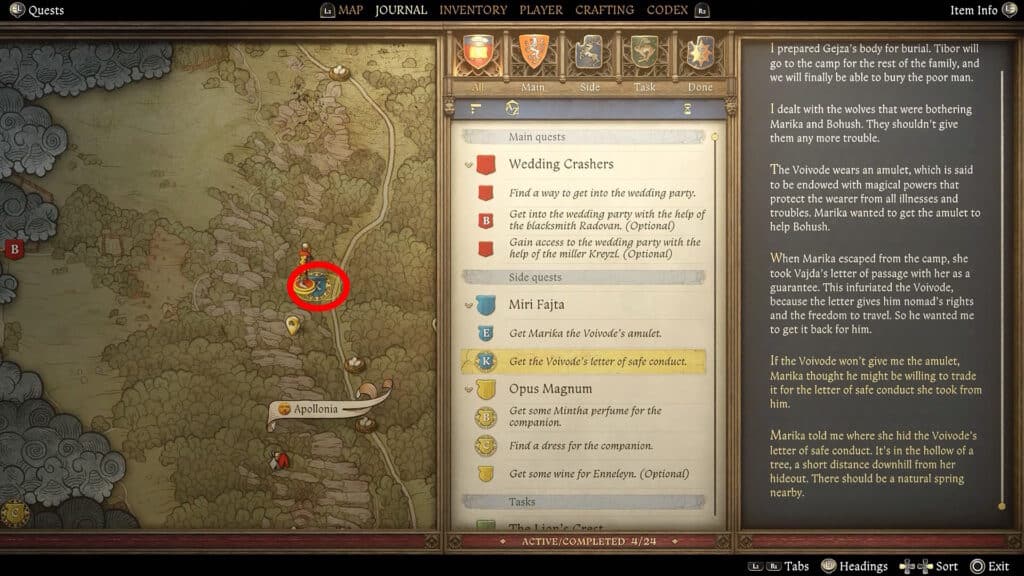
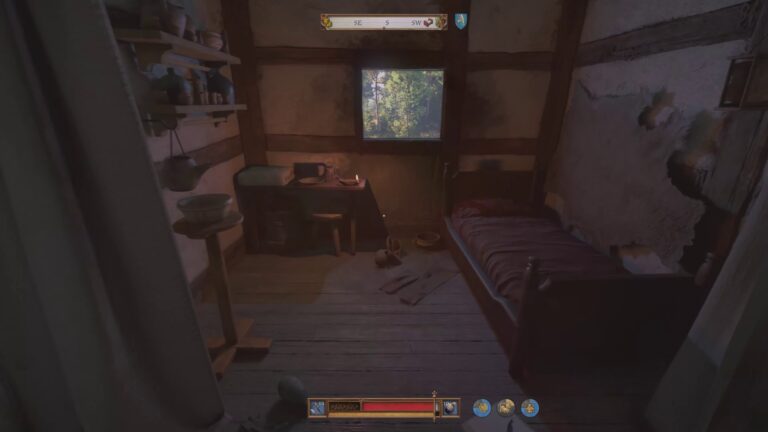
You’ll get the objective to find the Voivode’s Letter of Conduct for the “Miri Fajta” quest shortly after you find Marika in Kingdom Come Deliverance 2. Marika herself is the one who’ll tell you about the hidden letter’s location. According to her, she hid the Voivode’s Letter of Conduct in a tree hollow close to her cave hideout. The cave itself is by a natural spring you find shortly after going north of Apollonia.
 How to Return 3 Lost Items in Opatowitz in KCD2 – In the Service of the GuildJul 7, 2026
 How to Solve Alchemist Riddle in KCD2 – Fetch Ingredients for BushekSep 16, 2025
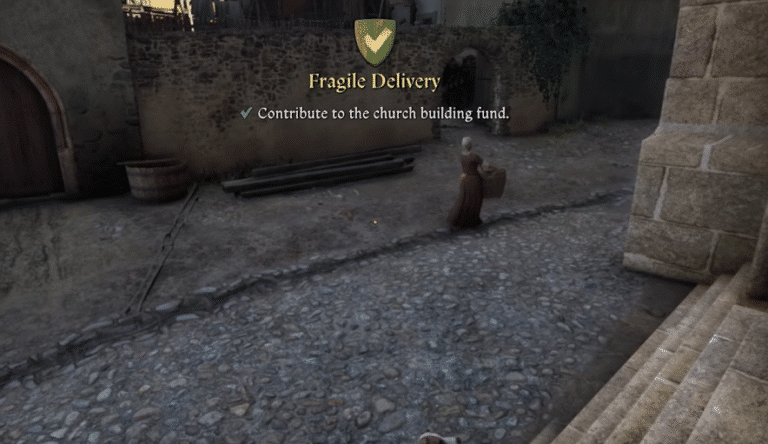
 How Much to Contribute to Church Building Fund in KCD2 – Fragile Delivery TaskSep 15, 2025
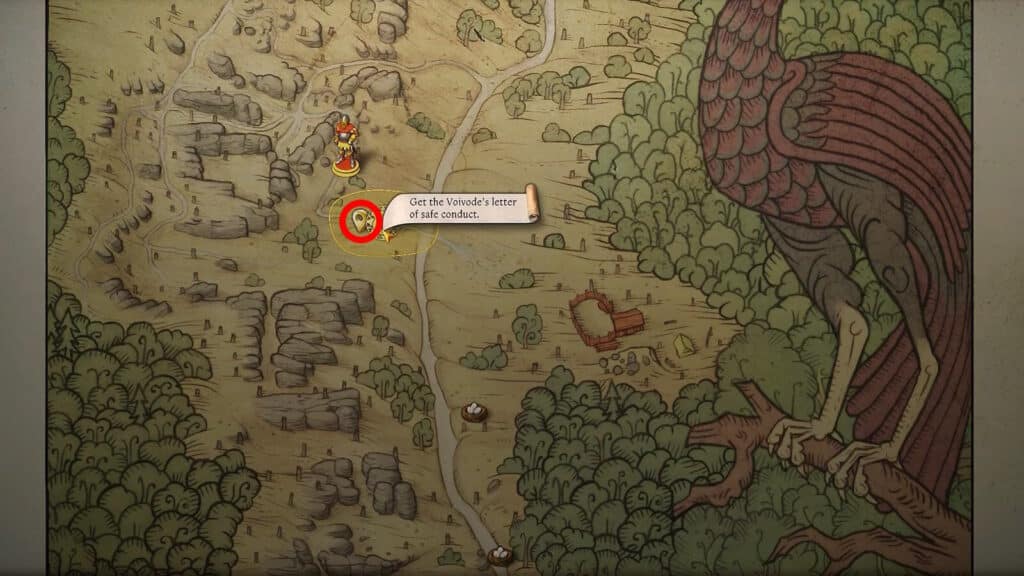
More specifically, you want to go to the westernmost side of the small search area marked by the quest. That’s where the cave entrance is.

Look south from the cave entrance and you should spot a tree with a cut in it. Approach it and investigate the tree’s hollow.
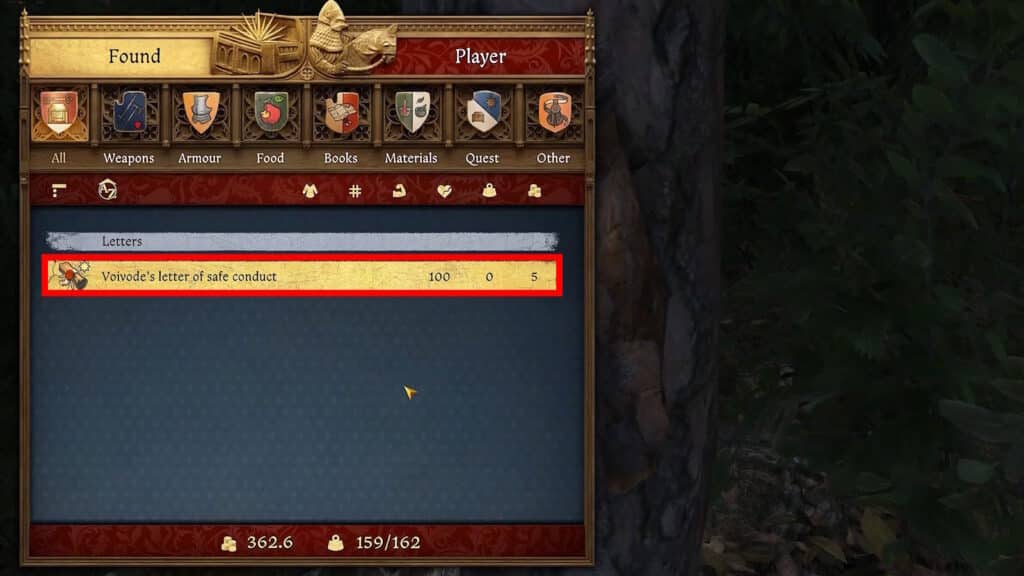
The only thing inside the tree’s hollow is the Voivode’s Letter of Conduct. No other loot here, sadly! Nonetheless, that’s the location of the letter. Pick it up and you’ll be able to continue the “Miri Fajta” quest by returning to the Nomad Camp. That’s all there is to it!