72 articles
With the remastered version of The Elder Scrolls IV: Oblivion now out, a lot of players are exploring it for the very first time. Because of this, many are experiencing its wild faction side quests without any prior experience, and some of them can get a bit tough if you have no idea what you are doing. In this guide, we will try to help you complete the quest called “The Ultimate Heist”, which is the final part of the thrilling Thieves Guild questline.
The Ultimate Heist Quest Guide in The Elder Scrolls IV: Oblivion Remastered
In order to start the quest, you will first need to have stolen and sold 1,000 Septims worth of items to any of the Thieves Guild’s fences. Once you have reached that milestone, you can start The Ultimate Heist by speaking with Amusei.
He will approach you after around a day, stating that the Gray Fox wants to meet you at Othrelo’s house. This should be marked in your map if you set it as an active quest, and it is in the Imperial City Elven Gardens district.
Head over there to officially start the quest, which will have you perform an extremely daring heist where you have to steal an actual Elder Scroll. He will give you various items that you will need, including the Arrow of Extrication and the Boots of Springheel Jak.
 Oblivion Remastered – Top 10 Best Short Swords & How to Get ThemMay 30, 2025
 Oblivion Remastered – Restoration Spell Tier List for Master Difficulty ModeMay 30, 2025
 Top 10 Heavy Armor Sets in Oblivion RemasteredSep 6, 2025
It should be noted that he will also waive the blood price for any kills during this heist. If you are a bit of a bloodthirsty assassin, then you have free rein to kill as you please. Check out our guide on how to make a Stealth Archer build in Oblivion Remastered for a viable setup for this quest.
Now, travel to the Imperial Palace and sneak your way to the Palace Basement. Again, this is all marked in your map and compass, so you should have no trouble finding your way there. Get past the hard locked door to proceed.
Once inside, sneak past the guard patrolling around the room and activate the Glass of Time, which should be where your quest marker is attached to. It is a giant hourglass in one corner. Simply interact with it and leave the basement.
By doing this, you should receive a notification that the “Old Way” is now open. Your next stop will be the Imperial Sewers.

Rather than going to the sewers that you started the entire game in, you actually have to go to the Imperial City Arboretum. The quest marker will lead you to a grate that you can enter, which leads to the South East Tunnel.
Navigate your way through the fairly linear sewer corridors until you reach the door leading to the area Beneath the Bloodworks. As you follow the quest marker, you will run into several vampires and other undead enemies.
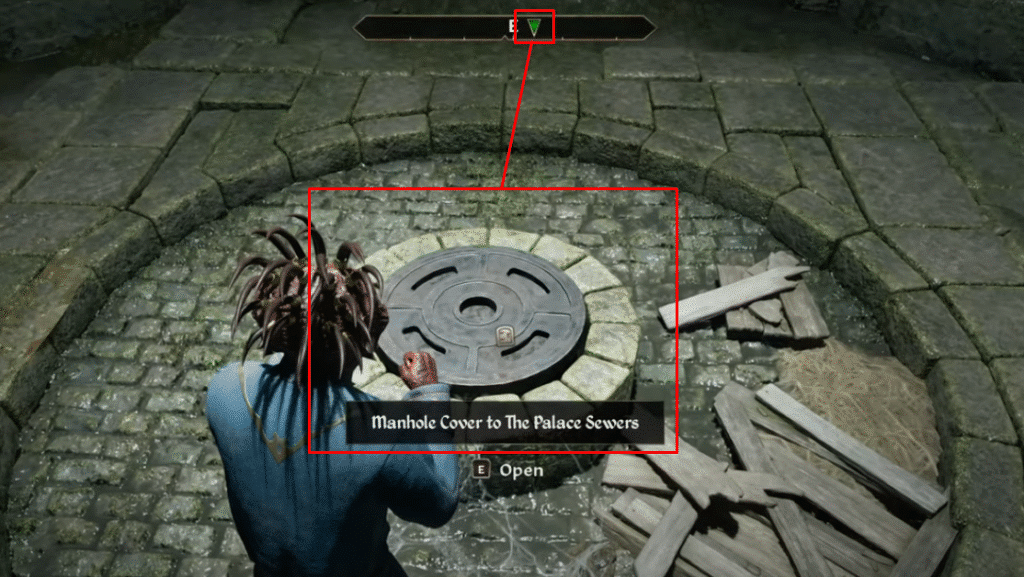
Be careful when dealing with them, as you might unwittingly contract the vampirism disease. At the end, you will find a manhole leading to the Palace Sewers. From here, just continue following the green quest marker until you reach a strange door leading to The Old Way.
Once you are in The Old Way, continue following the quest marker as you have been doing this entire time. The corridors are very straightforward and you should have no trouble finding your way through. Just be careful of all the undead scattered around this area.
At the end, you will find a door to the Lost Catacombs. Once you make your way out of the dilapidated hallways and reach a large open corridor that is much cleaner than the earlier zones, equip the Boots of Springheel Jak.
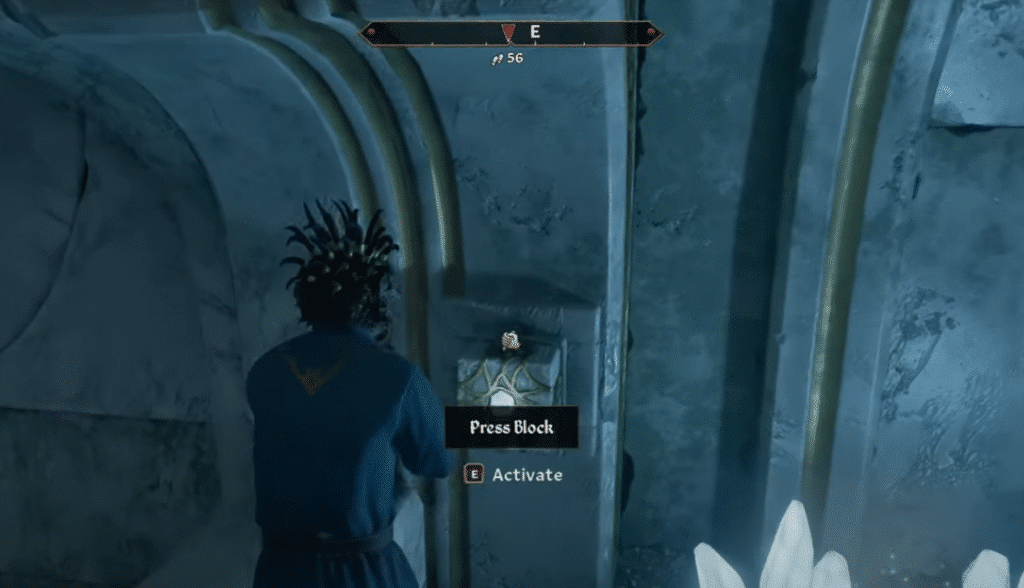
Using the Boots of Springheel Jak, you should now be able to reach the upper floors due to your insanely buffed acrobatics skill. Push the two blocks on opposite ends of the room to open the locked door to the east.
Once in the next room, you will find a giant statue in one part of the room at the eastern corner. Take note of this, as you will need to return to this later. For now, head upstairs and run to the south, where you will find a hard locked gate.
As soon as you open the gate, turn to your left to find another Press Block. Push it to open the path to your next objective in this room. Proceed downstairs and make your way to the south.
Eventually, you will reach the door to an area called the Hall of Epochs. There, head straight down the staircase north, and then go further down the stairs on the other end of the room you just descended to.
This will lead you to a second Press Block just behind a small chest on an altar. Push it and trace your steps all the way back to the starting room where the giant statue is.
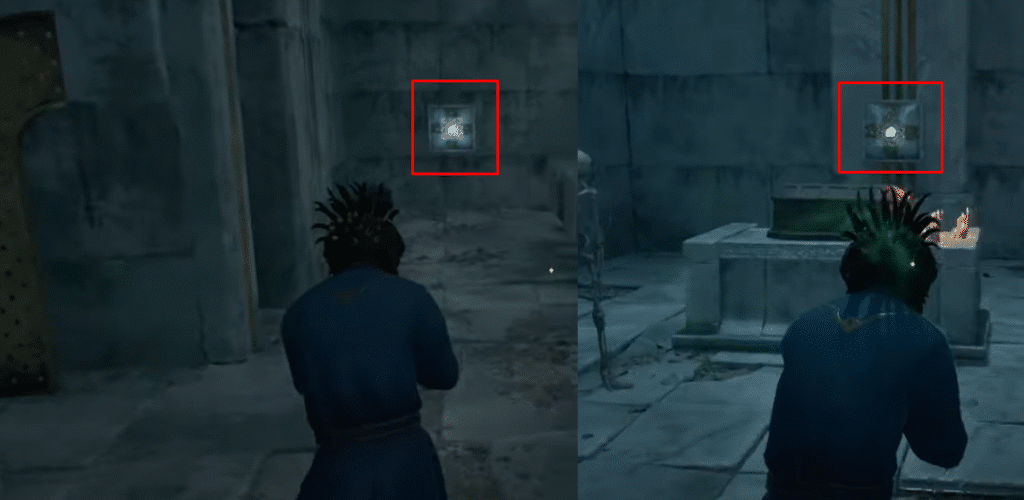
Once you have returned, you will find a pressure plate between some glowing crystals on the second floor. If you interact with it, you will get a quest update stating that this is the spot. Standing on it will cause the giant statue to turn around and face you. It will then reveal a compartment.
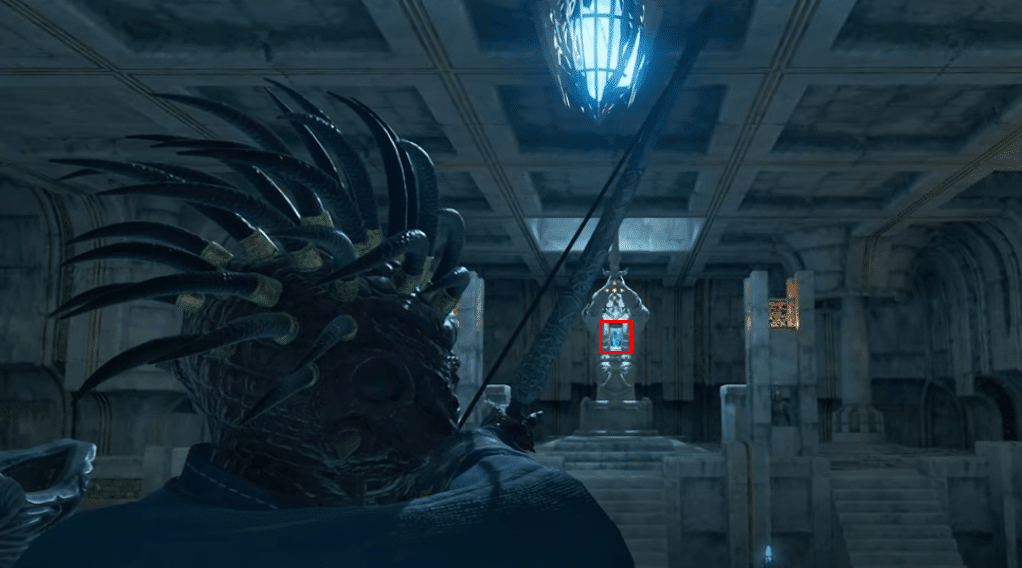
As the quest objective noted, you will need to fire the Arrow of Extrication at the crystal in the compartment. It says you only get one chance, but you can actually pick the arrow back up if you fail. Regardless, you might want to save your game first.
If you did not bring a bow with you, you should be able to get one from the skeletons in this room. Just kill them and take their weapon if you need to. Take some arrows to practice with too, just so you can be sure that you get it right.
Aim high to ensure that the arrow lands on the target. It is a long distance shot, so you need to compensate a lot to actually hit it. If you are already used to firing bows, this should pose no challenge whatsoever.
If you are successful, you should get another quest notification stating that you have revealed the secret entrance, which will appear just under the statue. As you do this, statues nearby will come to life.
These are hostile, so you should sneak to avoid them, unless you are confident in your abilities to take them out. There is a small chance that they bug out and chase you down while still being stuck in their harmless statue form, which lets you ignore them completely even if caught.
Enter the Imperial Guard Quarters through the secret entrance. From here, follow the quest markers until you reach the Elder Scroll Library. Continue following the quest markers while avoiding any guards along the way.
Eventually, you will start seeing monks in white robes. These people are actually blind, which you may have already known if you have played Skyrim before this remaster. At the library, pull the lever to open the way forward.
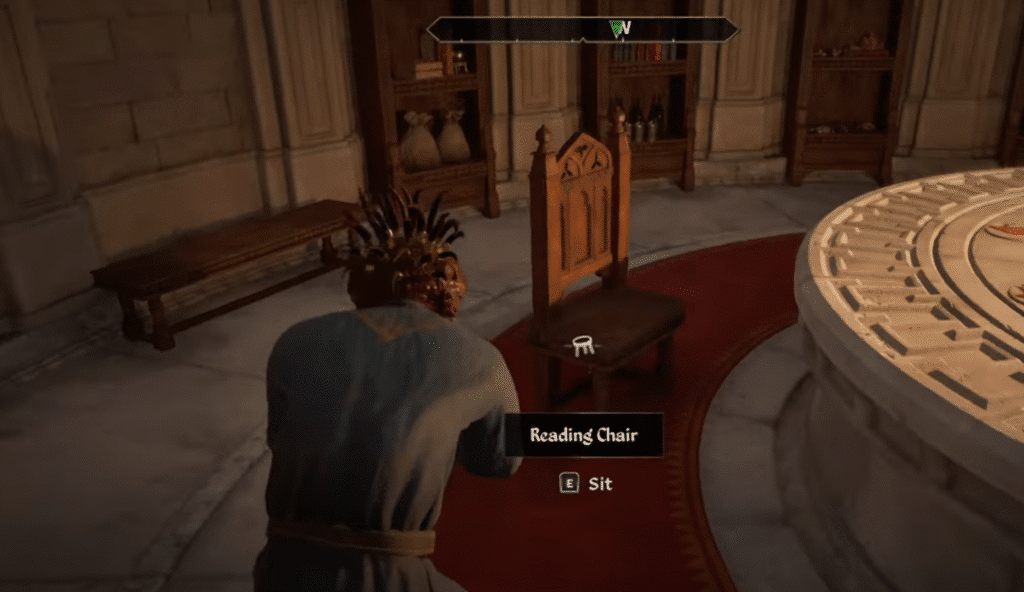
Then, you will find a Reading Chair that you can sit on. Do this to get another update, which states that you will simply have to wait until somebody brings you the scroll. Do not speak with any of them, as they think that you are somebody else.
Once they have handed you the Elder Scroll, you are now tasked with sneaking back out through a different path, as your way in has now been blocked. Sneak past all of the monks and guards as you make your way to the upper floors.
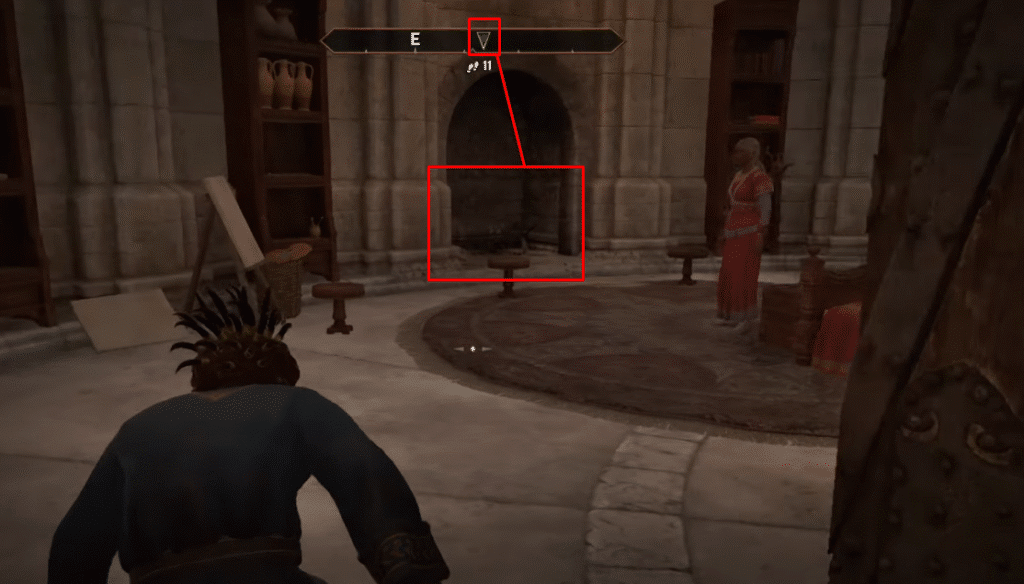
Eventually, you will make it to the Moth Priest’s Quarters. Break in and continue sneaking past all the blind NPCs until you reach the Imperial Battlemage’s Chambers. Enter the main room in the middle, which has a very hard lock on either door.
Wait for the mage inside to leave, and then enter through the Loose Grate to The Old Way in the fireplace. Once you enter, you will be falling a long way down. If you have the Boots of Springheel Jak equipped, you should be fine, otherwise, equip it now before you reach the bottom!
From this point onwards, all you need to do is exit the sewers and travel back to the Elven Gardens District of the Imperial City. There, you can hand the Elder Scroll over to the Gray Fox. For your reward, he will give you one final task first.
Deliver the ring that he gives you to Countess Millona Umbranox of Anvil to see her reaction. A brief moment will play out as soon as you do this, in which you will become the new head of the Thieves Guild.
As your reward, you will receive the Gray Cowl of Nocturnal. Wearing it not only gives you various stealth and thieving-related bonuses, but it also temporarily makes you the Gray Fox. While wearing this item, you will have a unique bounty tied to the Gray Fox.
This means that you can commit crimes while wearing it, and upon removal, your character will revert to whatever bounty and infamy values they had before wearing it. This does mean that having it on will make you a perpetually wanted individual, so make sure not to wear it casually in public.
That is all you need to know in order to complete this lengthy quest, which is the finale of one of the better side questlines of the game. Now that you are the leader of the Thieves Guild, you have no need to do Independent Thievery anymore!