16 articles
The Dark Horizon DLC introduced several new traits to Remnant 2. One of the more useful additions that was introduced is the Preservation Trait.
This trait basically increases the duration of shields that you receive, which makes it quite strong for builds that focus on shields and survivability.
In this guide, I’ll walk you step-by-step through the process of locating and activating all three purple pillars scattered across N’Erud’s Agronomy Sector and Withered Necropolis.
How to Get Preservation Trait in Remnant 2: The Dark Horizon
Before anything else, let’s first look at what the trait does.
 Remnant 2: How to Get Redeemer Secret Weapon | The Dark HorizonOct 2, 2024
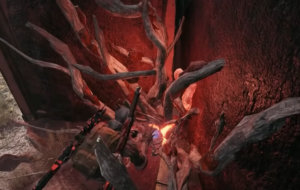 Remnant 2: How to Get Cessation Bulbel Secret Amulet | The Dark Horizon DLCSep 30, 2024
 Remnant 2: How to Roll a Perfect Prism | The Dark Horizon DLCMay 26, 2026
Preservation increases the duration of any shield you receive by up to 30% at max level. This means that any active shield effects applied to your character will remain active longer before they expire.
The trait works especially well with certain mods, equipment, and setups introduced in the DLC. Moreover, if you rely on defensive setups, Preservation can be really strong during higher-difficulty runs.
To get the Preservation trait, you must activate all three purple pillars located throughout the Agronomy Sector and the Withered Necropolis in N’Erud!
It’s worth noting that enemies will immediately spawn every time you activate a pylon, so prepare for a fight when this happens.
1st Pylon Location
To reach the location of the 1st Pylon, you must start in the Agronomy Sector area (it’s the first overworld area of The Dark Horizon DLC).
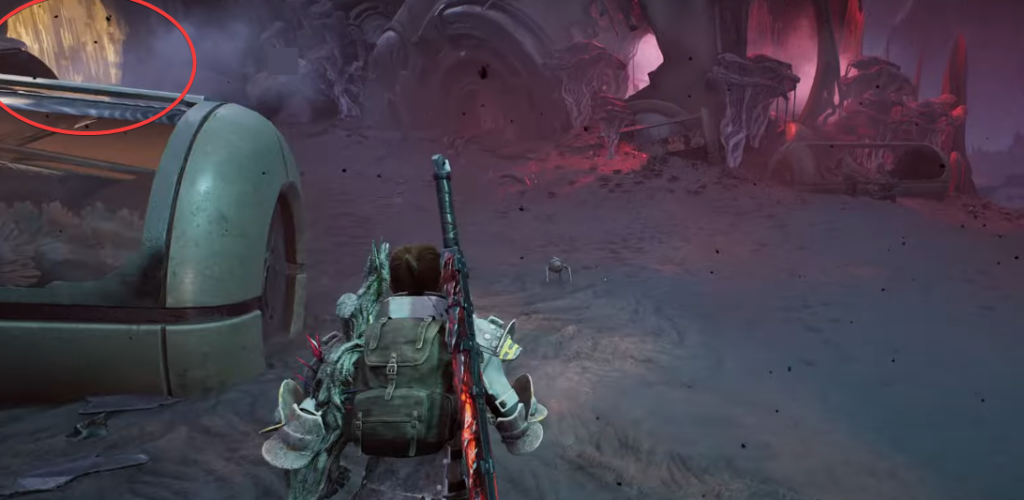
From the spawning point, just keep heading straight.
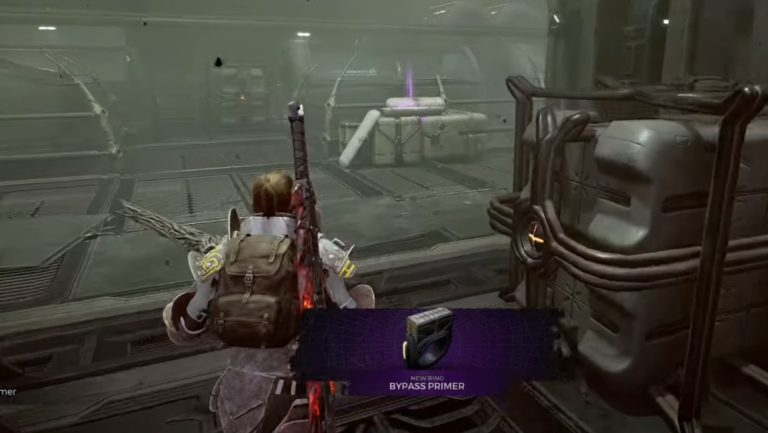
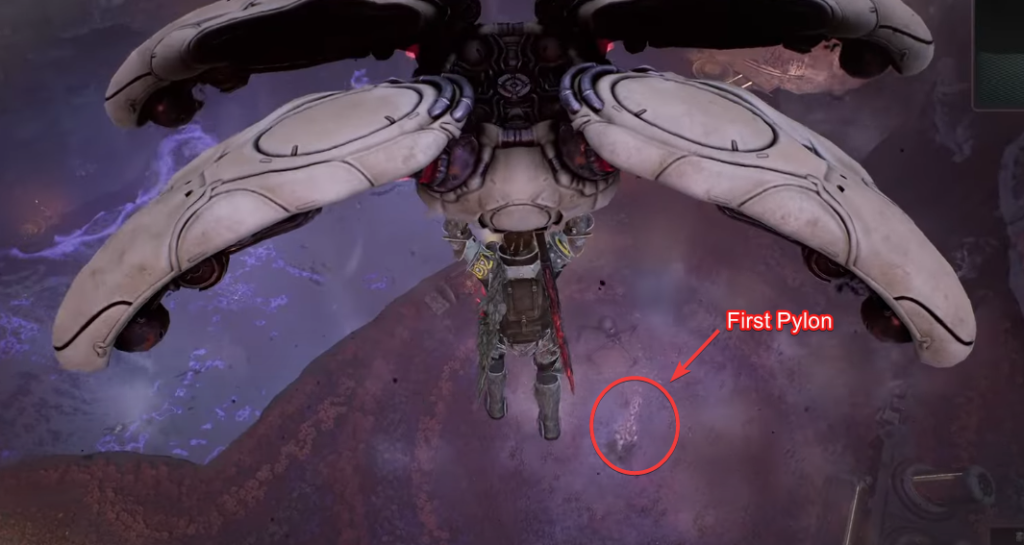
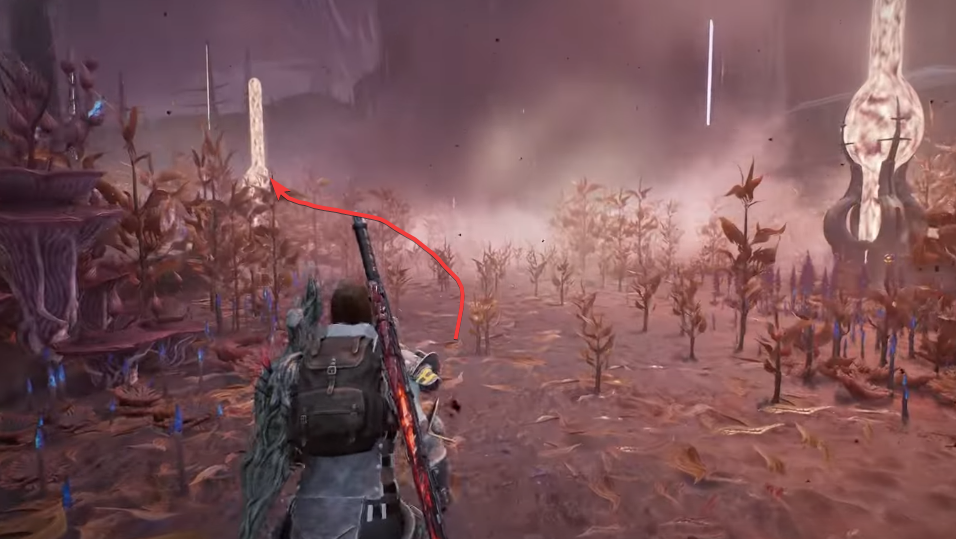
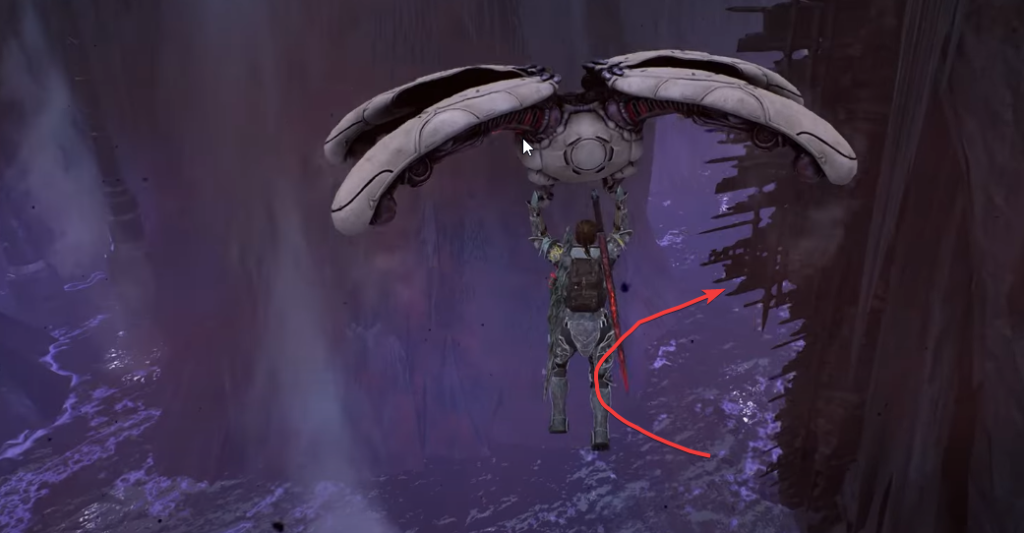
You should go past a yellow pillar, as shown in the image below, and from there move a bit forward and you’ll see a glider.
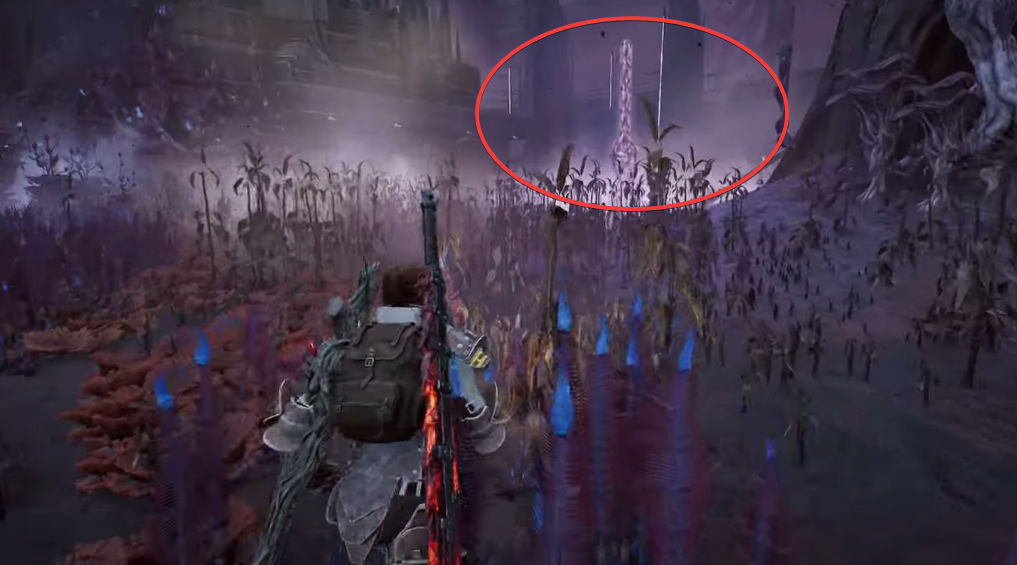
Use the glider and look down. You should see the 1st Pylon, which is a disabled purple structure with a glowing console nearby.
2nd Pylon Location
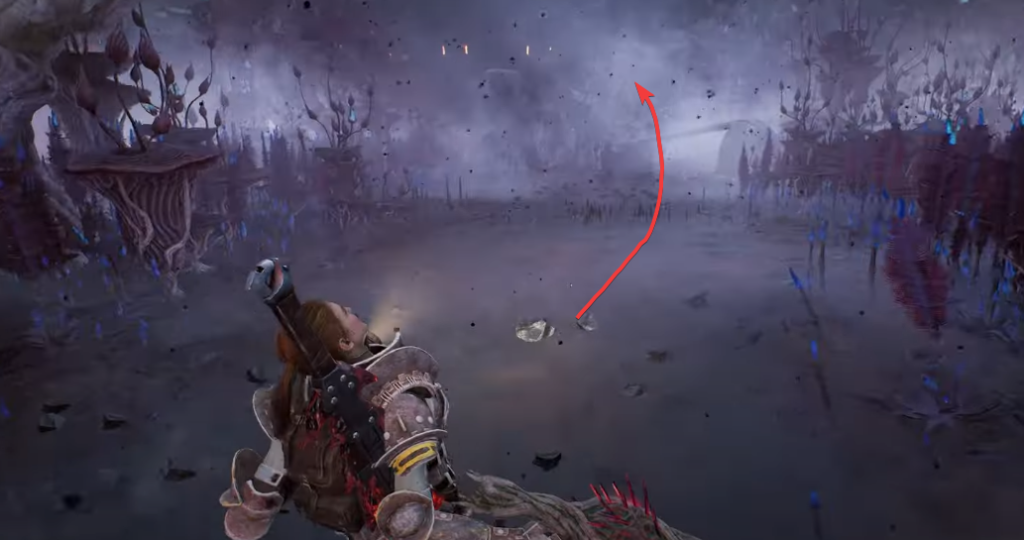
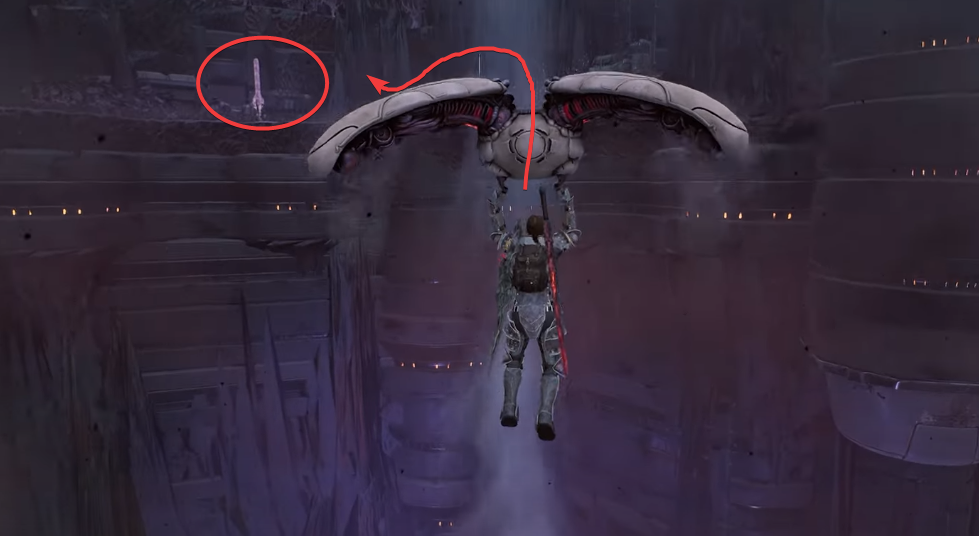
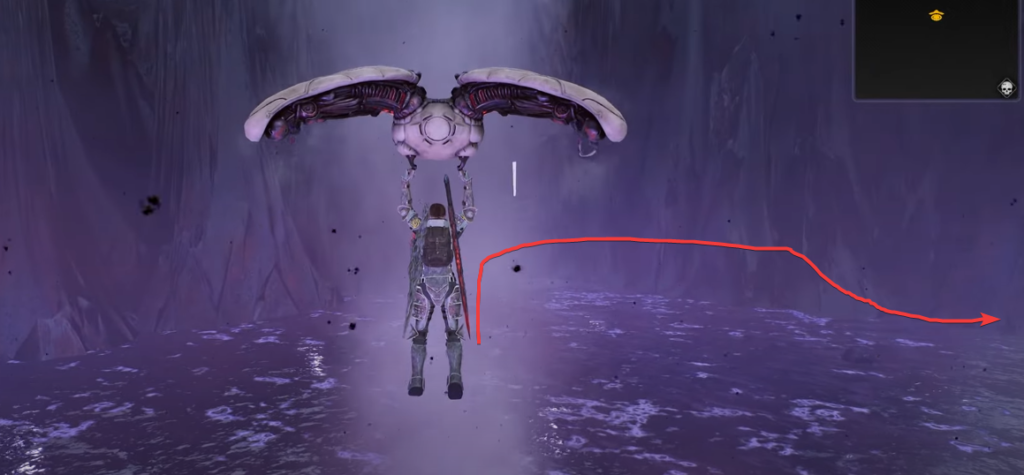
From the 1st pylon’s location, turn around or scan the area for a nearby glider as shown in the image below.

Look to your left and you should 3 consecutive airflows. Use them in order to go up to the 3rd one.

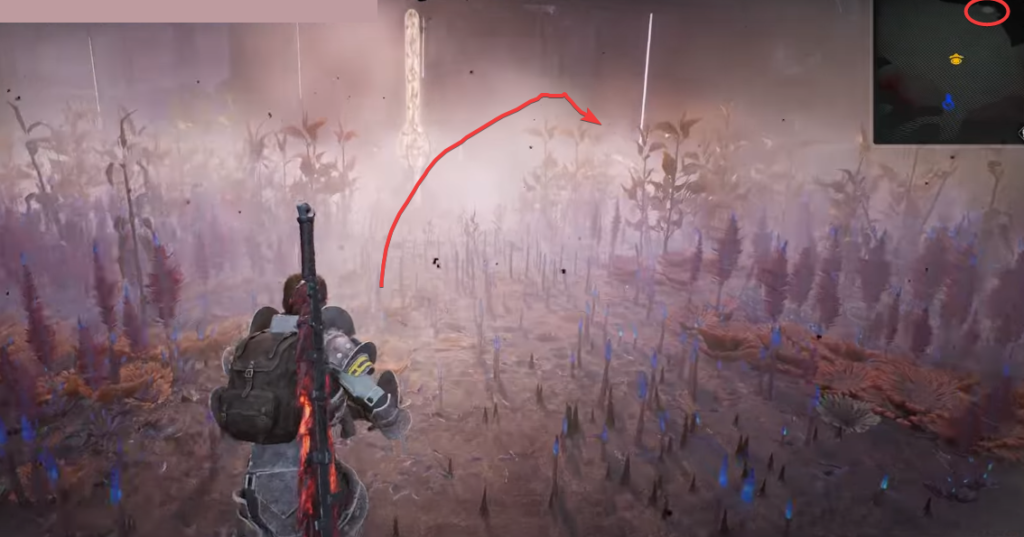
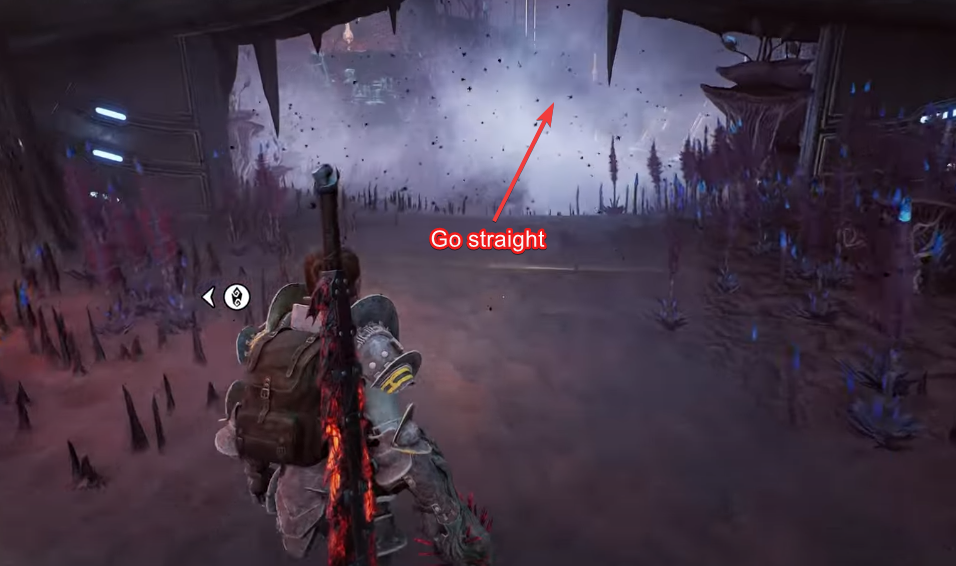
If you followed my instructions correctly, you should arrive at the location shown in the image below. From here, wrap around until you come across the area with lots of yellow pillars.

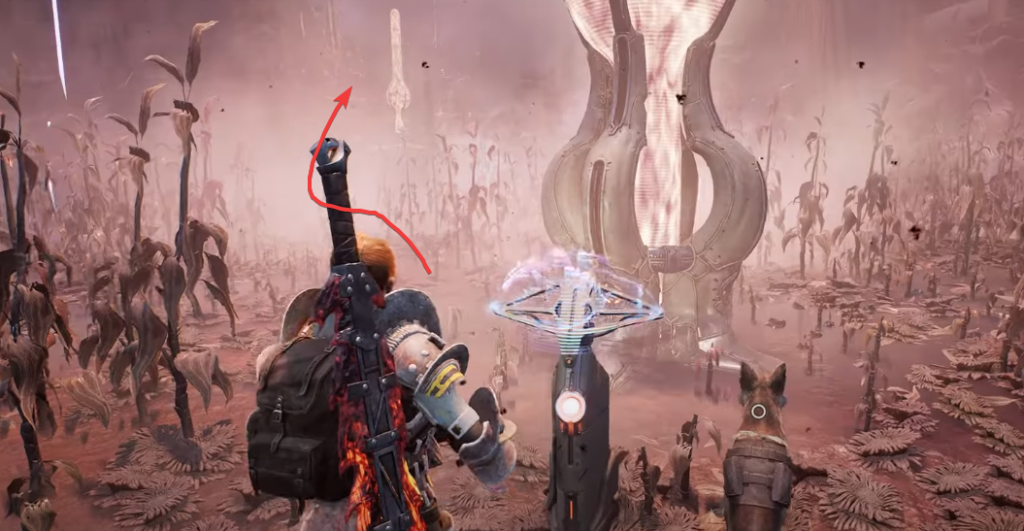
Go towards the left, and from there, just keep moving straight.
Again, you should come across a glider. From here, you should see the 2nd Pylon as shown in the image below. Compared to the first encounter, this one feels a bit more aggressive due to enemy density. Use crowd-control weapons to make it easier.
3rd Pylon Location
The third pylon can be located inside the Withered Necropolis. From the 2nd pylon’s location, look to the left side of the terminal and follow that path.
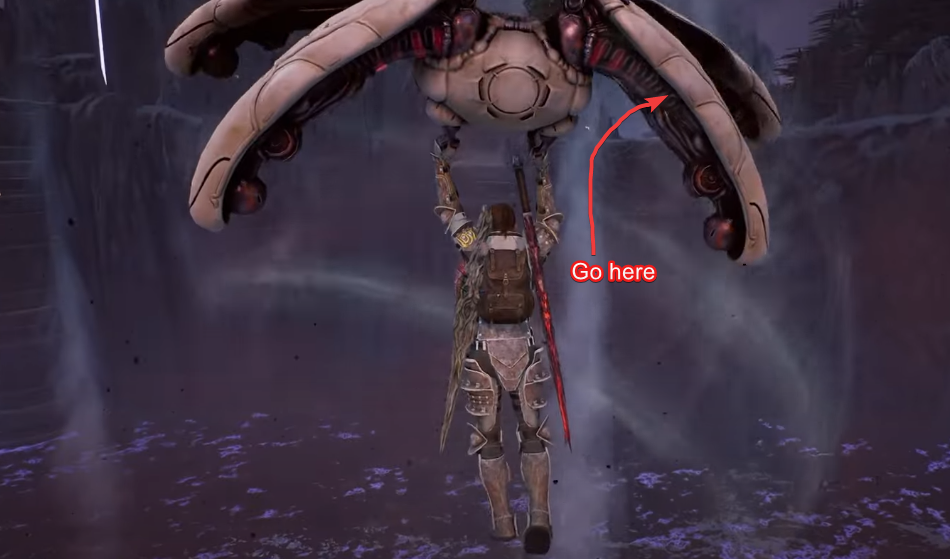
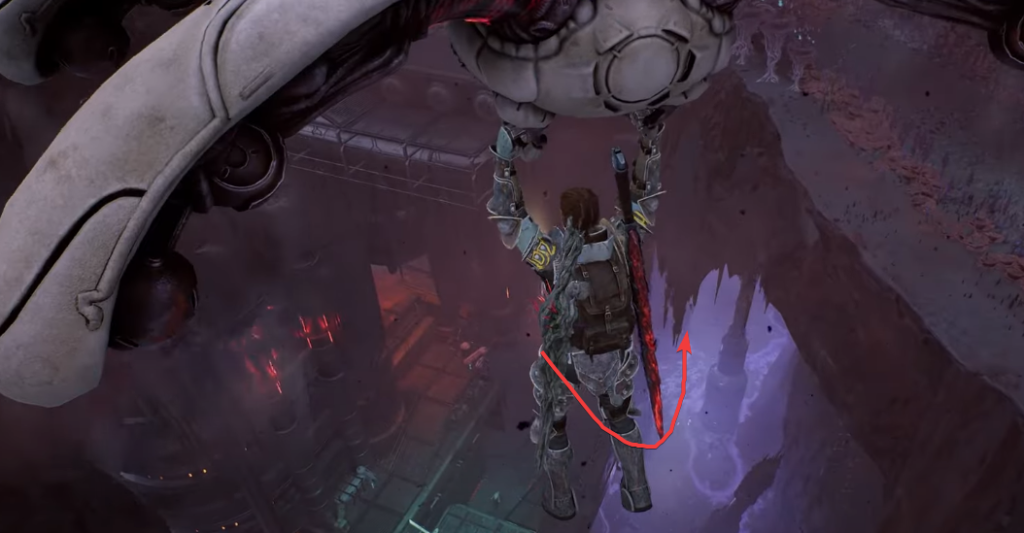
Just keep moving forward, and you’ll come across yet another glider. From there, go towards the right “airflow” and jump up the surface.
Keep following the path and go towards the left. You’ll then see a portal that will take you to the Withered Necropolis. Go inside to proceed!
From the spawning point, just keep moving straight forward.
Eventually, you’ll see another Glider which you should use to move down.
Follow the cave area, and keep going forward until you reach the inside part.
Once you reach a forked path, go towards the right side of the cave.
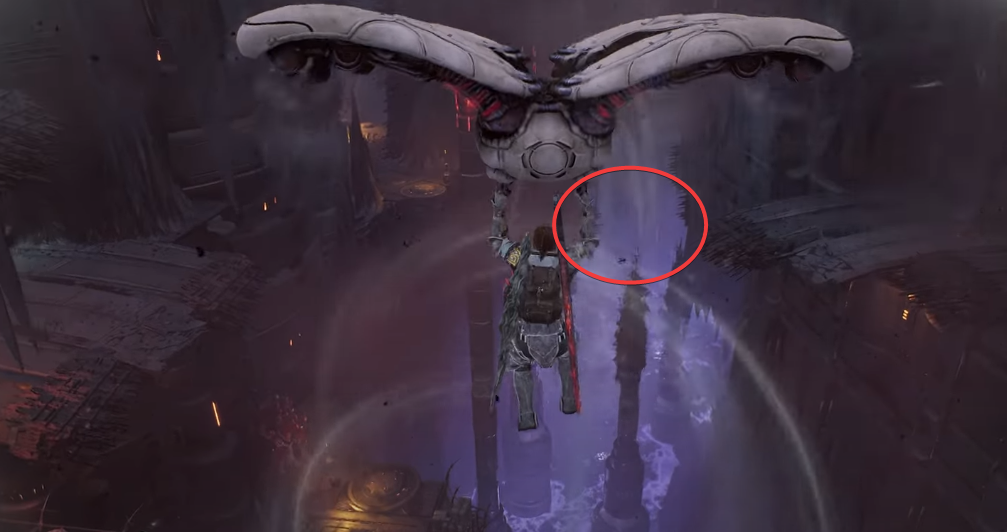
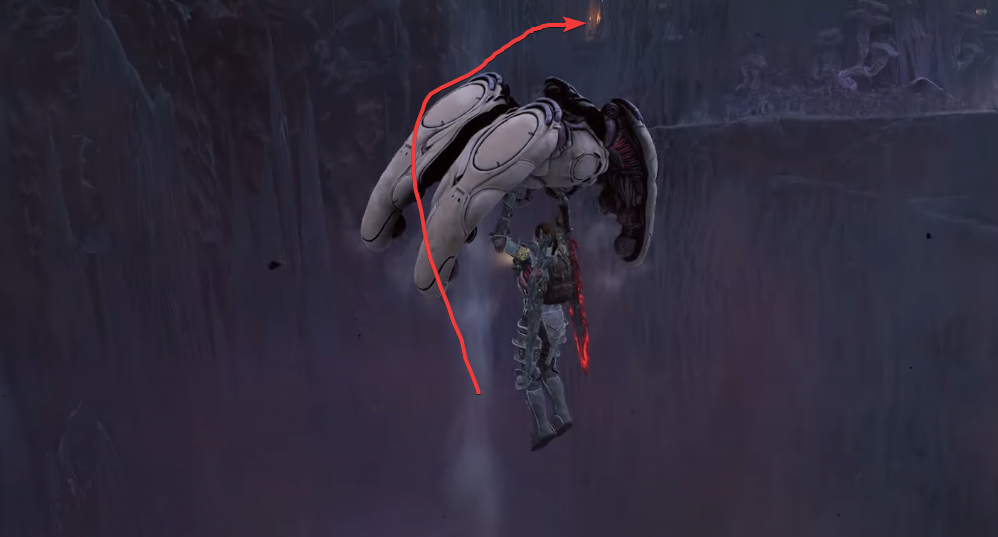
Keep moving right, and you’ll see an “airflow”. Use it to still keep moving right and wrap around the cave’s walls.
There will be another “airflow”; use it to move up and go inside the lighted entrance as shown in the image below.
From the entrance, keep moving forward and down the ramp. From there, go right!
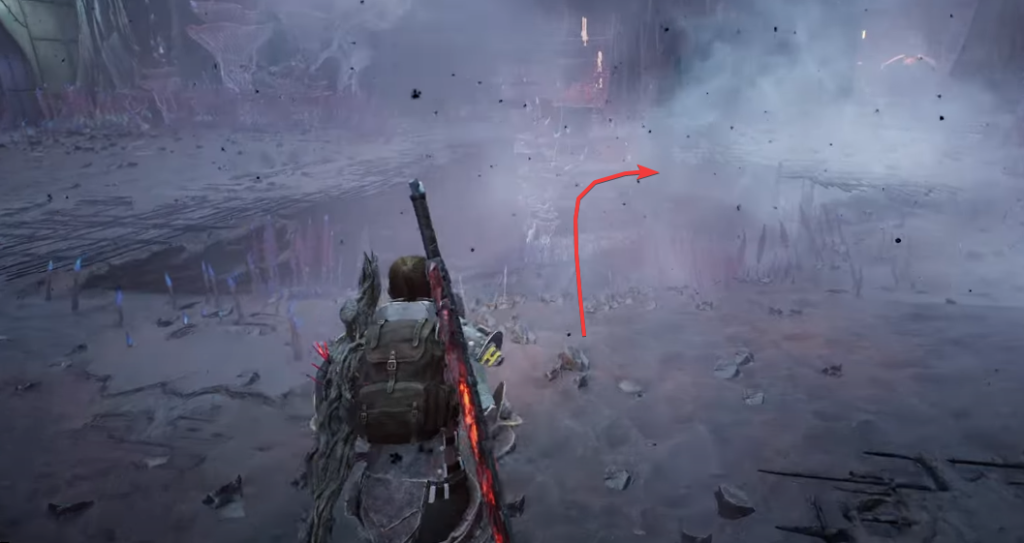
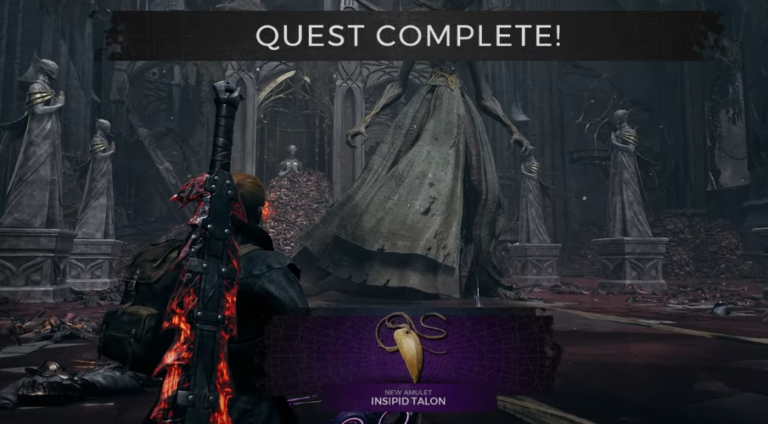
Just keep wrapping around the area, and you’ll eventually see the 3rd pylon! Activate it, defeat the final gauntlet, and get the Preservation Trait!
Keep in mind that this area is more dangerous compared to the Agronomy Sector. Before you interact with the console, make sure to bring enough ammo, relic charges, and plenty of supplies.
Preservation Trait Overview
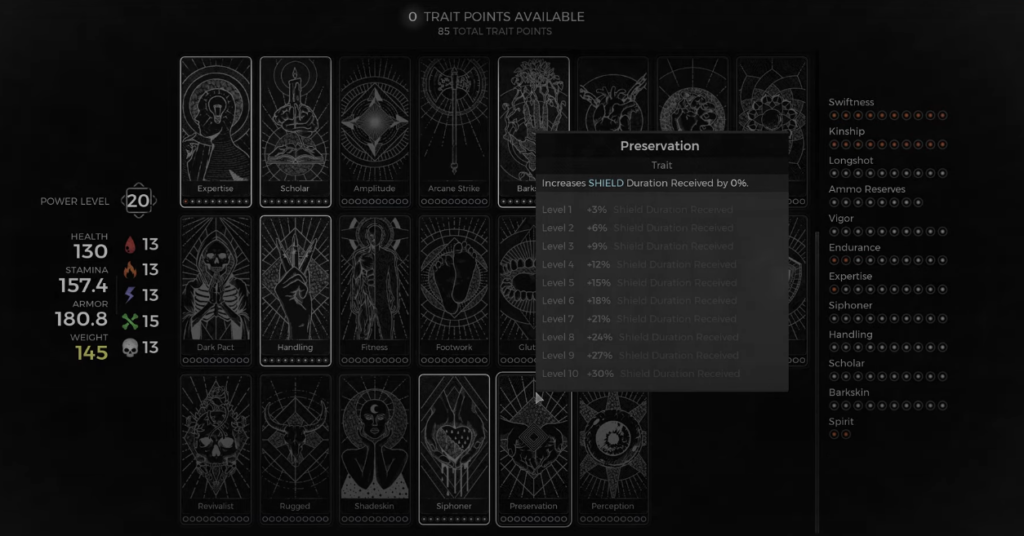
Preservation is an unlockable trait that enhances the duration of shields granted to the player, making your defenses last longer.
| Level | Shield Duration Bonus |
|---|---|
| 1 | +3% Shield Duration |
| 2 | +6% Shield Duration |
| 3 | +9% Shield Duration |
| 4 | +12% Shield Duration |
| 5 | +15% Shield Duration |
| 6 | +18% Shield Duration |
| 7 | +21% Shield Duration |
| 8 | +24% Shield Duration |
| 9 | +27% Shield Duration |
| 10 | +30% Shield Duration |
As the trait levels up, the shield duration received increases incrementally, offering significant defensive advantages at higher levels.
So, is the Preservation trait worth using?
Well, if you’re using a shield-focused build, then absolutely. It gets especially effective when you pair it with skills or equipment that constantly refresh shields.
While it might not be a useful trait for every build, its effectiveness in defense and support-oriented builds makes it one of the better utility traits introduced in the DLC.
If you’re interested, I also have a guide for another trait. Here’s how to get the Insight Trait in The Dark Horizon DLC of Remnant 2!