16 articles
The Prism system that was introduced in Remnant 2 – The Dark Horizon completely changed how character progression works in the game. Instead of slotting Relic Fragments into your Relic, you now use powerful Prisms to make your build even more powerful.
However, getting a “perfect” Prism isn’t all that easy due to its RNG-heavy system. Even after many patches later, it still requires proper planning if you want to roll an ideal setup. Let’s find out how you can do just that.
How to Roll a Perfect Prism in The Dark Horizon DLC
Before anything else, let’s first look at how Prisms work in the game.
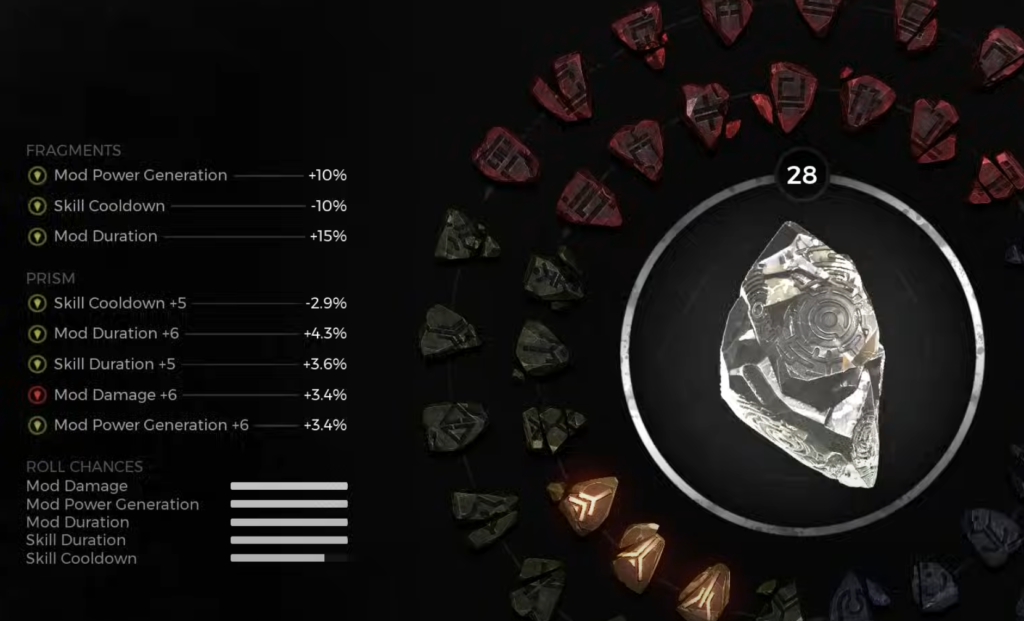
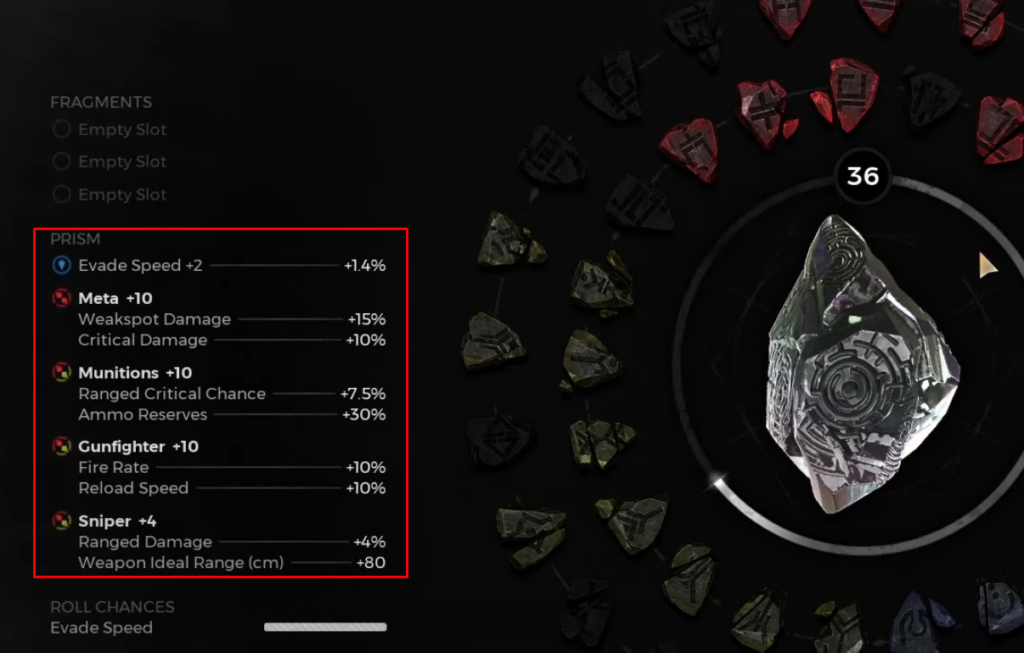
Basically, Prisms level up as you gain experience while one is equipped. Every time the Prism levels, you are offered three random stat upgrades, and you can permanently choose one.
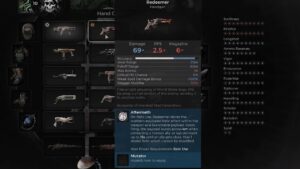 Remnant 2: How to Get Redeemer Secret Weapon | The Dark HorizonOct 2, 2024
 Remnant 2: How to Get Cessation Bulbel Secret Amulet | The Dark Horizon DLCSep 30, 2024
 Remnant 2: How To Get Burden of the Protector & Bypass Primer | The Dark Horizon DLCSep 29, 2024
Each Prism can hold up to five active stats. Certain compatible stats can eventually fuse together, which allows them to occupy only one slot while retaining both bonuses. This is the key to creating stronger endgame Prisms.
Once a Prism reaches its maximum level, it then unlocks a Legendary Bonus that can dramatically alter a build. In order to skew the RNG in your favor, you can insert Relic Fragments in order to boost the chances of getting whatever buffs they have.
It gets a bit more nuanced than that, but simply put, it is a container that you can “tailor” to your build with some careful planning and a lot of grinding. With some Mythic Relic Fragments of your desired bonuses, you can potentially get a perfect prism.
Increasing Your Chances of a Perfect Prism
Whatever counts as “perfect” will obviously depend on what build you are going for, but generally, this means that your prism has all of the buffs that you desire. To roll a perfect Prism, you need to plan ahead and have some Mythic Relic Fragments ready.
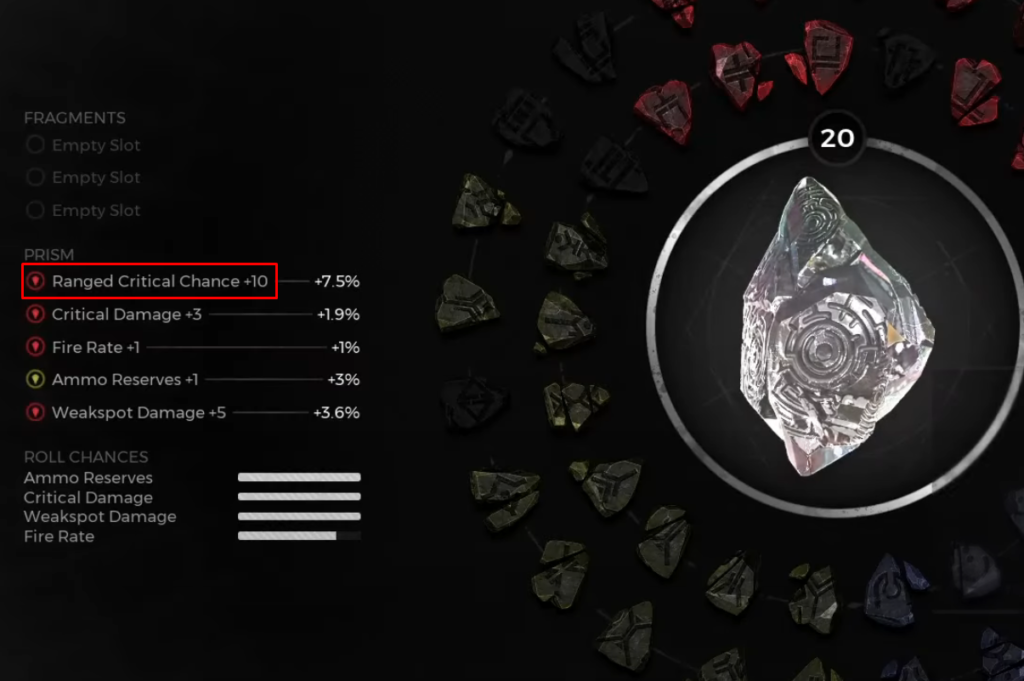
You can insert multiple relic fragments to increase the chances of their respective buffs showing up whenever you level up the prism. The mythic ones provide the absolute best roll chances, though be warned that inserting a fragment also destroys it.
Upon inserting the best fragments for your desired stats (ideally five), you should now start leveling up the prism and (hopefully) only get the buffs that you want.
Keep leveling up the buffs until they reach level 10, which is the max that any individual bonus can reach.
Min-Maxing for a “Perfect” Prism
Min-maxing your prism is where things get a little more complex. Basically, certain buffs can combine and free up an extra slot.
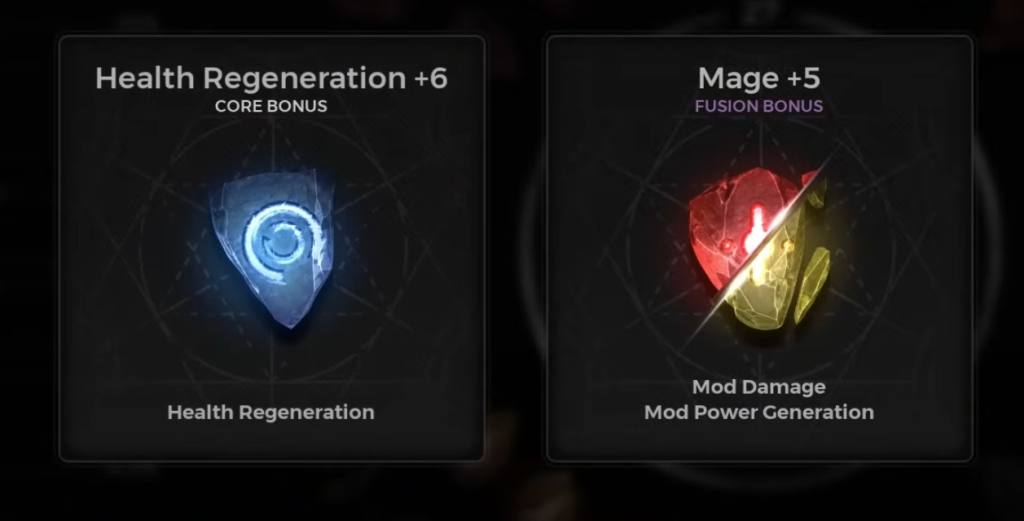
For example, Weakspot Damage and Critical Damage can combine into a buff called Meta once they both reach level 10.
When this occurs, they will both reset to level 1, but both buffs will only take up a single slot. This will downgrade the prism’s level and free up another buff slot. Now, it is important to note that these fusions are pre-determined.
Below is a list of all the known combinations:
- Athletic – Movement Speed + Evade Speed
- Capacitor – Firearm Charge Speed + Heat Reduction
- Cleric – Healing Efficacy + Consumable Use Speed
- Flash – Cast Speed + Consumable Use Speed
- Grip – Weapon Spread + Swap Speed
- Gunfighter – Ranged Fire Rate + Reload Speed
- Hulk – Health % + Stamina %
- Longevity – Mod Duration + Skill Duration
- Mage – Mod Damage + Mod Generation
- Meta – Weakspot Damage + Critical Damage
- Munitions – Ranged Crit Chance + Ammo Reserves
- Pirate – Ranged Damage + Melee Damage
- Protected – Shield % + Armor
- Pugilist – Melee Attack Speed + Stamina
- Revitalize – Health Regen + Skill Cooldown
- Rogue – Melee Critical Chance + Evade Speed
- Sapper – Explosive Damage + Damage Reduction
- Selfless – Revive Speed + Healing Efficacy
- Sniper – Ranged Damage + Ideal Range
- Tank – Damage Reduction + Armor %
- Threshold – Health % + Grey Health Conversion Rate
- Warrior – Melee Damage + Melee Speed
- Wizard – Mod Critical + Skill Critical
As you can see, some of these fusions also have a bit of overlap with others. Because of that, you need to take a look at the possible combinations and carefully pick your fragments/buffs to both increase the odds of getting what you want and also to avoid accidentally getting an unwanted fusion.
Choosing the Right Fusions
To be efficient, what you want to do is pick two fusions that you want and then insert their respective mythic fragments. Then, pick a third fusion but only insert a fragment corresponding to one of its buffs.
For example, let’s say you want to get Meta, Munitions, and Gunfighter. You can insert the following relic fragments:
- Weakspot Damage (Meta)
- Critical Damage (Meta)
- Ranged Crit Chance (Munitions)
- Ammo Reserves (Munitions)
- Ranged Fire Rate (Gunfighter)
Next, you will want to continue upgrading the prism until you max out all of the buffs, but ideally the ones that can combine. Upon getting one of the first two fusions, you should now insert the Reload Speed fragment (for Gunfighter) and hopefully get it to show up.
See the pattern here?
Basically, the “perfect” prism will be an entire set of fusions that you want. If you somehow make it to four fusions that you actually need for your build, the fifth buff slot will be whatever remaining bonus you want to slip in there, as there won’t be any way to combine it with anything else.
Is Rolling a Perfect Prism Worth It?
If you’re just playing casually, I’d say not really.
After all, Prisms are primarily designed as a long-term endgame progression for players who run Nightmare, Apocalypse, Boss Rush, or highly optimized builds. Even now, the system still involves a heavy XP grind and some RNG frustration despite recent updates.
That said, a properly optimized Prism can significantly improve your damage, survivability, cooldown management, or build efficiency depending on your setup.
If you enjoy min-maxing builds, the system is absolutely worth learning. Otherwise, you can comfortably complete most content without even bothering about it.
Other than these tips, there really isn’t anything else to it. Just remember that there is still a very small chance of not getting your desired buffs, even with Mythic Relic Fragments. This is why you need to be ready for some rerolls no matter what.
With all of that said, one closing tip to keep in mind is that there are multiple prisms that you can acquire in Remnant 2 – The Dark Horizon. If you need an extra one to experiment with other builds, check out our guide on how to get the Prism of Jealousy so that you aren’t stuck with the initial one that you can buy!