 11 articles
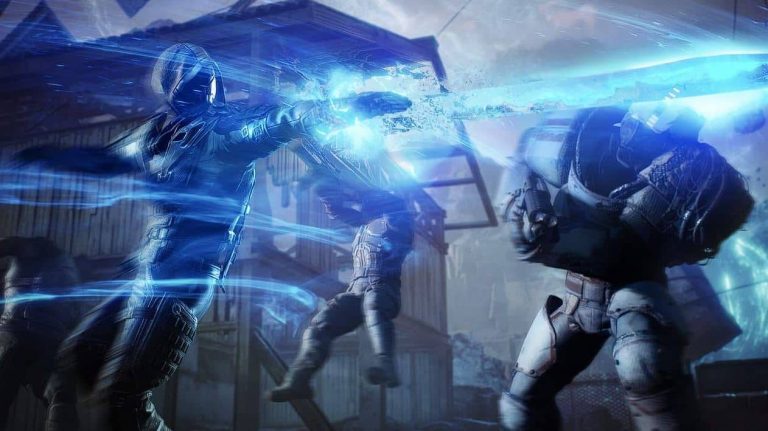
Worldslayer is finally out, and the update is huge, with tons of new features and stuff you can uncover. One of them comes in the form of a new endgame. However, since the new endgame is significantly harder to beat, you will need appropriate gear to tackle it.
Specifically, you’ll be needing the Apocalypse gear which is a new sub-rarity introduced in Worldslayers.
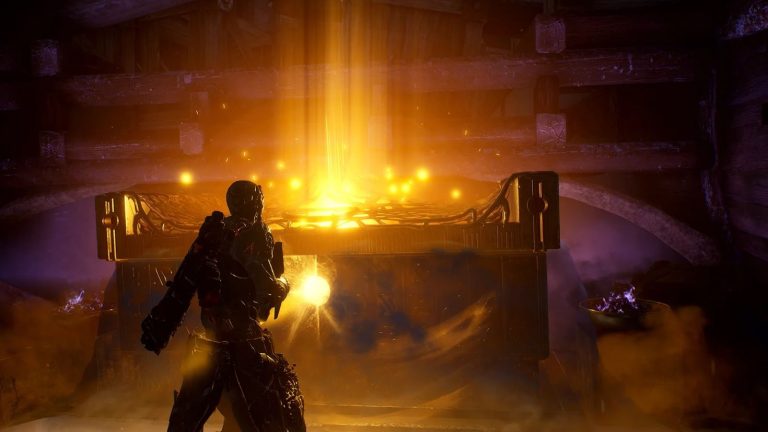
Each gear has a chance to drop with Apocalypse variants, and this includes Legendary gear as well. In this guide, I’ll show you how you can farm tons of Apocalypse gear by clearing the new endgame gauntlet which is the Trial of Tarya Gratar.
Best Ways to Farm Trial of Tarya Gratar for Tons of Apocalypse Gear in Outriders Worldslayer
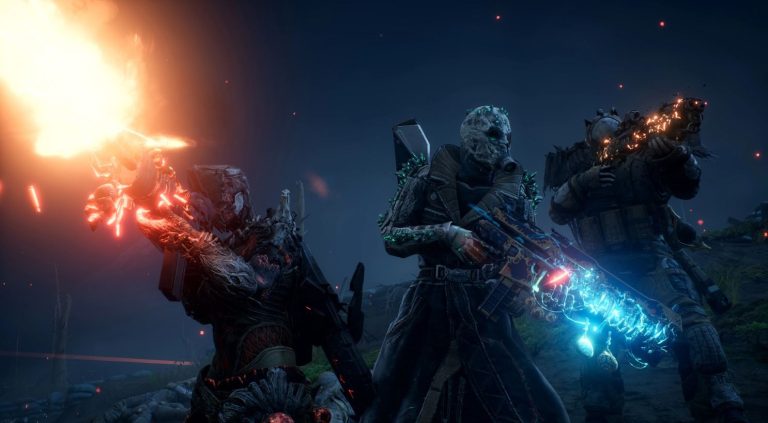
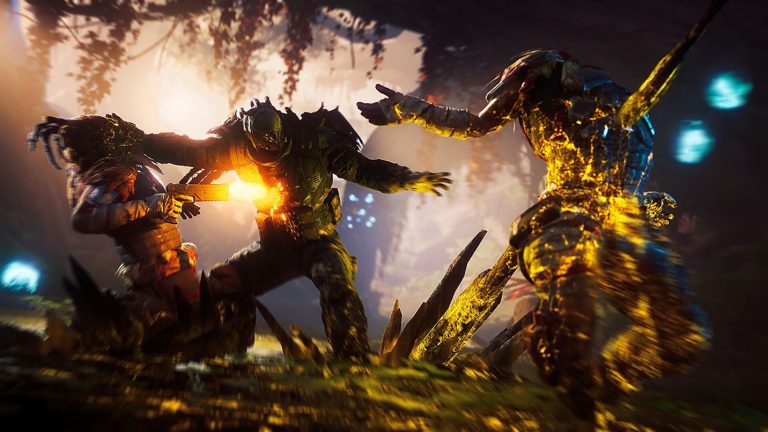
The Trial of Tarya Gratar is a new endgame activity that is basically a massive dungeon with lots of enemies you can fight against. You can get to this area after finishing the entire Worldslayer campaign. Here, you can go deep inside the dungeon as far as you can, with enemies getting progressively stronger the further you go. There’s also a final boss that you can meet at the very end.
 Outriders Worldslayer: Best Trickster Anomaly Build GuideJul 13, 2022
 Outriders Worldslayer: Best Mods You Need to Use GuideJul 2, 2022
 Outriders Worldslayer: Best Farm For Apocalypse LootMar 23, 2023
If you can survive the challenge, you will be rewarded with tons of amazing loots, including Apocalypse gear. You can also come across areas known as Troves which consist of various optional enemies. The enemies you encounter in the Troves are way harder than inside of the dungeon, though they will reward a specific loot when defeated.
Farming Apocalypse Gear
The best way to farm tons of Apocalypse gear is to farm the Trial of Tarya Gatar. Luckily, there’s a way to fight the final boss of the gauntlet without going through the entire dungeon once again. Do take note that it’s a bit of an exploit. It’s not that game-breaking though, so you should still be able to have loads of fun.
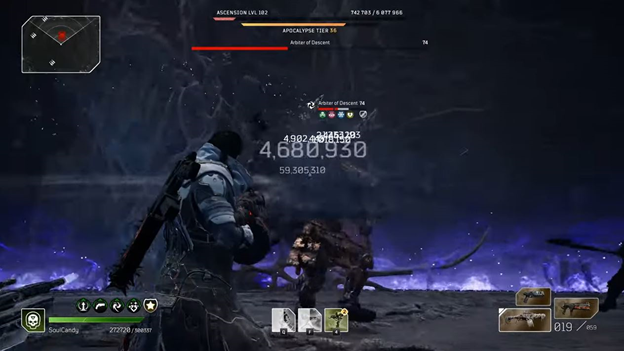
The very first method requires you to be at the Antechamber checkpoint which is the last checkpoint before the boss. You should also have all the necessary gear you need to kill it. I highly recommend getting to the last checkpoint without dying as much as possible as the dungeon only gives you 3 attempts to clear it.
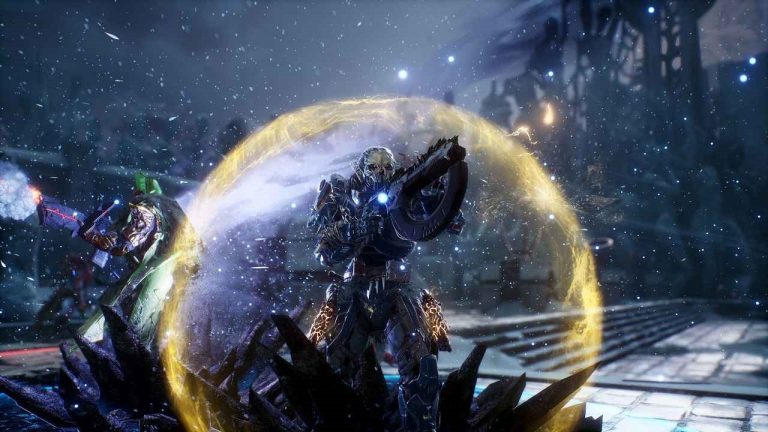
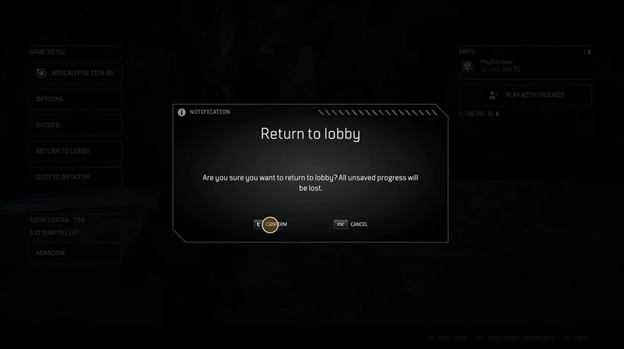
After reaching the checkpoint, proceed to the Father’s Sanctum to kill the final boss which is a larger and tankier Arbiter. Once you defeat the last boss, don’t head back to your camp. Instead, what you should do is open the Game Menu and choose the Return to Lobby option.
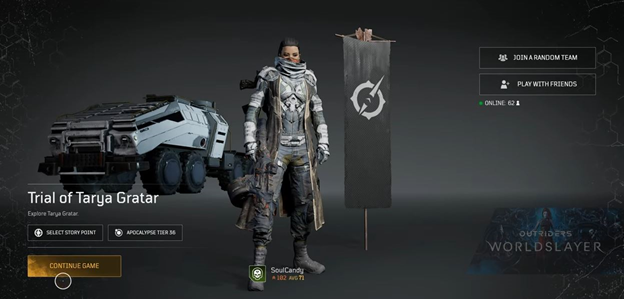
If you made it to the final checkpoint without dying, then you’ll have 3 attempts to clear the dungeon. But since we’re going back to the lobby, you’ll be spending one of those attempts – not that it matters anyway. Once you’re in the lobby, simply click the Continue Game option. Doing so will take you back to the final checkpoint right before the final boss.
At this point, it’s pretty much rinse and repeat. Go back into the boss arena and defeat it, return to the lobby, and continue the game to kill the boss once again. Do this until all of your attempts are consumed, at which point you’ll have to run the gauntlet again.
ALSO READ: DNF Duel: Top 5 Strongest Characters to Play | Abilities and Combos Overview