118 articles
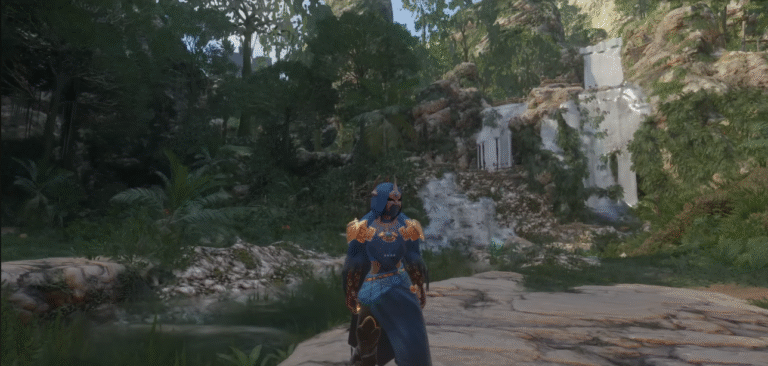
The Diving Helmet is one of those items in Enshrouded that doesn’t seem important until you need it… and then you realize just how big a difference it makes. It adds a huge chunk of extra breath time underwater, which is practically required if you plan to explore anything in the new water update.

It’s not easy to get through because the Dark’Dal Temple has several strange puzzles and one of the longest underwater stretches in the game. Here’s the exact route I used to grab the helmet without drowning halfway through the maze.
Get Ready Before You Go

You can brute-force some puzzles in this game, but this one isn’t one of them. If you don’t bring the right food, you’ll run out of oxygen before you hit the first air pocket. Anything that boosts breath time works (fish meals are usually the easiest option). If you have the Seafood Grill, cook a few different dishes, I recommend specifically Sushi, so you can refresh your air timer.
You’ll also want something for stamina. I recommend a Diver’s Endurance Flask, which helps a lot, and any food that speeds up stamina recovery saves you a few seconds in the longer swim sections.
 Best Secret Golden Chest Farming Locations in Enshrouded Water UpdateDec 6, 2025
 Best Base Locations in Enshrouded Wake of the WaterDec 6, 2025
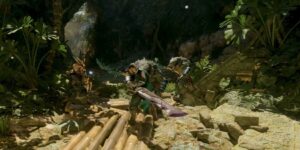 Enshrouded: Best Builds After Update 7 (Wake of the Water)Dec 3, 2025
Finding the Dark’Dal Temple
Travel to the Veilwater Base Ancient Spire, go along the coastline, and head toward Starfish Shores. You’ll see the temple sitting in the middle of the river; this is the Drak’Dal Temple. It’s guarded, so clear the enemies outside first to avoid being pestered while you climb around.

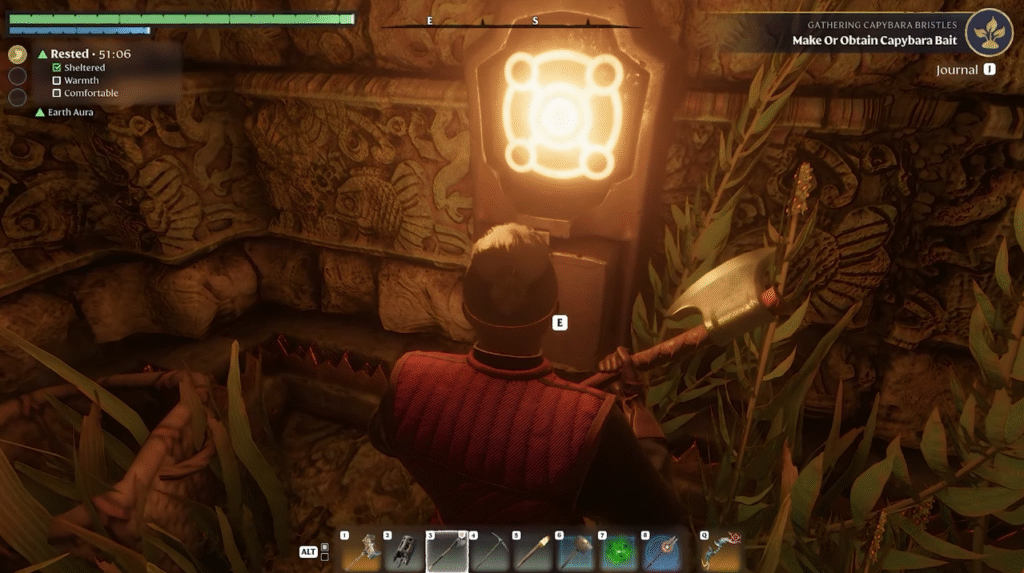
Go to the top of the ruin. There’s an opening in the roof that drops you into the main chamber below. A small group of enemies waits inside, so deal with them before moving on.
A Fake Button and the Real Entrance
There’s a button high on the wall that looks like it should open something, and technically it does, but that’s not the real way in. Turn around and check the corner behind you. The boxes stacked there aren’t decorations. Break them and you’ll uncover a hidden hole in the floor leading to a small side room.
Drop down, hit the button in the hidden room, and climb back into the main chamber. That switch sets up the underwater path that comes next.
A Shortcut That Might Get Patched
Right now, there’s a dirt spot near an oxygen bubble that you can dig through to slip into the maze early. It saves a lot of time, but because it feels unintentional, it may not stay in the game forever. The rest of this guide follows the intended method.
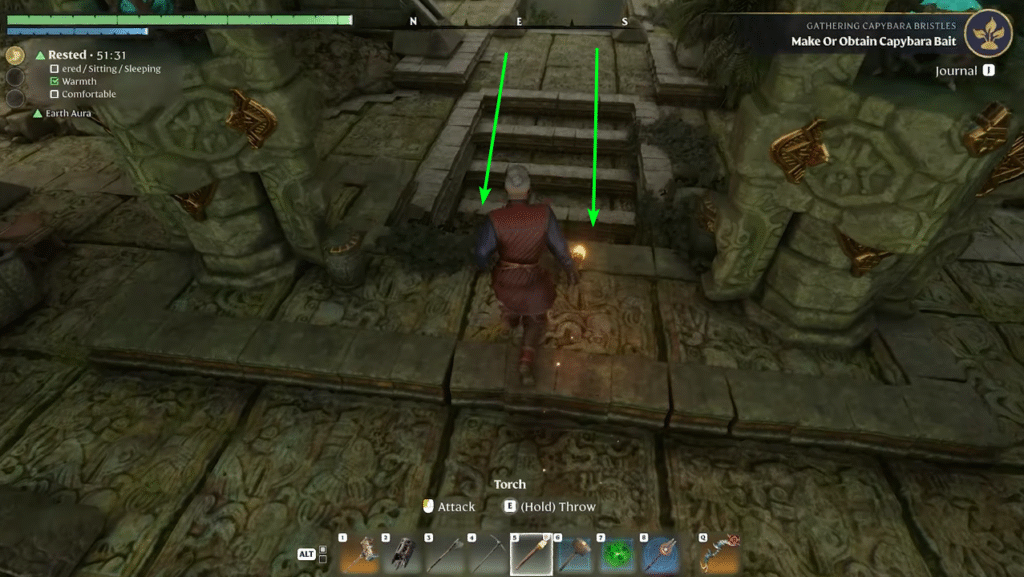
Puzzle Two: The First Long Dive
Back in the main hall, shoot an arrow on top of the button that leads into the underwater area. This will be another button you must press before progressing.
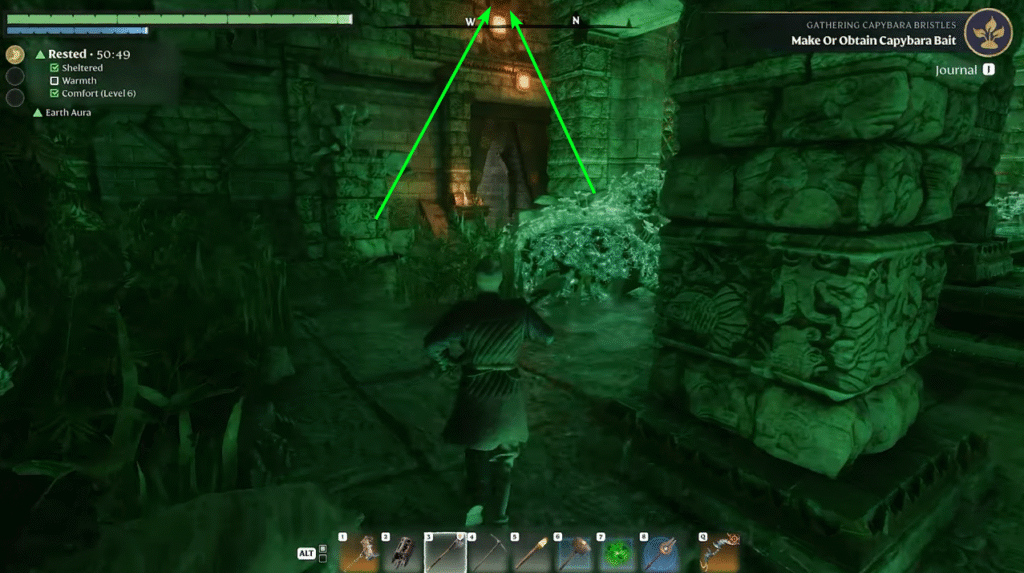
Before you go underwater, eat your oxygen food. Once you’re ready, dive down, press the button at the bottom, and immediately come back up for a full oxygen refill.
Longer Path
You’ll go back down and swim to your left. You’ll need to sprint-swim most of the way to reach this button safely. Follow the tunnel, turning left every chance you get, and you will stumble upon the button.
After hitting the button, swim to your right and then left and then left again. You will see an area to catch your breath above you. Utilize this to get ready for an even longer swim adventure.
The Underwater Maze
The next section is tight on time, even with good food buffs. Start by diving to the next button, which is straight ahead, activating it, and coming back to reset your oxygen timer (if need be, but if your food is good enough, you don’t need to). From there, head straight into the maze.
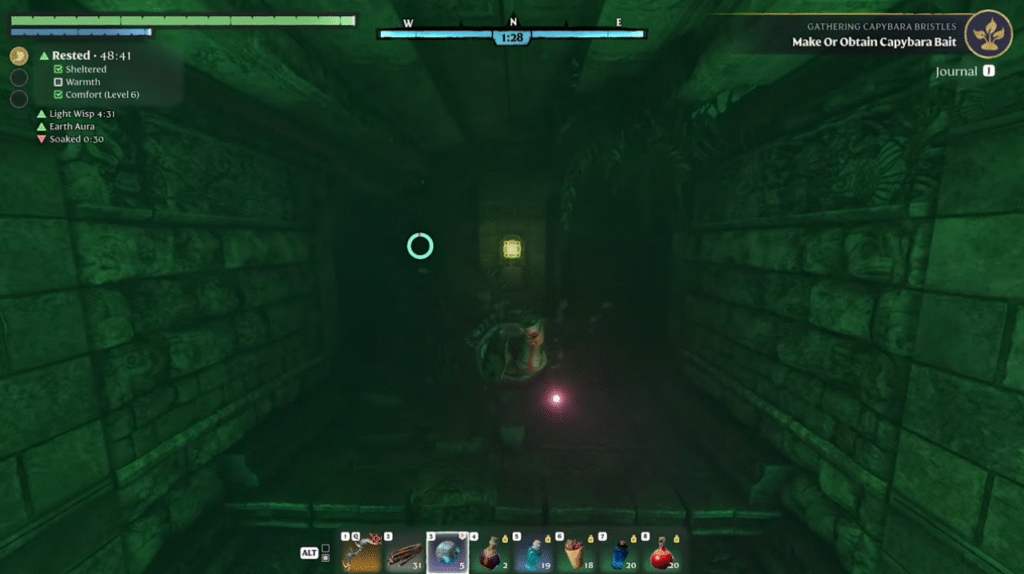
The layout winds around more than you’d expect, and it’s easy to lose precious seconds at every corner. Here are step-by-step instructions on the path to take with a guided video:
- Once you dive in, go left and continue straight until you see glowing moss.
- You will turn right, then pass through this area.
- Go right out of the mossy area, and then turn left, followed by a sharp right.
- You should pass a gold gate on your right. Keep moving down the hallway and turn left.
- Follow it by making a right, and then a very sharp right in an area with some more glowing moss.
- Turn left in that area and proceed with a turn left.
- The tunnel will force you left. This is the last turn you will take.
- All you need to do now is go straight and up.
If you need air before pressing the button, go ahead and pop all the way up for the air pocket. If not, the button is right in front of you when you come out of the tunnel. The hardest part of the entire temple is now behind you.
Tablet Room
There’s still more swimming to do, but nothing as punishing as the maze. If you’re looking at the button, turn left until you see a green glow coming from a corner. Follow this and you will find the Drak Relief VI tablet on the wall. If you’re collecting the tablets, grab this one now so you don’t have to redo this temple later.
Trap Hall
Follow the tunnel to the left underwater. There will be some glowing green moss, indicating you are swimming to the right area. There will be saw blades in here, so be careful. Here are the step-by-step instructions for this area:
- Swim straight, avoiding the first saw blade towards the bottom of the entrance.
- You will then come upon two saw blades at the top of the tunnel. Don’t try to swim in the gap between them. You need to swim between the branches on your right.
- Now, turn right and you will see the button to your right.
You should follow the path forward from that button, as you will come upon a patch of air. Catch your breath before diving back down for the treasure.
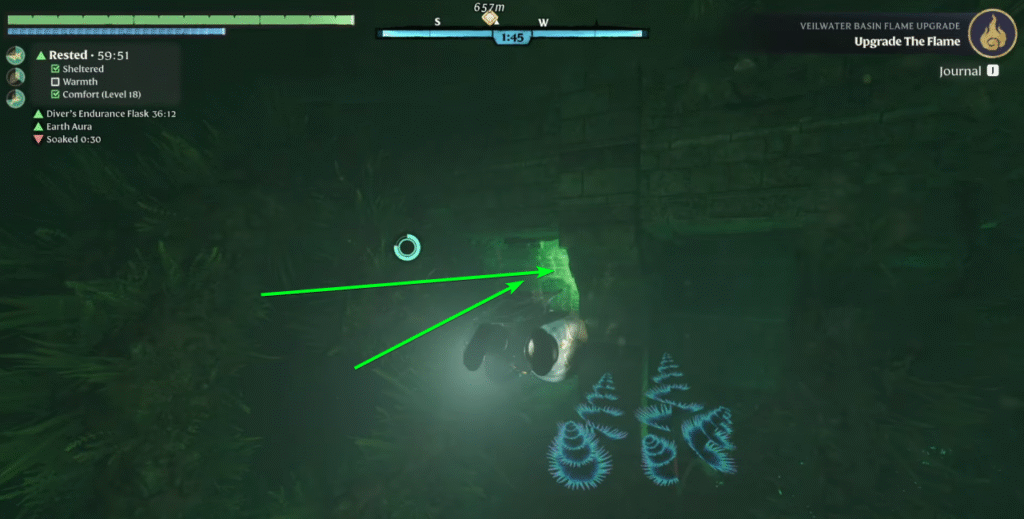
Treasure Room and the Diving Helmet
With all the switches activated, the treasure room will now be open. Dive under the air pocket and go to the left, following the path through green glowing moss. This is the treasure room filled with a large pile of coins below. A dead body lies on the ground in the coins, loot it, and the Diving Helmet is yours.
Putting it on immediately bumps your underwater time to almost two minutes with no food at all. Combine it with oxygen meals, and you can stay down long enough to explore practically anything the update throws at you.
Is It Worth Doing?
Yes. Even if you’re not planning a full underwater build, the helmet is helpful in nearly every water-related area. The puzzle takes time, and the maze is rough on the first attempt, but the upgrade is permanent and requires no crafting materials or upkeep. So, grab the Diving Helmet and get to exploring this new update.