
 46 articles
Update 2.3 just came out for Cyberpunk 2077, and it added 4 brand new vehicles you can unlock. Most of these new vehicles require a bit of legwork from V’s end, too, as they’re tied to various new quests. So, it’s a 2-for-1 deal: new quests to unlock new vehicles! Ready to expand your vehicle collection? Read on, we’ll tell you how to get these new rides.
How to Quickly Unlock All New Vehicles | Cyberpunk 2077 Update 2.3
Chevillon Legatus 450 Aquila
Let’s kick things off with the easiest of all the 4 new vehicles to unlock in Cyberpunk 2077 2.3. To get this one, you simply need to buy it from any AUTOFIXER for €$55,000.
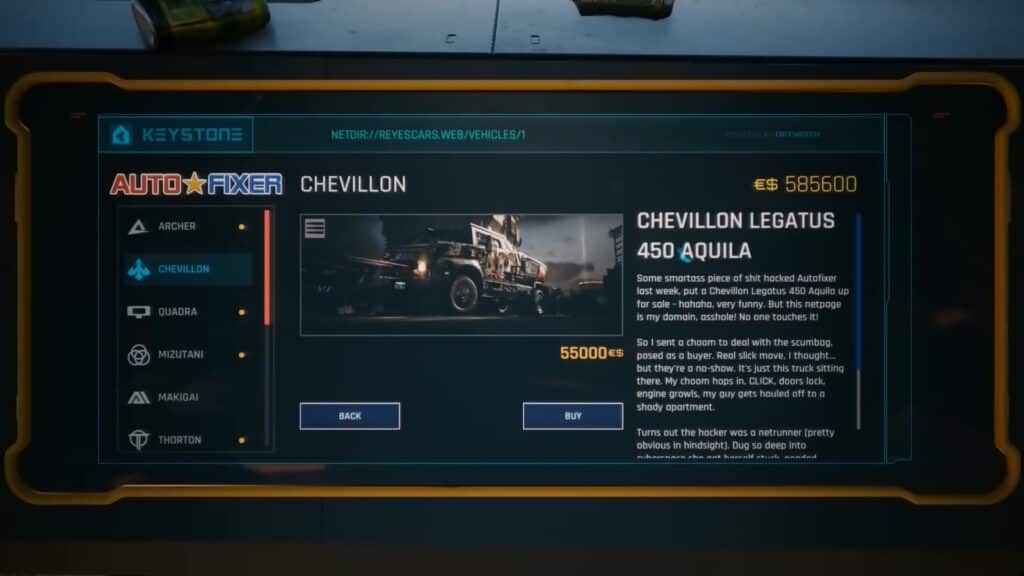
That’s it! Yes, really! You just go buy it and it’s all yours, no prerequisites or quests needed here. It’s fairly expensive, but that’s about it.
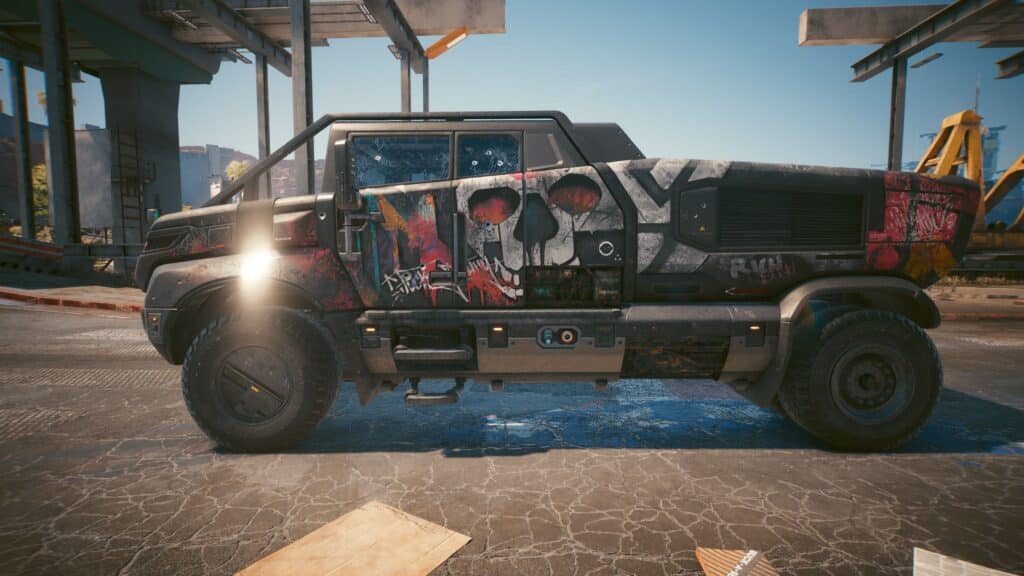
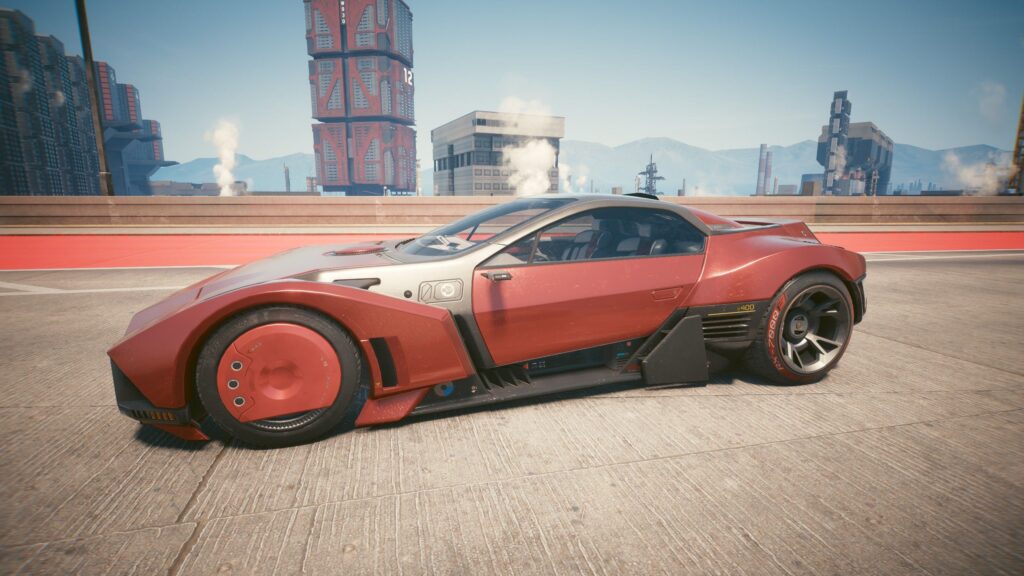
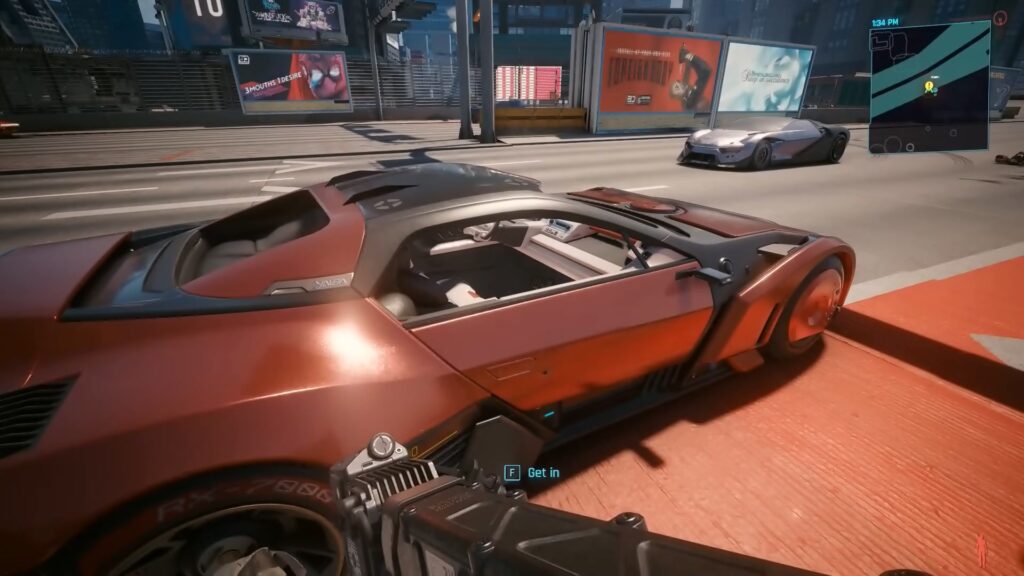
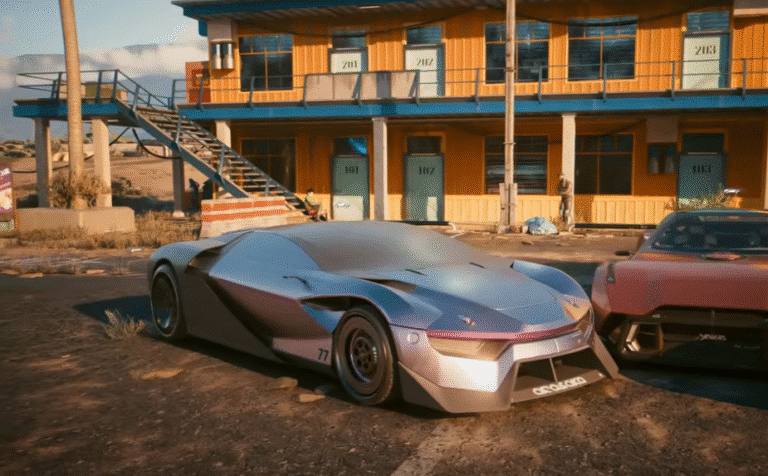
Rayfield Caliburn “Mordred”
Now, things get a bit more complicated than the previous car. First things first, you’ll need to complete all of the following prerequisites:
 CD Projekt Red’s Recent Job Listing Hints at Potential Cyberpunk 2 Online Multiplayer FeatureSep 18, 2025
 How to Break Into and Out of Prison in Cyberpunk 2077 | Patch 2.3Jul 27, 2025
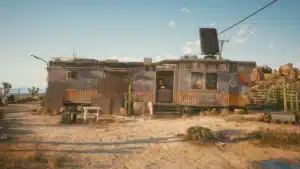 How to Get to DRY CREEK in Cyberpunk 2077 Patch 2.3Jul 26, 2025
- Complete the entire “The Beast in Me” questline.
- Complete the “Transmission” and “Search and Destroy” missions as part of the main story.
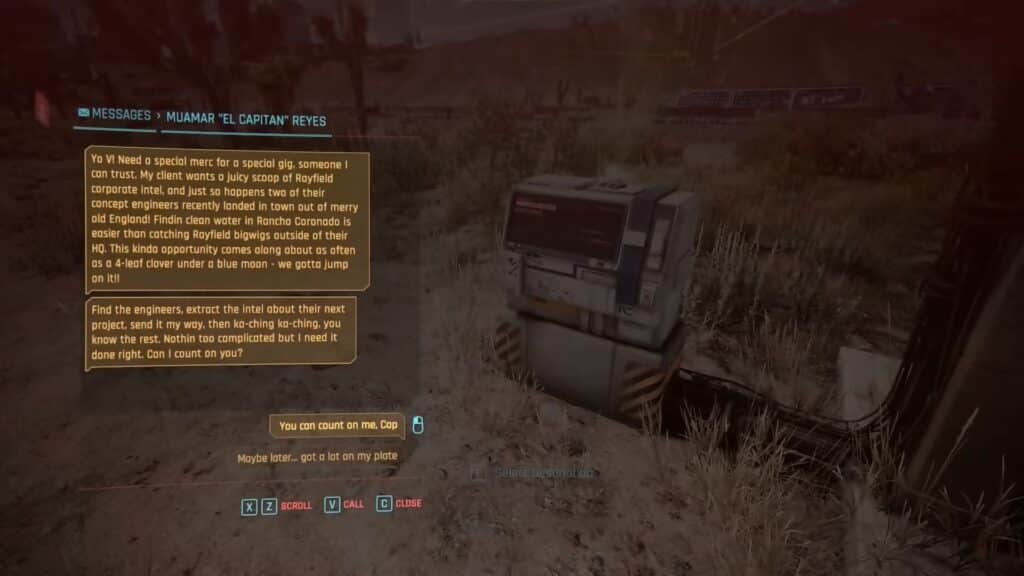
After meeting those prerequisites, spend some time in-game and you’ll eventually receive a message from Muamar “El Capitan” Reyes. Read the message to start the “Freedom” quest, setting you on the path to get this fancy new ride.
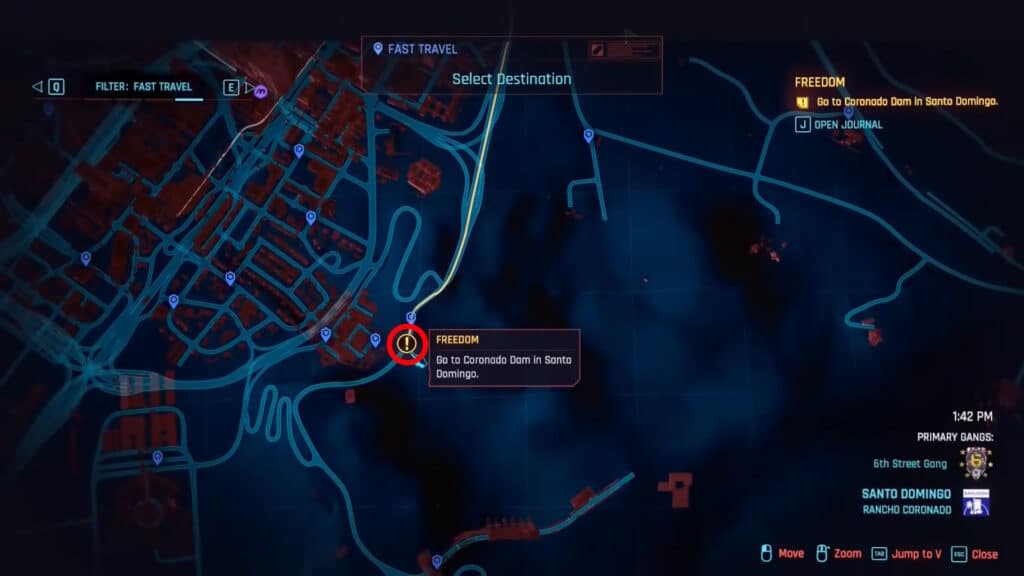
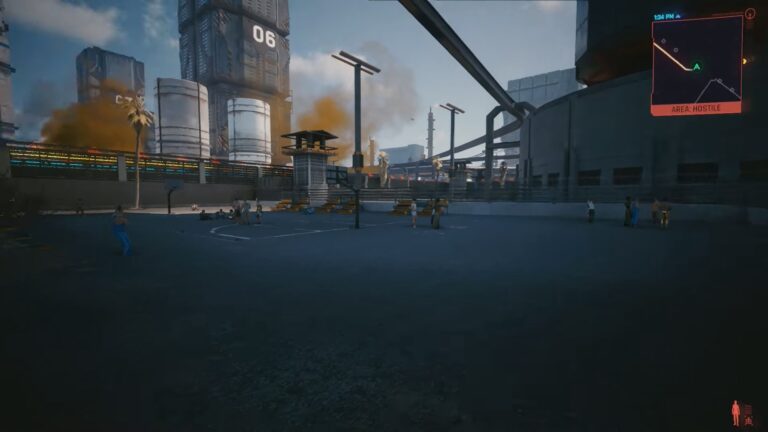
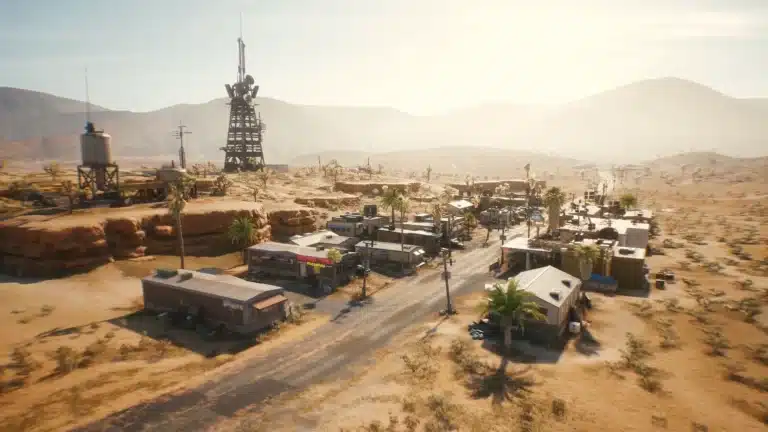
As soon as you start the quest, go to the Coronado Dam in Santo Domingo. You’ll need to investigate the area there, as there are a bunch of dead bodies and wrecked vehicles nearby. Clearly, something happened here, so investigate the scene.
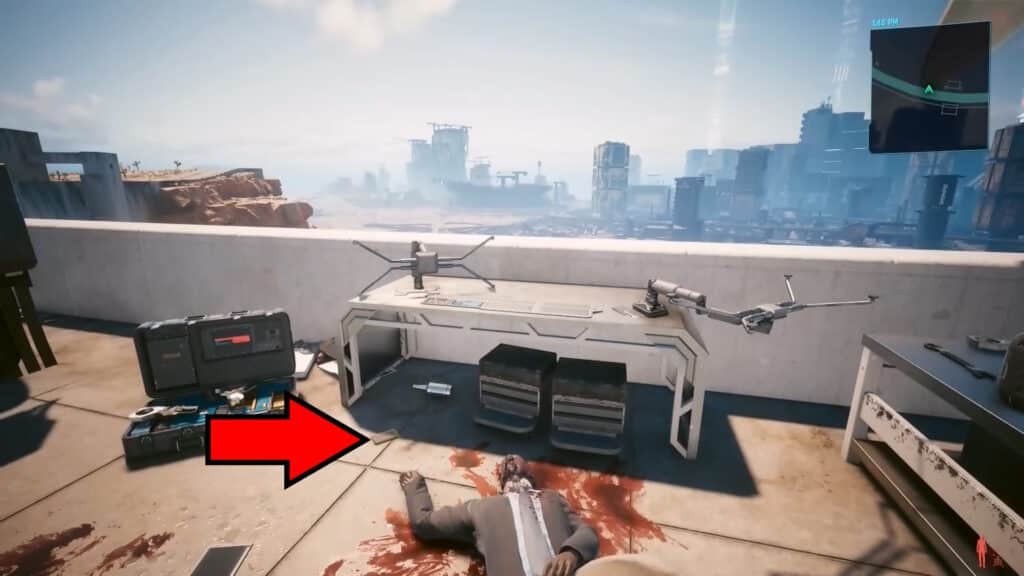
Most importantly, look for a datalog by a corpse on the western side of the dam. Read it to figure out your next destination: a construction site in Rancho Coronado.

At the construction site, take out the Arasaka Agents protecting the Mordred. After dealing with them, you’ll need to hack into a computer next to the car. However, the car will drive off after the hacking. Message Muamar back to report the situation.
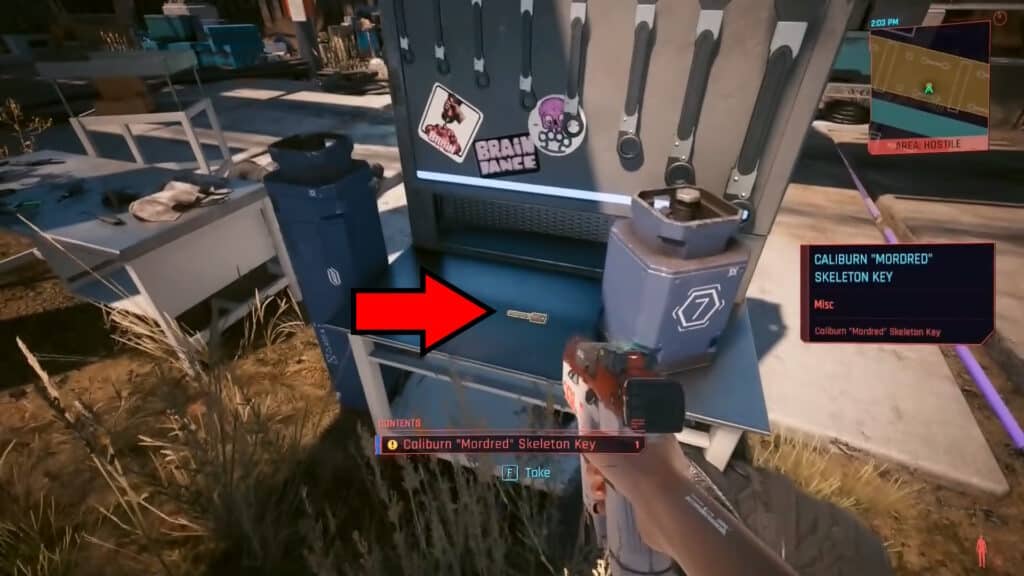
Then, go to the desk opposite of where the computer is. You’ll find the Skeleton Key for the Mordred there, pick it up. With it in your possession, get back into a car and follow the in-game GPS to locate the Mordred.
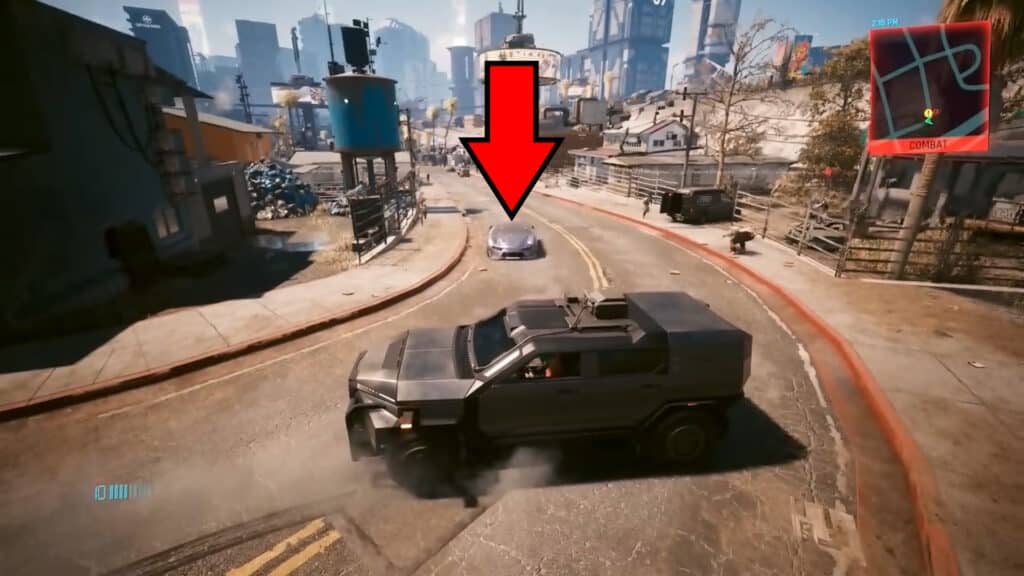
When you get to the Mordred’s vicinity, you’ll find it patrolling around a neighborhood. Shoot at it to damage it and it will eventually come to a full stop. Get into it when it stops and the police will start to chase you. Outrun them and you’ll finish the mission, making the car your own!
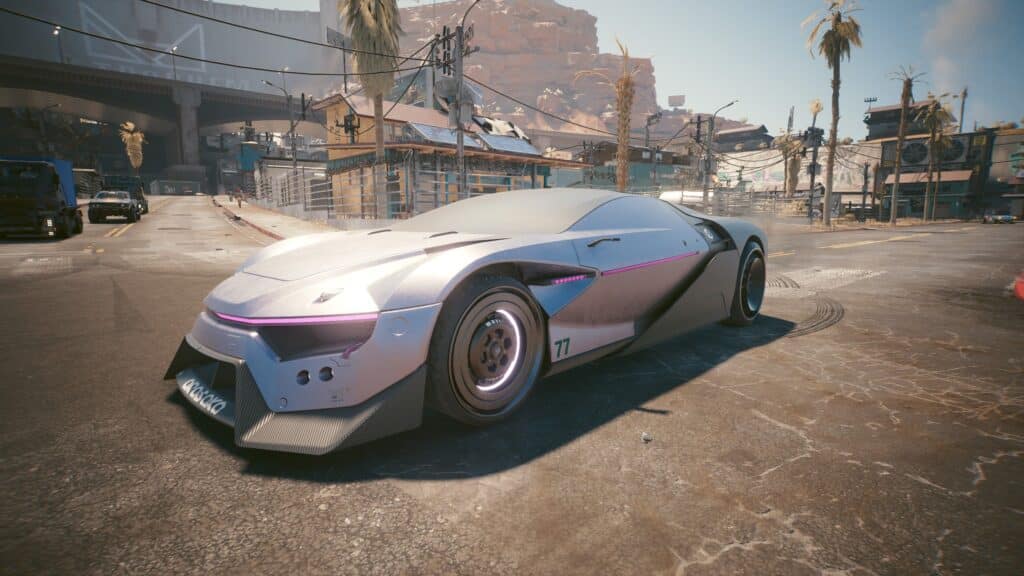
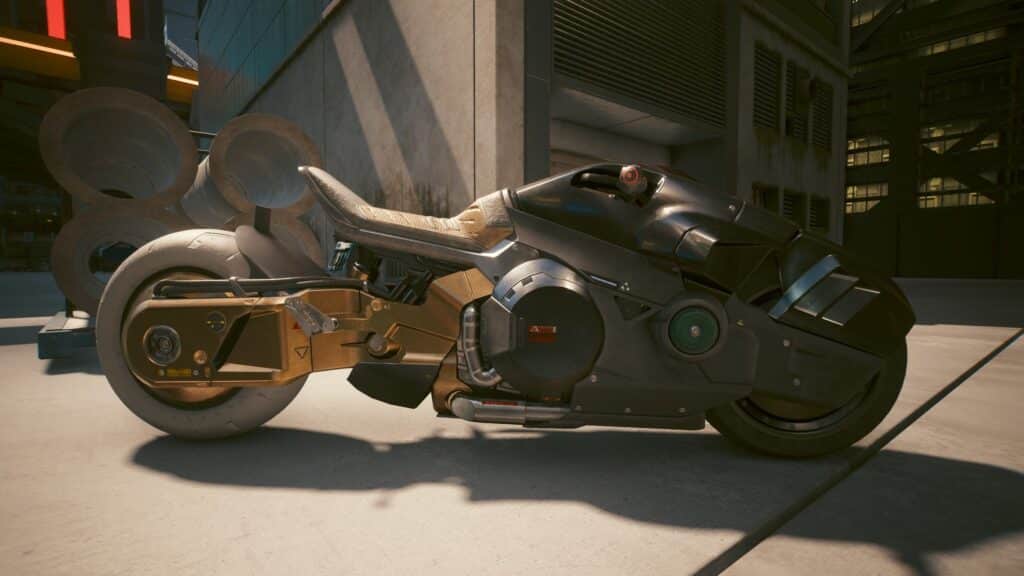
Yaiba ARV-Q340 Semimaru
To get the Semimaru, you’ll first need to complete two prerequisites:
- Complete the entire “The Beast in Me” questline.
- Complete the “The Hunt” mission as part of the main story.

With those prerequisites met, continue playing and you should eventually receive a message from River Ward. Read the message to start the new “Motorbreath” side job.
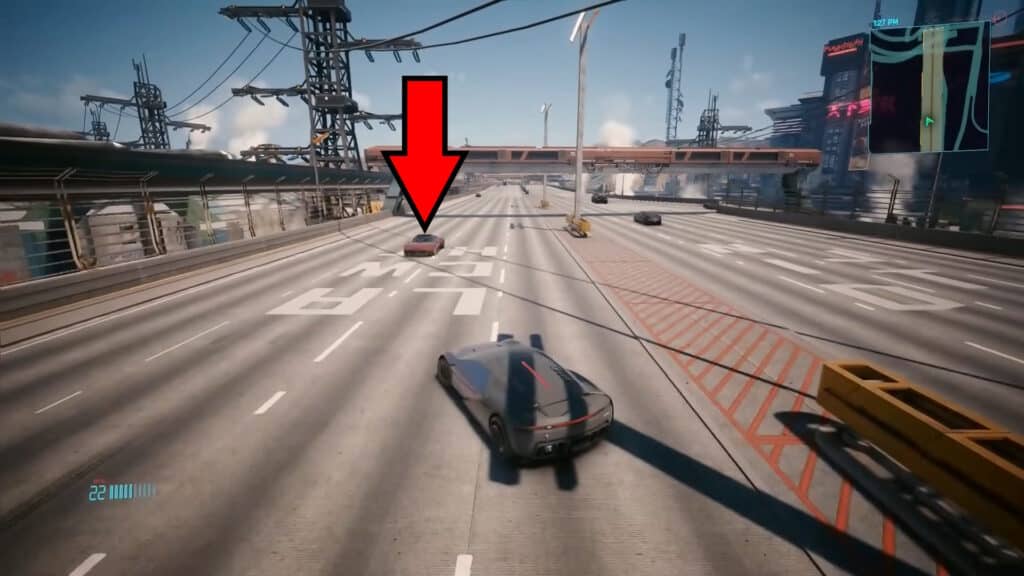
As soon as you activate the quest, track it and follow the instructions in-game. You’ll see a stolen Semimaru drive by you when you reach the starting point. At this point, it becomes your job to chase it! Do not let it out of your sight or you’ll fail the mission, forcing you to wait for River Ward to message you again before retrying.
This job is easiest if you have already obtained the Mordred previously. Its weapons make it easy to damage the Semimaru’s driver, forcing him to stop and get out of the car.
Either way, stop the stolen Semimaru and get rid of its driver. Then, take the Semimaru for yourself. Once you get into the car, just report back to River Ward. He’ll let you keep the Semimaru as a reward for the job… though it’s mostly because he doesn’t want to deal with the car, but it works out in your favor anyway!
Yaiba ASM-R250 Muramasa
Like the previous two vehicles, the Muramasa also has a few prerequisites you need to complete first. They are as follows:
- Buy at least 1 other Yaiba vehicle from AUTOFIXER.
- But a total of 3 different vehicles from AUTOFIXER.
- Complete “Reported Crime: You Play With Fire…”
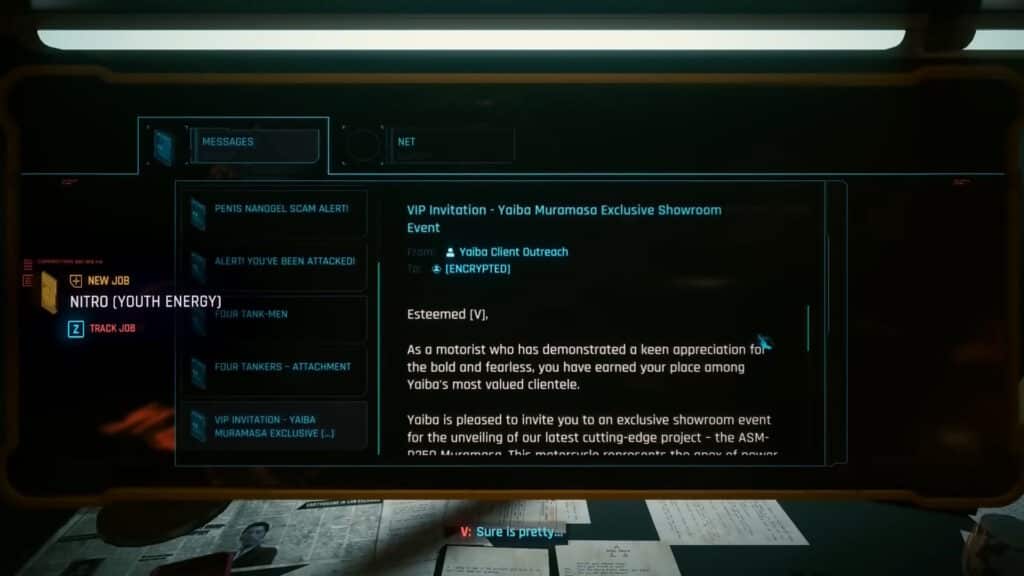
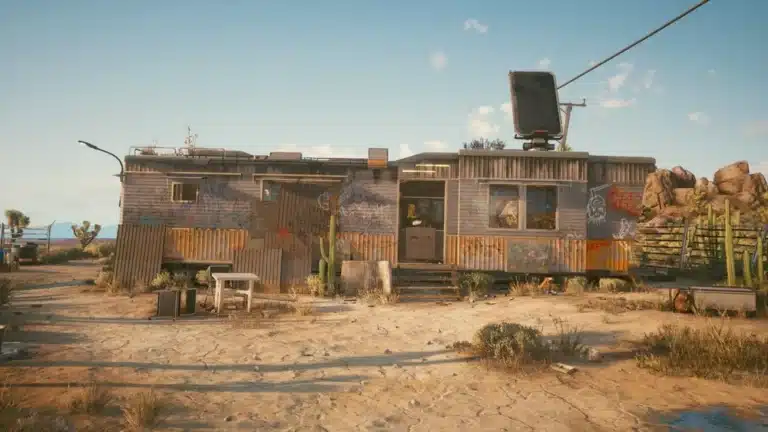
Sometime after you meet those prerequisites, you’ll receive an in-game message titled “VIP Invitation – Yaiba Muramasa Exclusive Showroom Event.” Read this message to start the “Nitro (Youth Energy)” side job. You can continue the job at this point by either going to Kiroshi’s Campus or visiting Yaiba’s website on any in-game terminal.
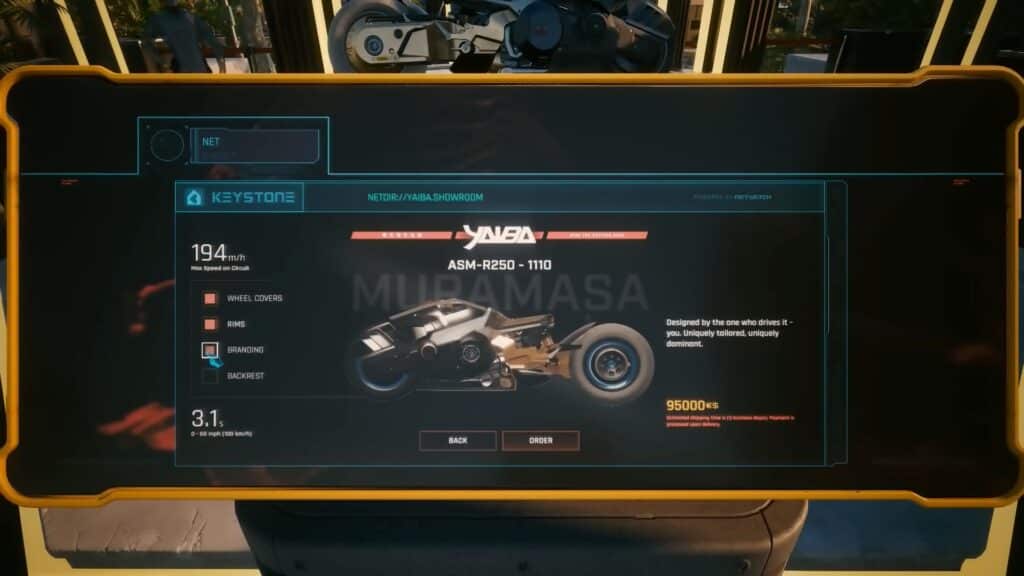
Either way, access the event and follow the instructions. It will lead you to a terminal where you can customize and order the Muramasa bike for €$95,000, although the payment is done when you receive it later. After that, pass 24 hours in-game and you’ll be told to go to Corpo Plaza to finish the purchase process and get your fancy new bike.
That’s how to get all of the 4 new vehicles added with update 2.3 for Cyberpunk 2077. It’s honestly a little amazing that we’re still getting whole new quests so long after release, right? Plus, these new vehicles are pretty great, too.
Found another tip?
Share your extra strategy, correction, or question below. Helpful comments can make this guide better for everyone.