 6 articles
Throwing down with WWE Superstars in WWE 2K24 can feel overwhelming at first, especially if you’re new or returning from the older WWE games.
The game’s combo-heavy gameplay, breaker system, and faster pacing can make matches feel much more technical than before. Fortunately, as long as you understand the basics, controls should become second nature.
In this guide, we’ll go over all the important controls and basics you’ll need to enter the ring!
WWE 2K24: Controls Guide
Movement is straightforward, but WWE 2K24’s combat revolves heavily around chaining attacks and controlling momentum.
 How to Carry Opponents in WWE 2K24Mar 7, 2024
 WWE 2K24: How to Get Started in MyFACTIONMar 7, 2024
 How to Drag Opponents in WWE 2K24Mar 6, 2024
- Walk – Push the Left Stick. The further you push, the faster you move.
- Run – Hold LT (Xbox) or L2 (PlayStation), then push the Left Stick.
- Dodge – Push the Left Stick and then press RB (Xbox) or R1 (PlayStation) to dodge in that direction.
- Block – Hold down Y (Xbox) or Triangle (PlayStation) to assume a blocking stance.
- Light Strike – X on Xbox, Square on PlayStation. Moving the Left Stick will alter your strikes depending on the direction.
- Heavy Strike – A on Xbox, X on PlayStation. Just like Light Strikes, pushing the Left Stick will alter the attack depending on what direction you push.
- Grapple – B on Xbox, Circle on PlayStation. Press the Light or Heavy Strike buttons to perform follow-up attacks. Pushing the Left Stick will also alter the attacks you do.
Directional inputs can change many attacks, allowing each Superstar to perform different strike variations and grapples depending on your positioning.
After initiating a grapple, you can follow up with Light or Heavy attacks for additional moves and combo strings.
Combos and Breakers
Combos are one of WWE 2K24’s most important mechanics. By repeatedly performing Light and Heavy attacks, you can chain them into unique sequences depending on who you’re using.
Moreover, you can mix strikes with grapples to effectively pressure opponents and build momentum quickly.
Breakers are equally important defensively. If you correctly predict whether your opponent will use a Light Grapple, Heavy Grapple, or regular attack, you can interrupt their combo and instantly swing momentum back in your favor.
It’s worth noting that this system is one of the biggest differences compared to older WWE 2K titles. However, it does take some practice to master.
Carry, Dragging, and Irish Whips
Once you successfully grapple an opponent, you then gain access to positional control mechanics.
- Carry or Drag – After a successful grapple, press RB (Xbox) or R1 (PlayStation) to carry or drag your opponent. You can end the carry by pressing Light Strike or Heavy Strike to do an attack.
- Escape Carry – If you’re the unfortunate soul being carried, you’ll need to mash the Grapple button to escape.
- Running Strike – Press either the Light Strike, Heavy Strike, or Grapple button while you’re running.
- Pick Up Object – Press LB (Xbox) or L1 (PlayStation) while you’re near a weapon or object.
- Throw Object – While holding an object or weapon, push the Left Stick in a direction and press the Grapple button to throw it.
- Taunt – Press Left, Up, or Right on the Directional Pad to perform different taunts. Flaunt your style before you beat your opponent!
- Irish Whip – Grapple an opponent, move the Left Stick, then press Grapple again.
These mechanics are especially useful for setting up corner attacks, rope rebounds, and finishers.
Beat Them While They’re Down
Once your opponent is on the mat, you can continue pressuring them with grounded offense.
- Grounded Attacks – You can beat down a downed opponent by pressing Light Strike, Heavy Strike, or Grapple. Which button you press alters the attack type, based on what position the opponent is in.
- Flip Downed Opponent – Push the Right Stick to the left or right near a downed opponent to give them a kick and make them flip over to the other side.
- Pin – Push the Right Stick down when you’re close to a downed opponent to attempt a pin.
- Lift Opponent – Press the Right Stick up when you’re close to a downed opponent to force them to stand up.
- Submission – Hold RT + B (Xbox) or R2 + Circle (PlayStation) near a downed opponent to try to force them into submission.
Reversals and Defense
Don’t skip on defense, as it’s equally important as offense in WWE 2K24.
- Reversal – Press Y (Xbox) or Triangle (PlayStation) at the correct timing window.
- Dodge – RB/R1 while moving.
- Block – Hold Y/Triangle against strikes.
Moreover, timing your reversal properly can completely change the pace of a match, especially online where momentum swings happen quickly.
If you’re struggling with reversals, spend some time in the Performance Center tutorial mode to learn the timing windows.
Learn to Use the Ropes
- Enter and Exit Ring – Push the Left Stick towards the ropes and press RB (Xbox) or R1 (PlayStation). Press the button once to get on the apron, hold it to fully exit the ring.
- Apron Moves – You can do a lot of different moves while you’re on the apron by pressing Light Strike, Heavy Strike, or Grapple. These vary drastically based on your opponent’s positioning.
- Climb the Corner – Run towards the corner you want to climb to climb it automatically.
- Dive Strike – Press Light Strike or Heavy Strike while you stand on a corner.

- Springboard – Approach the ropes, push the Left Stick toward them and press LB (Xbox) or L1 (PlayStation). Then, press the Light Strike button.
- You can also do Springboard moves by simply pressing LB + X (Xbox) or L1 + Square (PlayStation) while on the Apron.
- Dive Attack – Run toward the ropes and press the Light Strike button to do a dive attack while exiting the ring.
- Irish Whip – Grab an opponent with a Grapple then push the Left Stick in the direction you want and press the Grapple button again. Hold the Grapple button for a stronger Irish Whip.
- Pull Back Strike – As soon as you perform an Irish Whip, press either Light Strike or Heavy Strike before you throw your opponent. You’ll pull them back for a smackdown instead!
- Rebound Strike – Make your opponent bounce off the ropes with an Irish Whip, then press either Light Strike, Heavy Strike, or Grapple as they bounce toward you.
Special Moves | Signatures and Finishers
Special moves require momentum and proper positioning.
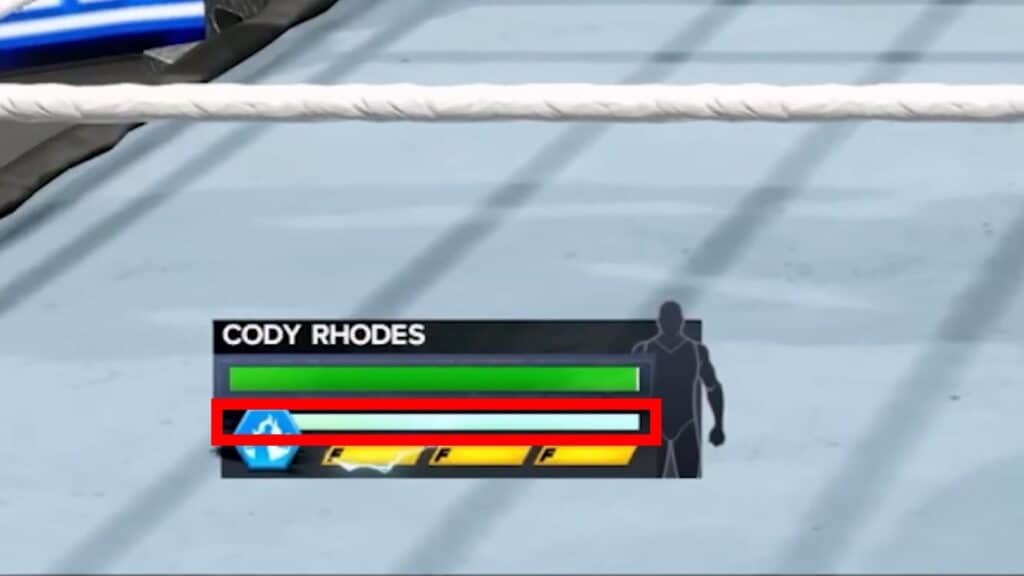
To perform a Signature Move, first make sure your Special Gauge is full. It’s the blue gauge below your character’s Health. If it is, press RT + X (Xbox) or R2 + Square (PlayStation) when your opponent is in the right position.
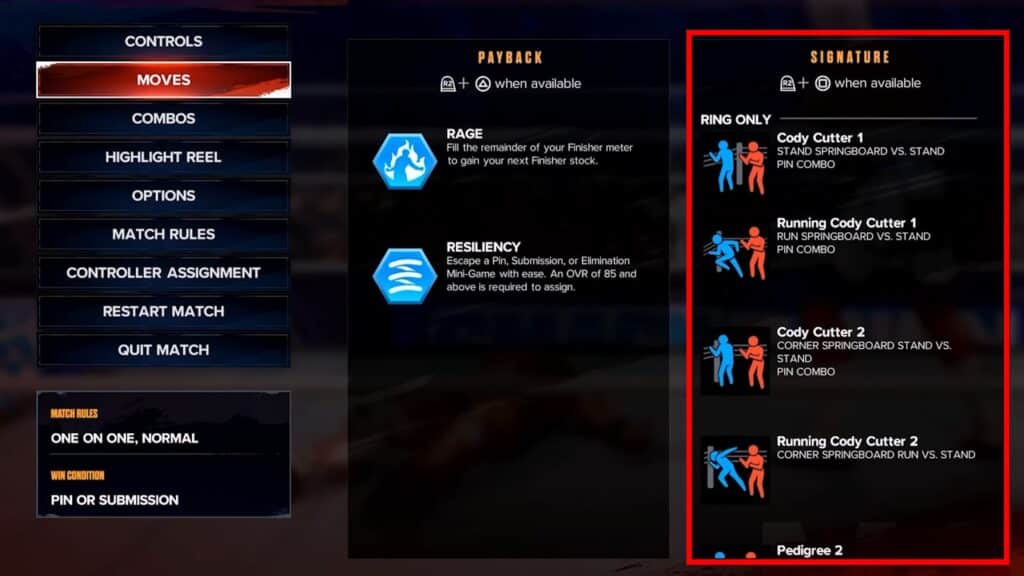
Now, the “right position” is going to depend heavily on who you’re playing as. You can check the conditions by pausing the game and going into “Moves”, though!
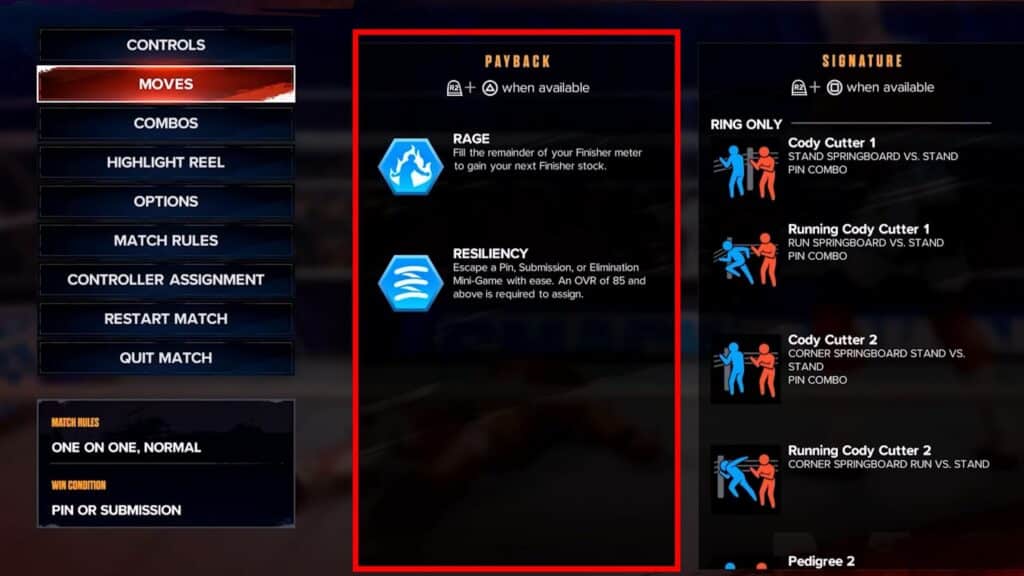
You can also perform Payback Moves, which are highly customizable moves you can pull off by pressing RT + Y (Xbox) or R2 + Triangle (PlayStation) in the right conditions.
You can see your current Payback Moves and their conditions from the Moves screen in the pause menu.
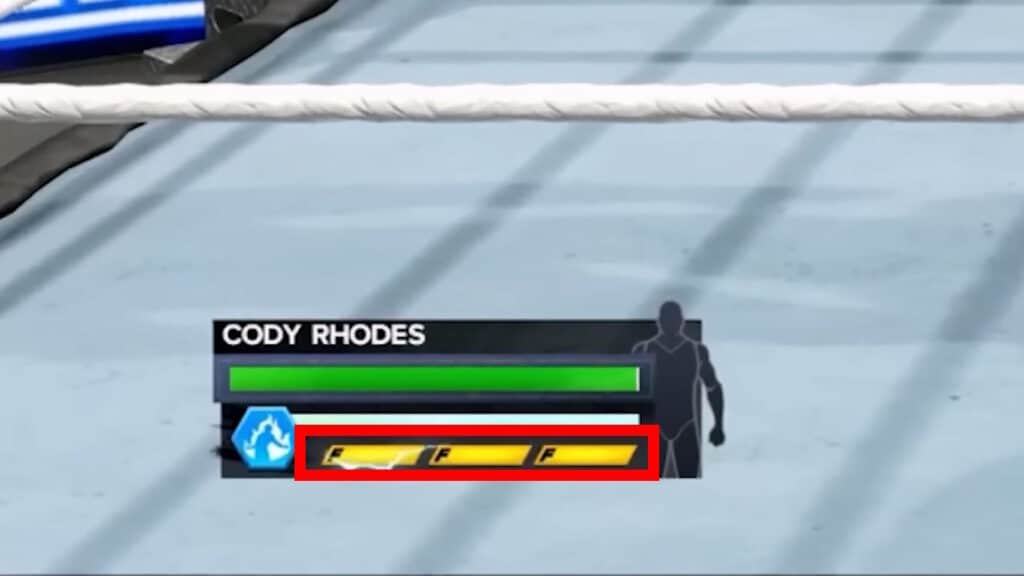
As for the Finisher Move, you need at least one Finisher Charge to use it. These are the yellow bars below your character’s Health. If you have one, press RT + A (Xbox) or R2 + X (PlayStation).
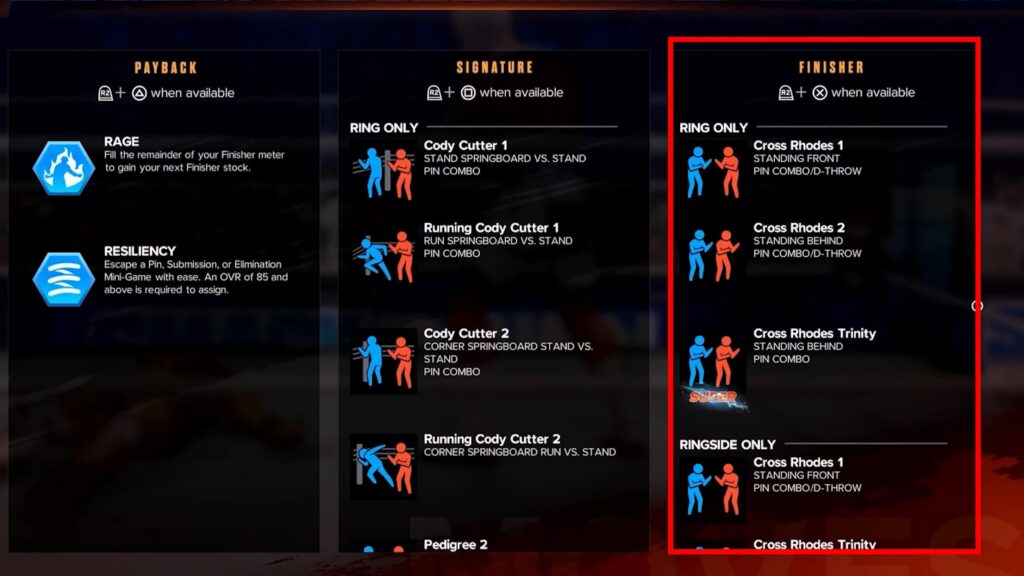
Just like with Signature Moves, the exact conditions to trigger these moves vary a lot. As always, though, you can see them in the “Moves” section of the pause menu.
Some Finishers can also be charged to make them stronger. Just hold the input when you land the Finisher instead of just pressing it.
Some characters also have Super Finisher Moves, which work pretty much the same. The only difference is that you’ll need three Finisher Charges to use them!
Speaking of Finishers, that’s the end of our Controls guide for WWE 2K24! You should now be able to bring the smackdown into the ring with ease.
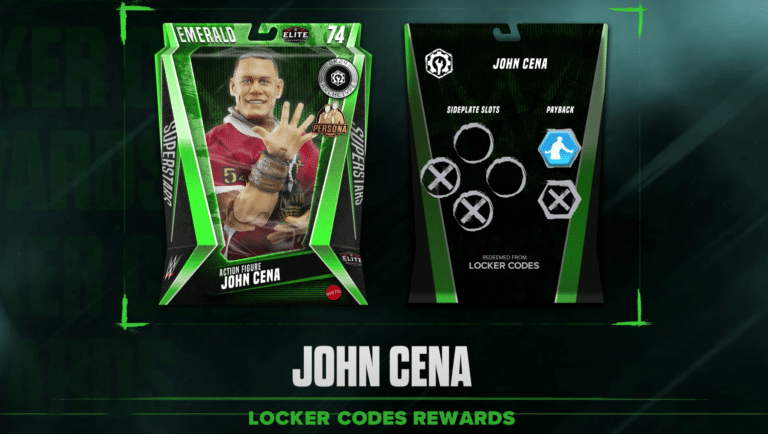
ALSO READ: WWE 2K24: How to Unlock Elite John Cena